Pattern Services and Revisions
If you are an Annies customer and have a question about the instructions on a pattern you have purchased, please visit: AnniesCatalog.com/pages/customer_care/pattern_services.html
Templates
To download templates for easy printing, view the download instructions at the end of this book or click the Templates chapter in the Table of Contents.
Templates
To download templates for easy printing, go to: AnniesCatalog.com/customers/check_code.html and enter 70106363F
Table of Contents
Creativity is inventing, experimenting, growing, taking risks, breaking rules, making mistakes and having fun.
Mary Lou Cook

Since you are reading this, I can assume you are interested in taking your card making to the next level. Maybe youre interested in dabbling a bit in mixed media, or maybe youre interested in using your current crafty skills in another format. Either way, I want this book to be the springboard for your creative growth. My goal when writing this book was to show card makers just how easy it is to use the techniques, skills and products they currently use for card making and adapt them to another art formthe canvas. What I didnt plan on (and what turned out to be a happy accident) was the fact that this book also encourages crafters to play and experiment with their supplies and start combining those techniques to create something new.
In essence, it encourages them to dabble with mixing their media! I know the term mixed media has some of you running for the hills or ducking under tables. Its scary, its challenging, its unfamiliar. But I want to make it comfortable, familiar and engaging. This book is about more than just card projects or canvas projects, or even mixed-media projects. Its about experimenting, taking risks, breaking the rules and having fun. Its your chance to get messy, make mistakes, open your mind and let your senses rule.
So, if youre game, and youre ready to play lets get started! Colleen Schaan
One of the most thrilling things about mixed media is the ability to use just about any supply you have on hand. If you have it in your crafty stash, you can utilize it in your mixed-media work. While the techniques in this book use certain products, I encourage you to experiment and make substitutions. These are some common categories of mixed-media supplies. You dont need to have everything listed here, but I highly recommend having at least one product from each category to get started.
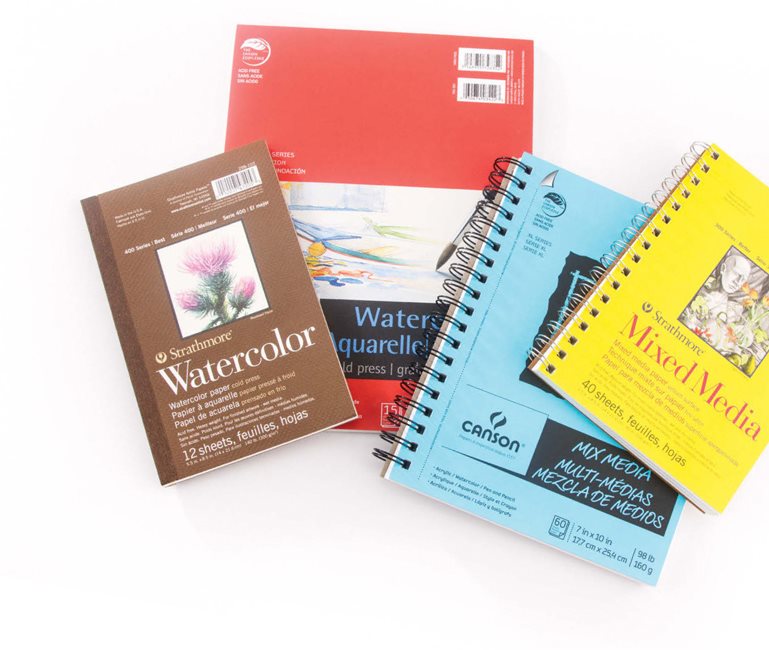
This is most often the starting place.

This is most often the starting place.
The initial card projects in this book all use cardstock as the work surface. From there, the projects move to canvas, watercolor paper, mixed-media paper and wood. While just about anything can be converted to a mixed-media surface, you do need to consider the compatibility of the surface and the supplies you will be using. Cardstock Watercolor paper Mixed-media paper Canvas Chipboard Wood Fabric

I define a tool as something that either applies a medium, or helps direct or move it on the surface. Tools dont have to be expensive; look around your home and you will find many objects you can use as tools. Stencils Stamps Paintbrushes Spray bottles Palette knives Brayers Sponges

These common craft items are probably the most important supplies in your stash.
I recommend having at least three of the following product types: A gel medium is a must! With a choice between glossy and matte, gel mediums do double duty as both an adhesive and a sealant. Gesso. Theres no way around it gesso is an indispensable supply. Use it for prepping surfaces and for adding layers and creating depth. Add some form of texture paste or gel to your stash and youre all set! Not only is it fun, but paste can add depth and physical texture to your worka must in mixed media. Texture paste Gesso Gel Spackle Decoupage medium Glass gel Liquid glue Tape adhesive Glue dots Foam tape E6000
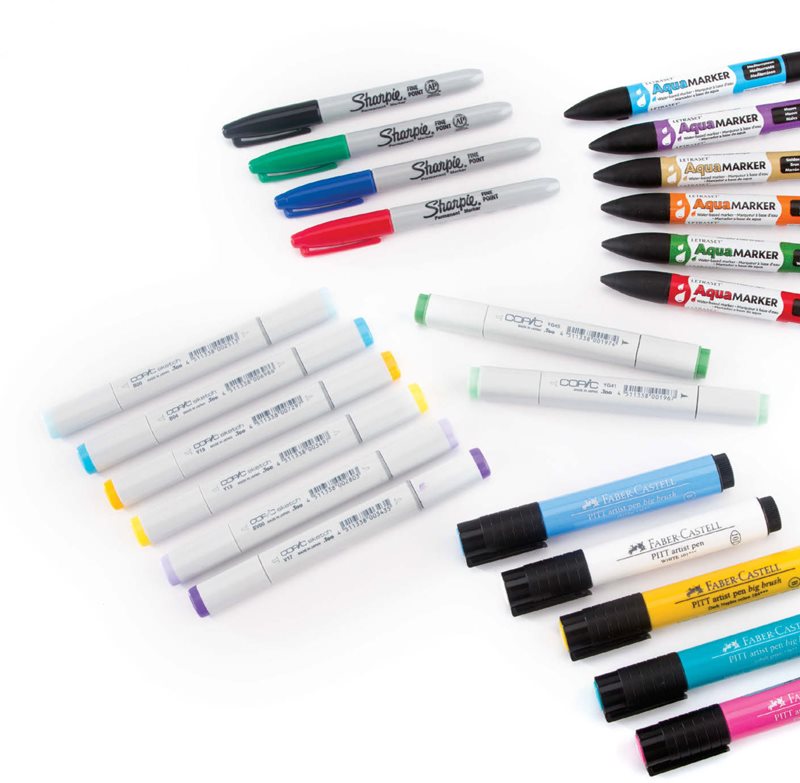
Even if you never plan to draw a thing, its important to have at least one type of writing instrument in your stash.
Writing instruments can be used for mark making, drafting a layout, adding color, or adding finishing touches to a piece. Pens Gel Glitter Inking Markers Dye Alcohol ink Pencils Charcoal Watercolor

This is by far the most varied category, and with so many possibilities, it can be almost overwhelming! Dont feel like you need every type of coloring medium on the market; you dont. Pick one or two to begin with. Once you learn what you enjoy working with, you can start experimenting with others.
Pencils Wax Oil Watercolor
Pastels Chalk Oil
Pigments Crayons Gelatos
Paints Tempera/poster Watercolor Acrylic Oil
Sprays/Mists Airbrush Glitter Chalkboard paint Dye Alcohol ink
Inks Dye Chalk Distress Pigment Hybrid Alcohol ink

Powders are what I call the forgotten supply. There are a number of different types of powders, each with its own specific property and use.
I recommend starting your crafty cache with a nice embossing powder and growing from there. Mica Pigment Chalk Embossing
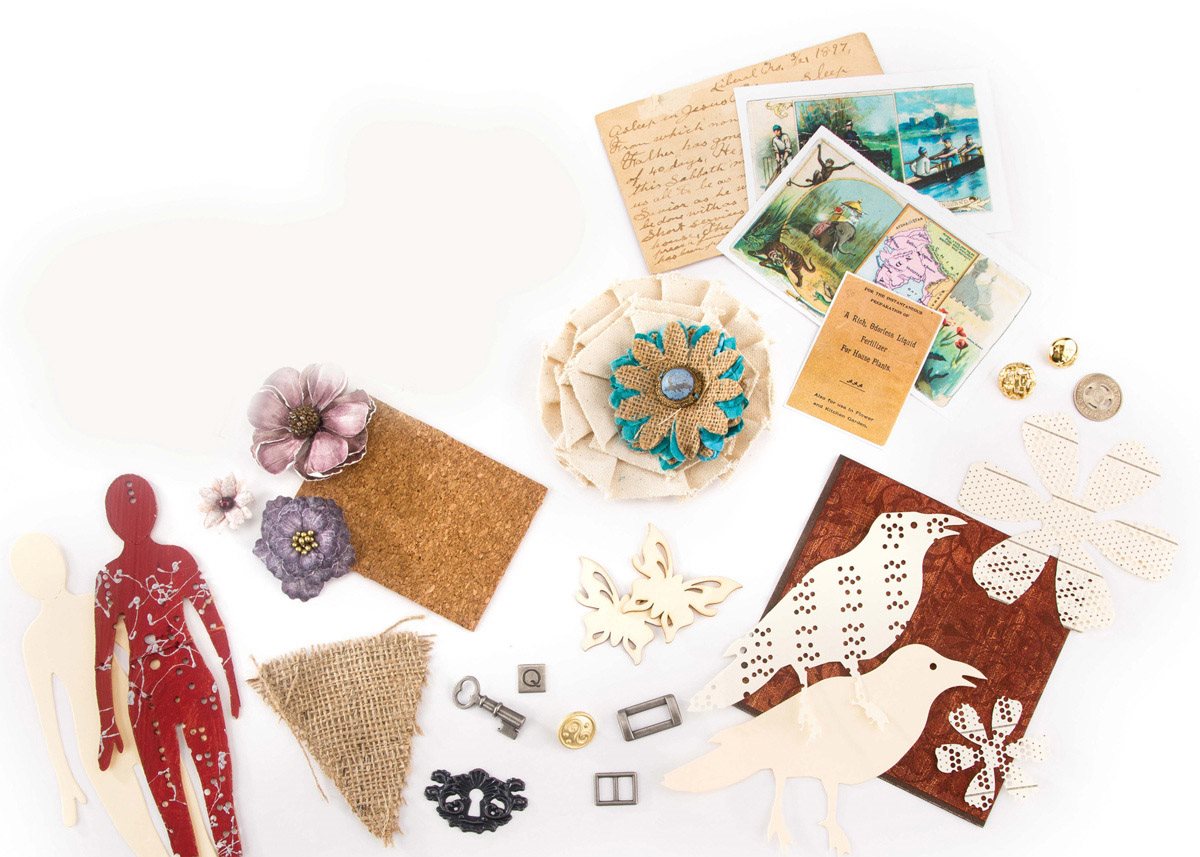
Whether you call them embellishments or ephemera, all of these supplies are used to add layers, texture, depth or color to your work. Found items (like leaves, feathers, hardware and so on) make some of the most interesting collage elements. Fabric Paper Fiber Photos Books/magazines Lace Newspaper Music Vellum Metal Chipboard Buttons
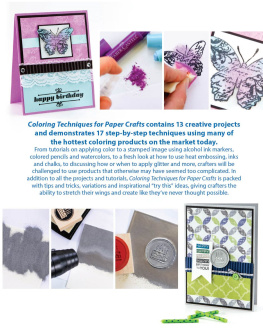
The minimal equipment needed and immediate results of stamping make it one of the easiest and most accessible forms of mark making for a crafter. It involves transferring a wet medium from one surface to another to replicate an image. A stamp often consists of an image etched in rubber, foam or polymer, although found objects can also be used as stamps.
A wet medium is picked up with the stamp and then pressed onto a surface, effectively transferring the image. Individual stamped images can be the main focal point of a piece or multiple images can be combined to create layers and dimension.
YOU WILL NEED:
Cardstock (can also be fabric, canvas, or other flat surface) Stamp (rubber, polymer or foam) Ink pad (dye, pigment or chalk) Acrylic block (necessary for unmounted stamps) Place stamp onto acrylic block if necessary (Photo 1).





 Since you are reading this, I can assume you are interested in taking your card making to the next level. Maybe youre interested in dabbling a bit in mixed media, or maybe youre interested in using your current crafty skills in another format. Either way, I want this book to be the springboard for your creative growth. My goal when writing this book was to show card makers just how easy it is to use the techniques, skills and products they currently use for card making and adapt them to another art formthe canvas. What I didnt plan on (and what turned out to be a happy accident) was the fact that this book also encourages crafters to play and experiment with their supplies and start combining those techniques to create something new.
  This is most often the starting place.
  I define a tool as something that either applies a medium, or helps direct or move it on the surface. Tools dont have to be expensive; look around your home and you will find many objects you can use as tools. Stencils Stamps Paintbrushes Spray bottles Palette knives Brayers Sponges
  These common craft items are probably the most important supplies in your stash.
  Even if you never plan to draw a thing, its important to have at least one type of writing instrument in your stash.
  This is by far the most varied category, and with so many possibilities, it can be almost overwhelming! Dont feel like you need every type of coloring medium on the market; you dont. Pick one or two to begin with. Once you learn what you enjoy working with, you can start experimenting with others. Pencils Wax Oil Watercolor Pastels Chalk Oil Pigments Crayons Gelatos Paints Tempera/poster Watercolor Acrylic Oil Sprays/Mists Airbrush Glitter Chalkboard paint Dye Alcohol ink Inks Dye Chalk Distress Pigment Hybrid Alcohol ink
  Powders are what I call the forgotten supply. There are a number of different types of powders, each with its own specific property and use.
  Whether you call them embellishments or ephemera, all of these supplies are used to add layers, texture, depth or color to your work. Found items (like leaves, feathers, hardware and so on) make some of the most interesting collage elements. Fabric Paper Fiber Photos Books/magazines Lace Newspaper Music Vellum Metal Chipboard Buttons The minimal equipment needed and immediate results of stamping make it one of the easiest and most accessible forms of mark making for a crafter. It involves transferring a wet medium from one surface to another to replicate an image. A stamp often consists of an image etched in rubber, foam or polymer, although found objects can also be used as stamps.