Acknowledgments
This book is dedicated to you and all the kids who ever picked up a hammer and thought, What can I make? We had so much fun creating these projects for you, and I hope you have just as much fun building them!
Thank you to my son, Eric, for giving me such great ideas and to my husband, Greg, for helping me bring those ideas to life (and keeping me sane in the process). Thanks also to Stephanie and Marianne, who spent many hours with me in the shop, building prototypes and keeping me company.
Thank you to my wonderful models and photographer Jared Leeds, who made light work of some very long days.
A very special thanks to Storey Publishing, especially Deanna Cook, Carolyn Eckert, Nancy Ringer and the wonderful publicity team.
Finally, thank you to my family and friends for your love and support. We did it!
Contents
Introduction
M y earliest memory of using woodworking tools comes from elementary school, when I hammered nails into a board and then tied yarn around the nails to make a colorful design. I saved that board for years! (See for a little blast from my past.)
I still get a thrill from making cool stuff from wood, but now I get to teach people grown-ups and kids how to do it too at my familys Workbench Woodworking & Craft School in Massachusetts. Our light-filled space on the first floor of an old mill building literally hums with the sounds of tools, teaching, and traditional craftsmanship.
My son, Eric, took a class at the school, in part because he really wanted to make the . Now a teenager, hes very comfortable in the shop and has a thriving business making custom-designed cutting boards and wooden pens.
Learning the skills in this book will make you more independent, confident, and creative. Youll be able to fix things that are broken and to make things you love.
And who knows? Maybe the adults in your life will learn something too.
A Note to Parents
For people of any age, the most thrilling part of woodworking is the projects, and we have plenty of them here for your aspiring woodworker. Our projects start with Imagination Station, where kids can explore the tools and skills they learned in chapter 2, Tool School.
The rest of the projects are divided into categories: tools and storage for the workshop, projects for indoor and outdoor fun, decor and useful things for your kids room, and constuctions to benefit the whole house. They progress from easy to more difficult, and each comes with a list of the skills, tools, and materials your child will need.
Ive also tried to give you a sense of how much each project will cost. Woodworking does require an up-front investment, but many of the projects in this book call for only one or two boards. Plus, after completing several projects, young woodworkers will have a collection of scraps that can be used for other projects. Have your child check his or her stock of lumber before you head out to buy anything new.
Many kids will want to dive right into the project that looks like the most fun, but I encourage you to have them start with . Its a low-risk, low-investment place to begin, and the builder will end up with two devices that make it easier to complete the other projects in the book.
What if you have a very young beginner? Start with String Thing or Twinkle Twinkle Star! These are easy projects with a huge wow factor.
And what happens when your woodworker has completed most or all of the book projects and is hungry for more? They can design their own! Ultimately, thats the goal of the book: to teach children basic woodworking and direction-following skills and to give them the confidence to apply and expand upon these new skills on their own.
Project Ratings
Skill Level: 1 | Skill Level: 2 | Skill Level: 3 |
easy enough for beginners | experience helpful | for aspiring woodworkers |
Cost:
$ = almost free!
$$ = moderate cost
$$$ = bring your wallet (or a generous adult!)
There are diagrams and images with callouts throughout the book. Double-tap the image to open to fill the screen. Use the two-finger pinch-out method to zoom in. (These features are available on most e-readers.)
Chapter 1 Setting Up Shop
Everything you need to know
Your Workspace
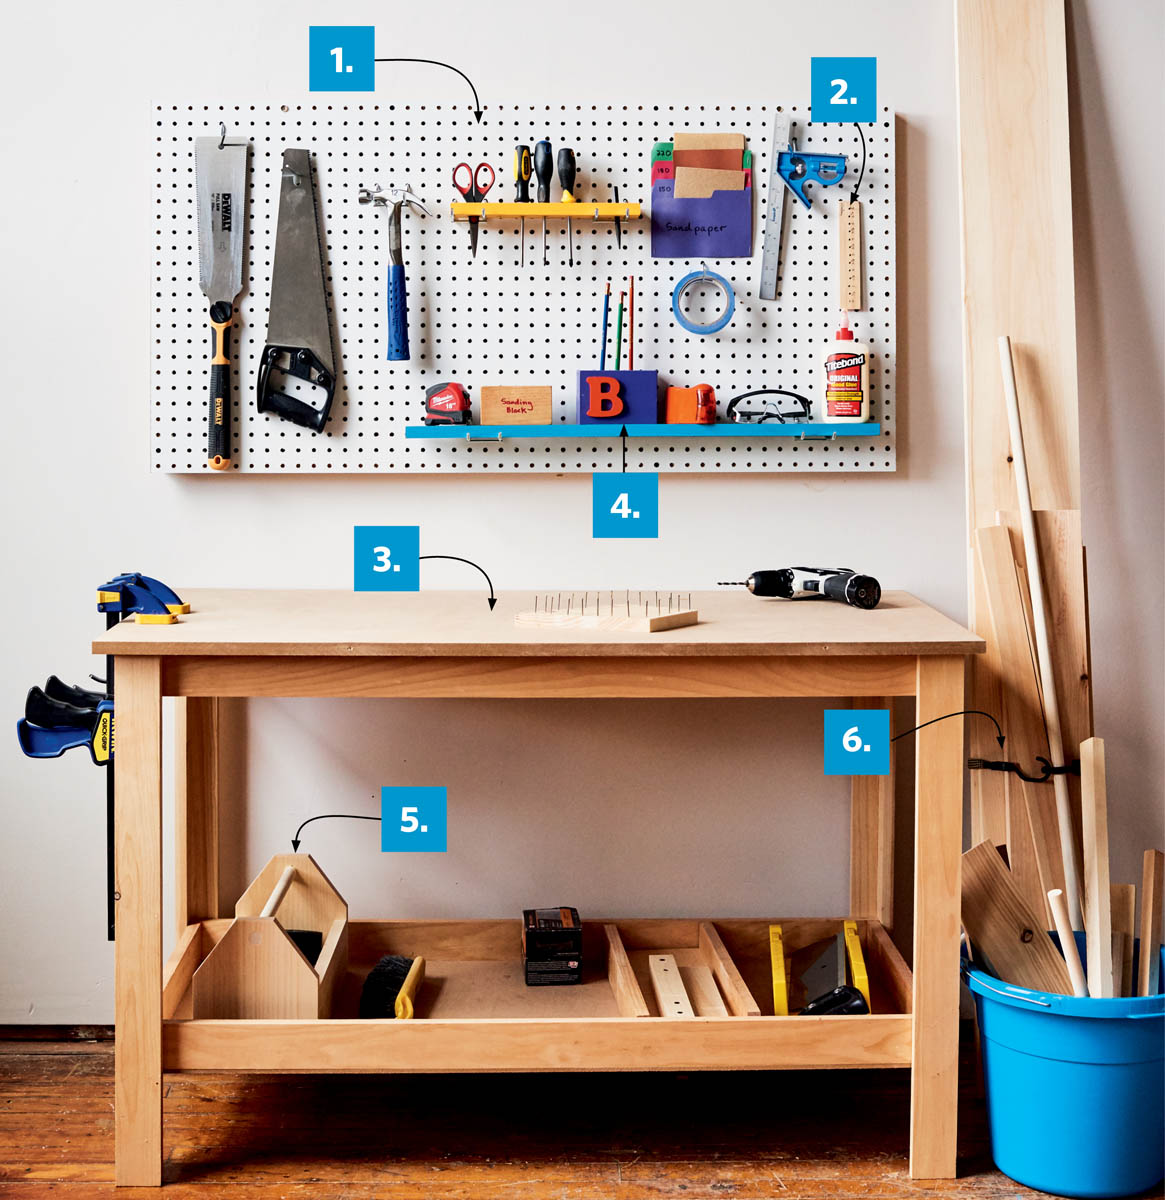
Every woodworker starts somewhere, and it doesnt matter if that somewhere is a family workshop, a small corner of the garage, or the basement. Wherever you set up shop, keeping your tools and materials organized is essential.
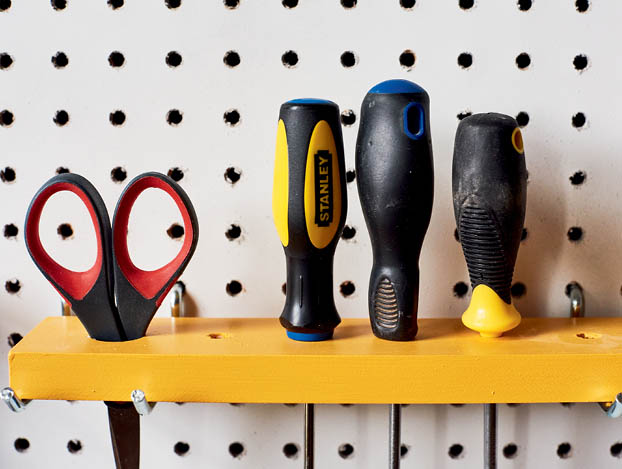
A pegboard provides easy access to tools.
Store lumber standing up on end so you can easily see what you have on hand.
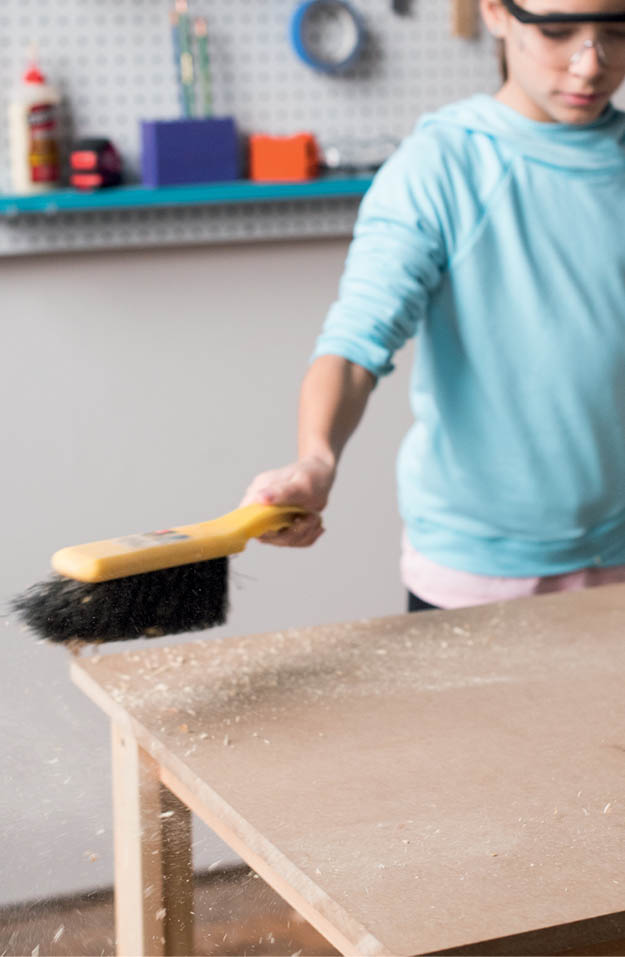
Keep your workspace clean!
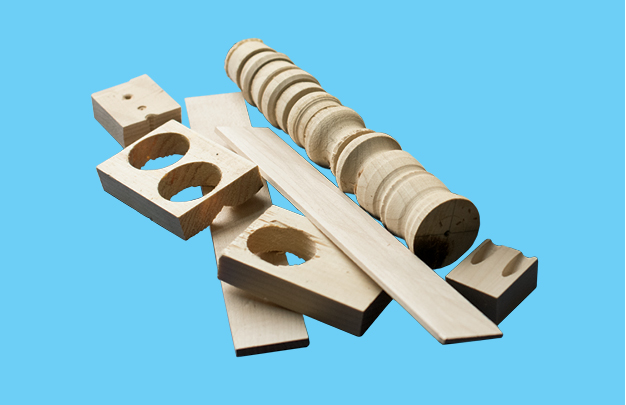
Set out a bin for cutoffs and scrap wood.
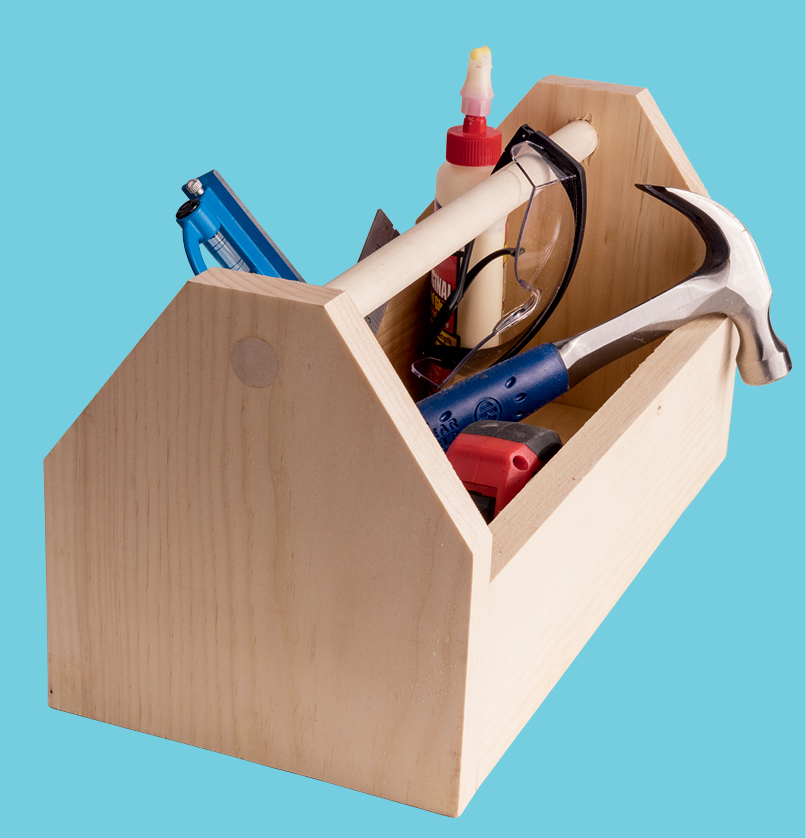
A lets you bring your tools on the road.
Add a small shelf for essential tools.
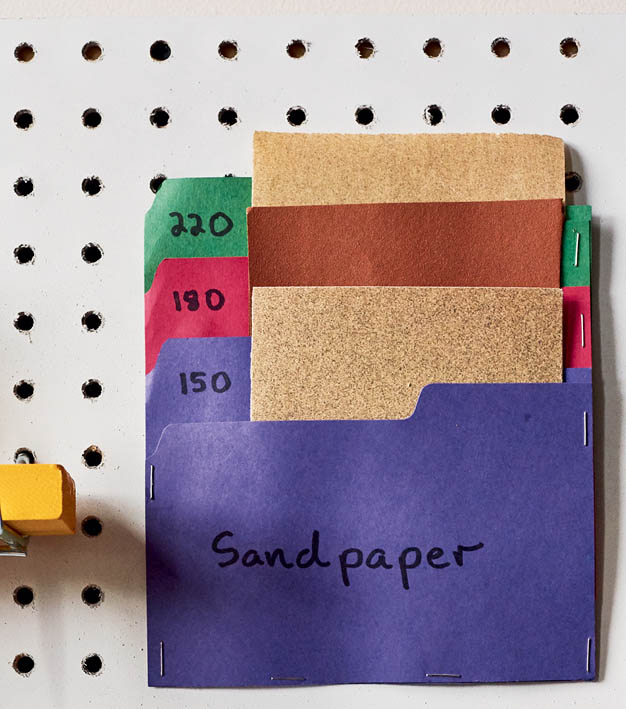
Keep your sandpaper organized.
Keep your clamps handy youll use them a lot!
- Build this
- Make your own
- Build this
- Make your own
- Build this
- Secure long boards with a strap.
Your Workbench
Youll need a workbench for things like hammering, sawing, and drilling. Any sort of table will do, so long as the


