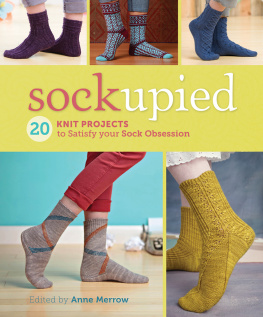
Edited by Anne Merrow
CONTENTS
Introduction
Sock knitting is personal.
When youre knitting socks, chances are youre making them for your own treasured toes or those of someone you know well (and like a lot). Even if youre not going to wear the finished socks, the process of knitting itself involves your hands, your brain, and your heart. With so much committed to that one pair of socks, you should be able to make them just the way you like them. Whether its improving the fit or making them more fun to knit, Sockupied has always been about taking control of your sock knitting.
Sockupied was first published in 2010 as an all-digital, fully interactive publication called an eMag. Incorporating pop-ups, slide shows, videos, bells, and whistles, it has explored the possibilities of presenting socks in new media. With so many print publications going digital, it might seem strange to take an eMag into print. But when youre in pursuit of sock knitting 24/7, as we are, there are times when even the ever-present computer or tablet isnt in your knitting bag charged up and ready to go. Socks are ancient technology; theres a place for knitting socks unplugged, too.
Since its first issue, Sockupied has celebrated the creative, colorful community of sock knitters and designers. In this collection we chose 20 patterns that represent the diversity of the first 10 issues: easy and difficult, handpainted and solid, cables and lace, toe-up and top-down... To accompany the patterns, we have also included some of our articles on sock-knitting fundamentals, including techniques that are designed to help you tweak patterns to suit your feet and your knitting style. Try out a different toe than the one you know best. Opt for a cuff other than the one in the pattern. Take matters into your own hands by converting a toe-up pattern to a top-down one (or vice versa).
Whether you prefer your patterns on screen or on paper, you can knit socks any way you like. And if you strike out on your own path, ignoring the pattern altogether and making socks that suit you, we wont mind at all.
Anns Go-To Socks
by Ann Budd
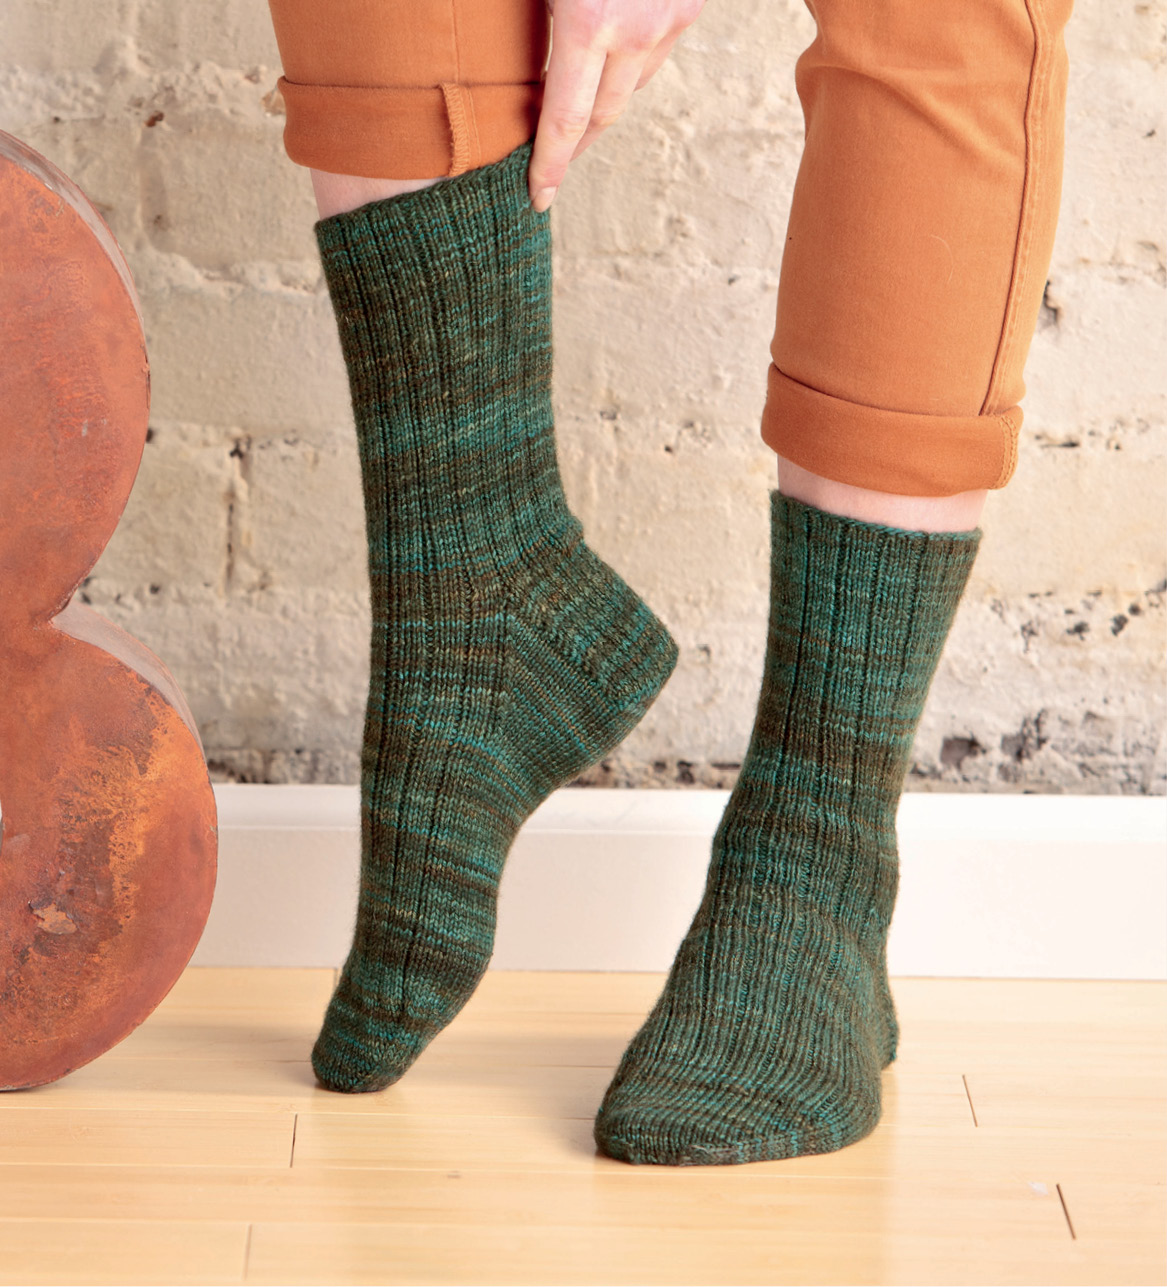
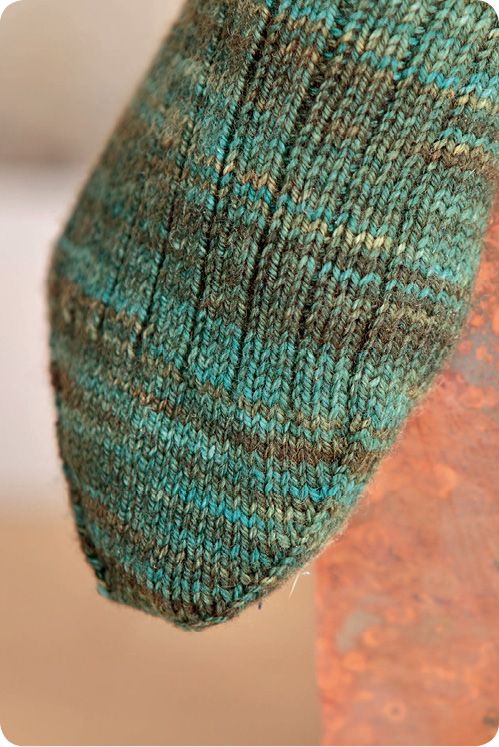
Although she designs deliciously complex socks, this simple ribbed sock pattern is the one Ann Budd turns to for most of the socks she knits for herself. The k3, p1 rib hugs the leg and instep and lets the colors of hand-dyed yarn show to best advantage.
Finished Size About 612 (712, 8, 812, 912)" (16.5 [19, 20.5, 21.5, 24] cm) foot circumference, with ribbing slightly stretched, and 712 (814, 912, 1014, 11)" (19 [21, 24, 26, 28] cm) foot length from back of heel to tip of toe. Socks shown measure 8" (20.5 cm) foot circumference.
Yarn Fingering weight (Super Fine #1). Shown here: The Verdant Gryphon Bugga! (70% superwash merino, 20% cashmere, 10% nylon; 412 yd [377 m]/4 oz [113 g]): autumn tiger beetle, 1 (1, 1, 2, 2) skein(s).
NeedlesUpper leg: U.S. size 112 (2.5 mm): set of four double-pointed (dpn). Lower leg and foot: U.S. size 1 (2.25 mm): set of four dpn. Adjust needle size if necessary to obtain the correct gauge.
Notions Markers (m); stitch holder (optional); tapestry needle.
Gauge 32 sts and 44 rnds = 4" (10 cm) in St st on smaller needles.
Notes
- These socks are worked from the top down; the rib pattern on the leg extends across the top of the instep.
- The upper half of the leg is worked on needles one half size larger than the size needed to obtain gauge.
- The end-of-round marker is placed before the last stitch on Needle 3 so that it doesnt fall off the end of the needle.
- Fine-tune the fit by adjusting the number of rounds worked in the foot before beginning the toe shaping.
Leg
With larger needles and using the ), and join for working in the rnd. Rnds beg with first st on Needle 1 at back of leg.
Set-up rnd: *K3, p1; rep from *.
Work in k3, p1 rib as established until piece measures 3 (314, 312, 334, 4)" (7.5 [8.5, 9, 9.5, 10] cm) from CO.
Change to smaller needles and cont in rib as established until piece measures 6 (612, 634, 712, 814)" (15 [16.5, 17, 19, 21] cm) from CO, or desired length to top of heel.
Heel
The heel is worked back and forth in rows on 28 (32, 34, 36, 40) sts centered over back of leg.
Set-up Row 1: (RS) Work 14 (16, 17, 18, 20) sts in established rib patt as foll: [K3, p1] 3 (4, 4, 4, 5) times, k2 (0, 1, 2, 0), turn work.
Set-up Row 2: (WS) Sl 1, p27 (31, 33, 35, 39)28 (32, 34, 36, 40) heel sts.
Place rem 28 (32, 34, 36, 40) sts on holder to work later for instep or simply leave them unworked on one dpn.
Heel Flap
Work 28 (32, 34, 36, 40) heel sts back and forth in rows as foll:
Row 1: (RS) *Sl 1 purlwise (pwise) with yarn in back (wyb), k1; rep from *.
Row 2: (WS) Sl 1 pwise with yarn in front (wyf), purl to end.
Rep these 2 rows 13 (15, 16, 17, 19) more times28 (32, 34, 36, 40) rows total; 14 (16, 17, 18, 20) chain-edge sts along each selvedge.
Turn Heel
Work short-rows to shape heel cup as foll:
Row 1: (RS) Sl 1, k15 (17, 18, 19, 21), ssk, k1, turn work.
Row 2: (WS) Sl 1 pwise wyf, p5, p2tog, p1, turn.
Row 3: Sl 1 pwise wyb, k6, ssk (1 st each side of gap formed on previous row), k1, turn.
Row 4: Sl 1 pwise wyf, p7, p2tog (1 st each side of gap), p1, turn.
Row 5: Sl 1 pwise wyb, k8, ssk, k1, turn.
Row 6: Sl 1 pwise wyf, p9, p2tog, p1, turn.
Row 7: Sl 1 pwise wyb, k10, ssk, k1, turn.
Row 8: Sl 1 pwise wyf, p11, p2tog, p1, turn.
Row 9: Sl 1 pwise wyb, k12, ssk, k1, turn.
Row 10: Sl 1 pwise wyf, p13, p2tog, p1, turn.

