Sign up for our newsletter and receive special offers, access to free content, and information on the latest new releases and must-have art resources! Plus, receive a coupon code to use on your first purchase from NorthLightShop.com for signing up.
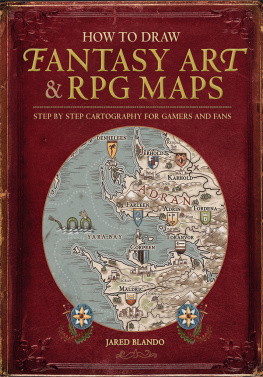
The world of fantasy is flooded with the images of characters, castles and epic battles, yet cartography has a particularly intrinsic place amongst these other works of art. Maps have the magical ability to create a world for a viewer without the need for text, visually illustrating entire domains, cities and kingdoms with the stroke of a brush. Along with the ability to link people to the stories they read by placing the reader into the world of the storytellers imagination, maps add an extra layer of depth and plausibility to the imagined world and its peoples. Though there are a great number of different types of maps, from world and regional to cities or even specific buildings, this book is a (modest) attempt to give the reader the ability to create their own world maps in an easy and effective manner. Starting with techniques that gradually move from basic into the more advanced, I will act as your guide through the extensive, but rewarding process of mapmaking. From tall mountains and rolling plains to the great seas, the power of creation is at your fingertips!
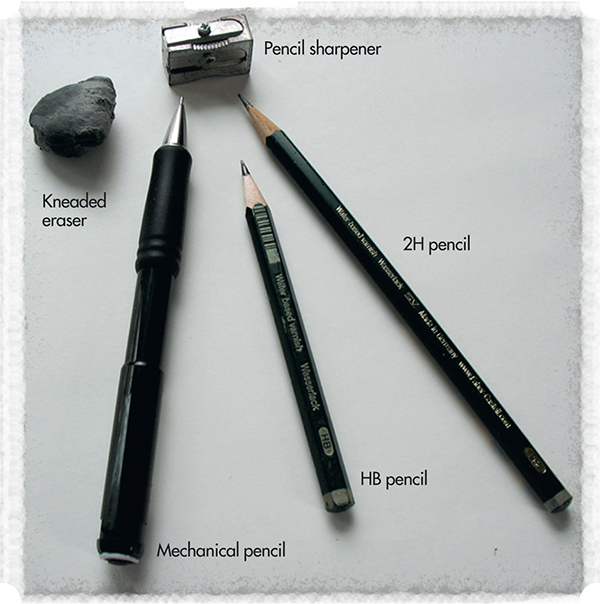
For map work, its best to have the right tools of the trade with you. Having a few different types of pencils is best, namely a 2H, an HB and a 2B, as well as a kneaded eraser and a pencil sharpener. I also use a mechanical pencil that takes .05mm lead for detail work.
A Note on Pencils
Drawing pencils range from 9H (lightest line color and the most clay) to 9B (darkest and richest color, containing more graphite). For our use, a 2H pencil produces a light line and is excellent for light sketching and delicate shading. The HB pencil is a great all-purpose tool and is very much in the middle of the pencil spectrum, making it quite useful for drawing in mountains and hills. A 2B is suitable to darken up boundaries, giving lighter pencils a heavier line weight. A mechanical pencil is a bit advanced, but it also gives an excellent range of line weight and density with some practice.
Drawing Surfaces
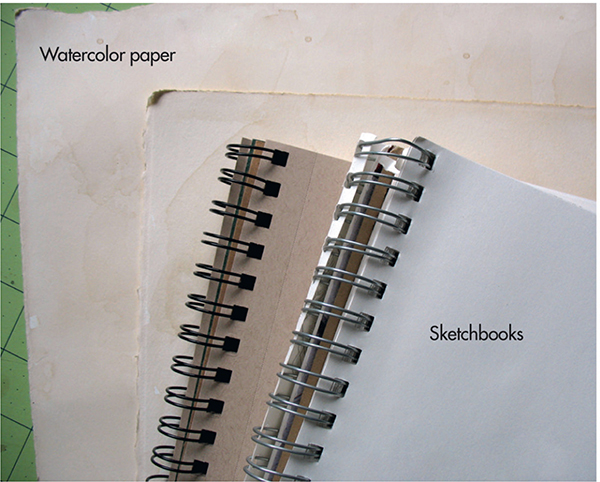
After you have picked up your pencils, its time to think about what surface you will be drawing on. The paper your map is on is just as important as what you use for rendering. Drawing pads come in a great many sizes and weights, and are up to a persons preference, though ideally you will want one with enough room to draw and not be cramped. Watercolor or parchment paper are both ideal for mapmaking as well. I personally use Arches watercolor paper for mapmaking, since it holds pencil and ink nicely and its quite durable.
Papers are categorized by poundage level (65-lbs [175gsm], 90-lbs [190gsm], etc.), which essentially is how stiff and thick they are. The higher the poundage, the stiffer the paper is. For mapmaking, its best to have a paper that is at least 65-lbs (175gsm) as this will give you a sturdy base. Watercolor papers also have a press rating, either hot or cold. Hot-pressed paper is smoother and has less tooth to it, while cold-pressed paper is rougher and has more texture.
Aging Paper
To get that nice old parchment look, try soaking your paper in dark roast coffee. You can either use a large pan to lay the paper in, or dampen the papers and then brush on the coffee with a folded piece of paper towel. It will yellow your paper beautifully.
Advanced Materials
When you are ready to move on from pencil work, there are some tools that you will require. For traditional work, a variety of brushes is essential for painting and detail work, while inking requires specific inks or ink pens. When working digitally, you will need a tablet, stylus and Adobe Photoshop or GIMP.
Inks
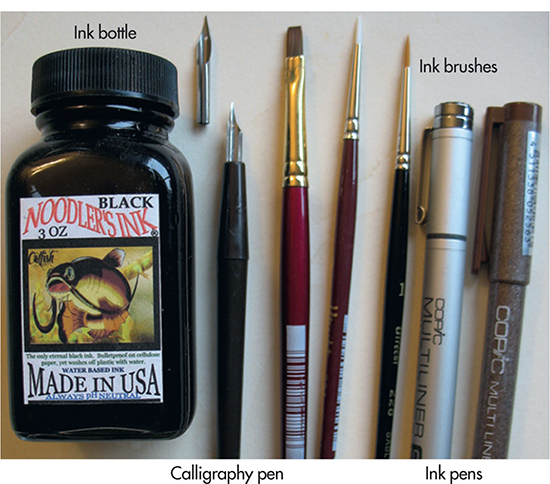
After your pencil work, inking will give permanence and boldness to your map. Though most people think of inks as just bold thick lines, and indeed this is one of the techniques that can be used, inks also work well as light washes that can be brushed on to give gentle tonality. Inks come in a baffling variety of colors, though its best to stick with black, brown and red inks to start. You will need a small selection of brushes for your ink work, including nos. 00, 0 and 1 round, a no. 2 flat as well as a large 1-inch (25mm) flat watercolor brush. Calligraphy pens with interchangeable head tips, as well as Copic Multiliner brown or black ink pens are also useful, and each come in a variety of sets. Inking and its various tools are covered in a more detailed fashion in chapter 10.
Traditional Brushes
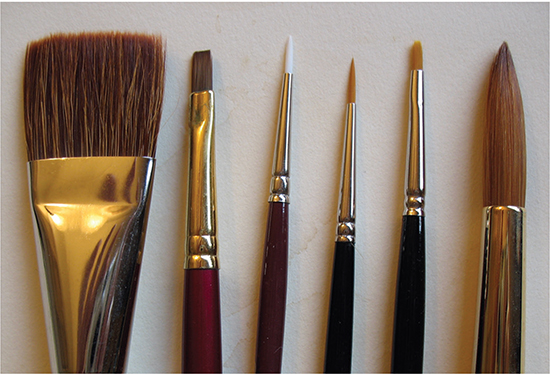
Brushes come in a bewildering variety of shapes and sizes, but you will need only a select few to get started. The most common brush shapes are round or flat, and most are numbered from 00 (the smallest) to 10 (the largest). Brushes also fall into three different groups: watercolor, acrylics and oils, and are grouped by bristle makeup: synthetic, natural or mixed. For adding color in mapmaking, its best to use watercolor brushes in a mixture of flats and rounds. This will be discussed in more detail in later chapters.
Digital Tools
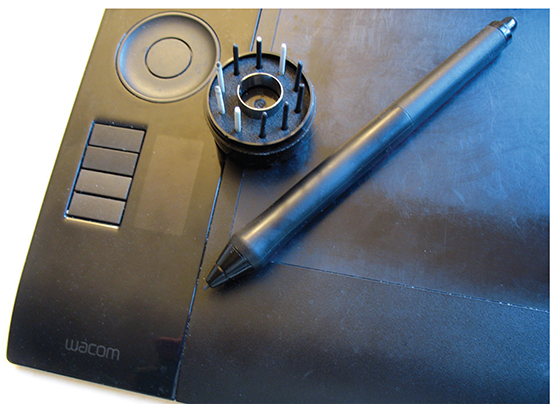
When working digitally, you will need a tablet and stylus. A stylus is the pen tool that has built-in pressure sensitivity to help simulate light or heavy strokes depending on how hard or soft you press. There are a few tablets that are cheap and easy to get at your local electronics shop or online, though I personally use a Wacom tablet. With multiple interchangeable nibs to simulate different surfaces, its an excellent tool for working digitally. As for software, Adobe Photoshop or GIMP (a freeware program very similar to Photoshop) are both excellent and function very similarly.

