Contents
Guide

Publisher: Amy Barrett-Daffin Creative Director: Gailen Runge Acquisitions Editor: Roxane Cerda Managing Editor: Liz Aneloski Editor: Kathryn Patterson Technical Editor: Debbie Rodgers Cover/Book Designer: April Mostek Production Coordinators: Tim Manibusan and Zinnia Heinzmann Production Editor: Alice Mace Nakanishi Illustrator: Mary E. Flynn Photo Assistant: Lauren Herberg Photography by Estefany Gonzalez of C&T Publishing, Inc., unless otherwise noted Published by C&T Publishing, Inc., P.O. Box 1456, Lafayette, CA 94549
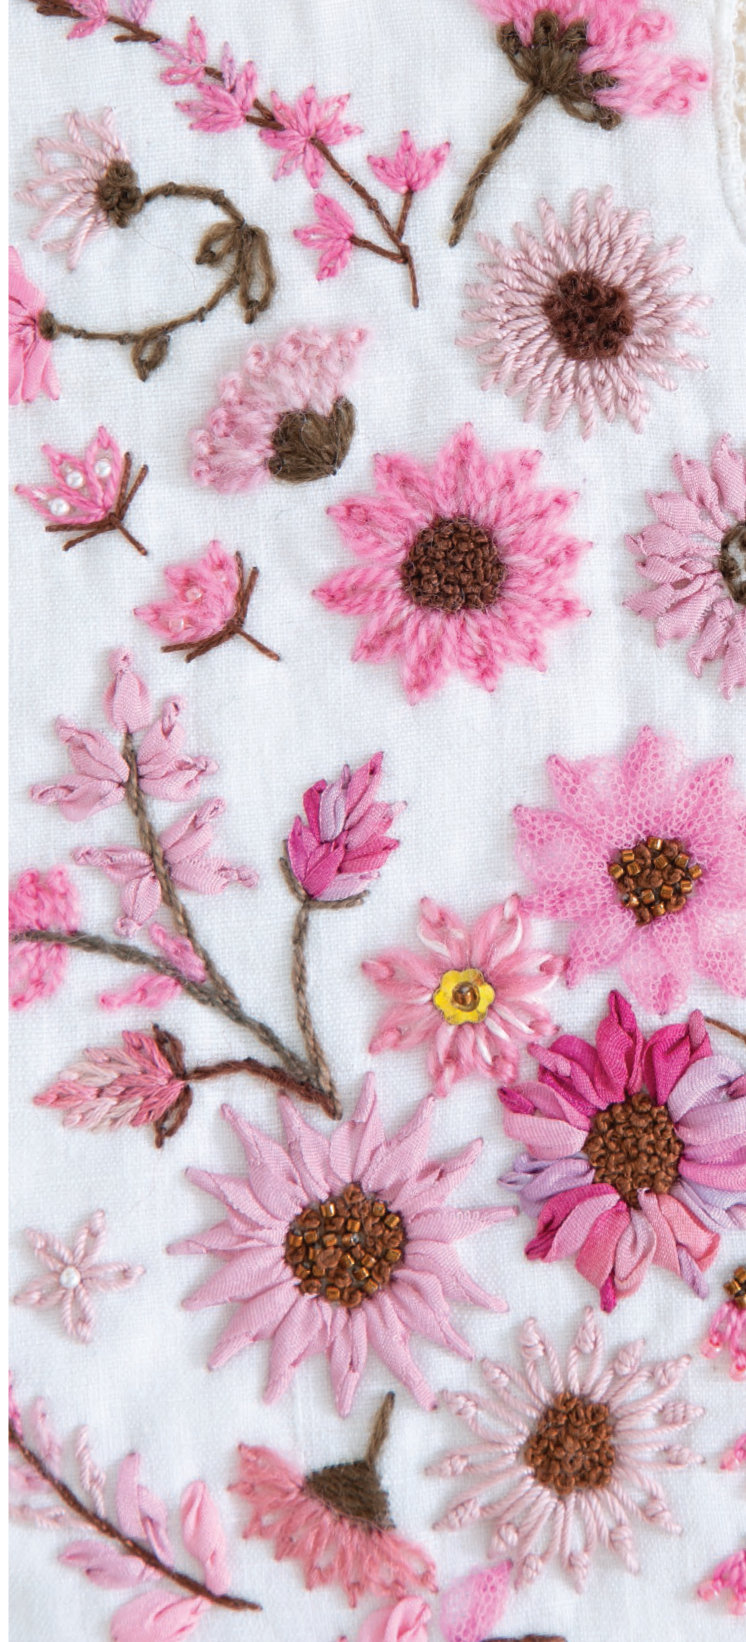
 DedicationTo my beloved mother, Penelope SnashallIn search of my mothers garden, I found my own.
 Alice Walker Acknowledgments My husband, Vaughn, your support, time, and above all, your patience are invaluable to me. Once again applying your meticulous attention to detail, your computer skills and drafting all the required illustrations to lay the foundations for C&T Publishing to bring our third book to life. This book is as much yours as it is mine. A huge thank-you to the team at C&T PublishingLiz, Roxane, Amy, Gailen, Kathryn, Debbie, Mary, Alice, Zinnia, Tim, April, Estefany, and Lauren.
It has once again been a pleasure working with you all. I consider it a privilege to have this opportunity to share my love of all things embroidery. To the students who come to my workshops, you share my passion and enrich my life. 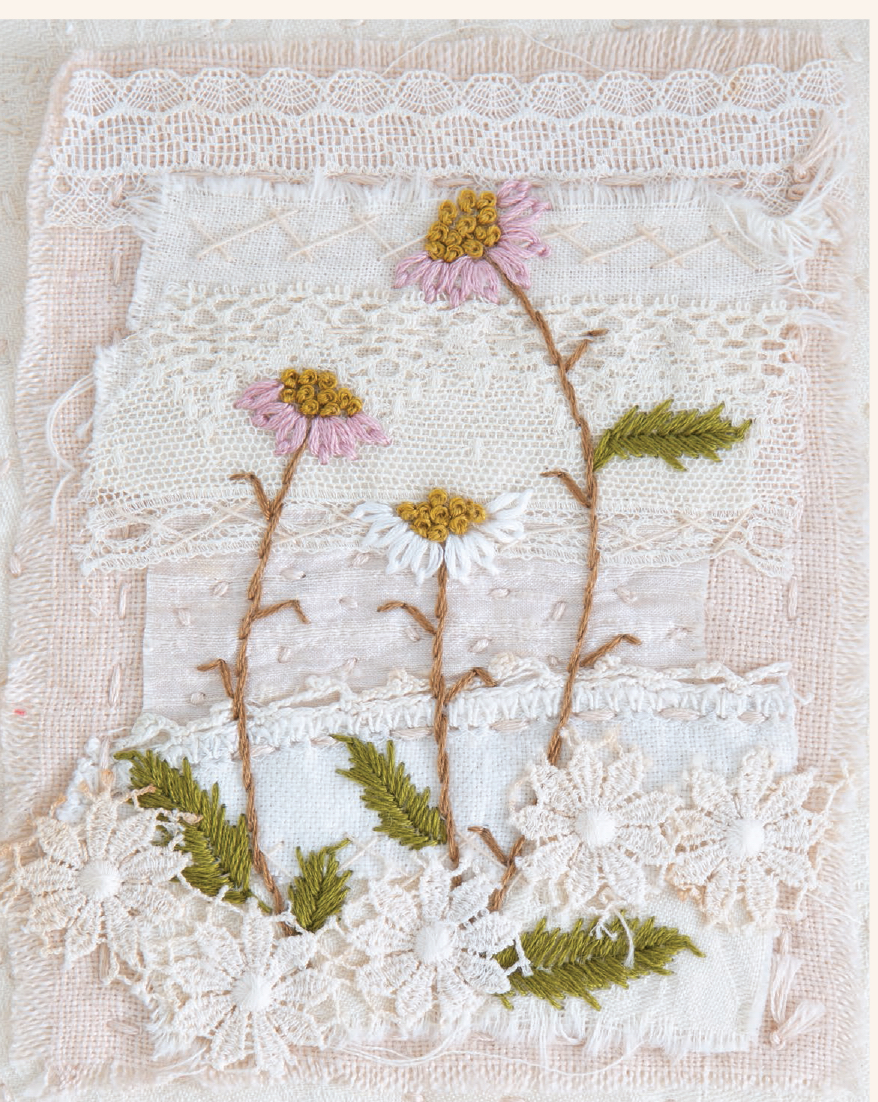 Snippets and embroidery Introduction
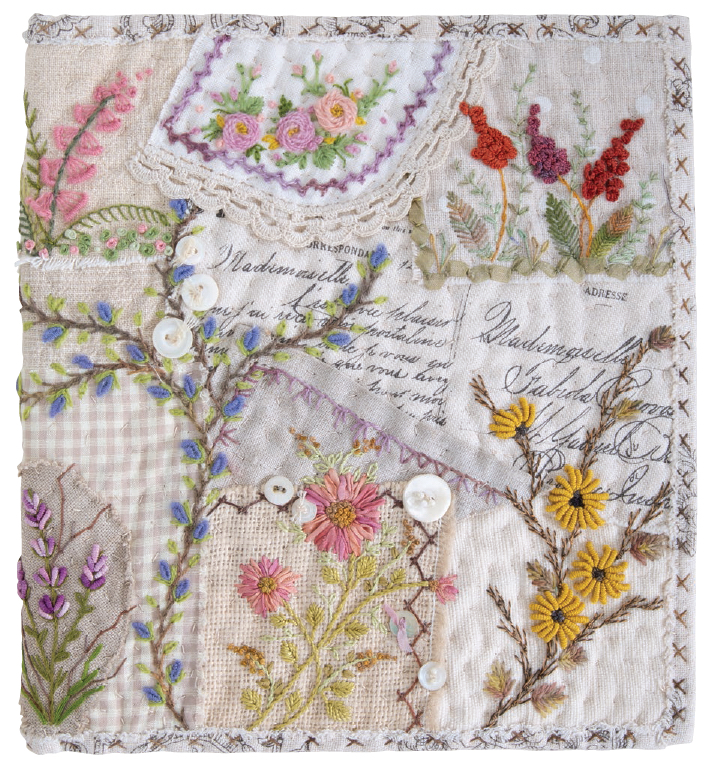 Fabric collage and embroidery Start where you are and use what you have is a mantra that I use when approaching my own work and that of the students in my workshops. As embroiderers and creators, we often follow a pattern. When we see a stitch done in a certain thread that we do not have on hand, we rush out to purchase it or wait days for the thread to arrive in the mail.
Creativity simply stops at this point. I encourage you to look beyond the prescribed thread and experiment with those that you have on hand. It is my belief that a large amount of our creativity and uniqueness is lost when we blindly follow a pattern. This extends beyond thread; a stem stitch is not the only stitch that can be used as the stem of a flower, repurposed fabrics can replace new, audition colors that challenge the status quo. Stray off your beaten path; stitch a part of yourself into your embroidery. Play! I dare you! My goal in this book is to promote creativity and not consumerism.
To provide a workbook of various stitches and threads to create all things floral; stems, leaves, petals, centers, and interesting twig effects. I am hoping that this book will inspire a more organic approach to your embroidery, one of creating with the resources that you have in front of you, and freeing yourself from the assumption that if you do not have the correct thread your work will not work. I invent nothing, I rediscover. Auguste Rodin How to Use This Book Design and stitch your own floral embroidery creation. Stage One Create the background for your floral embroidery. Place your thread selection onto your chosen background. You may need to add some light and shade to the palette to create dimension and interest.
We will roughly follow the rule-of-thirds composition to draw the stems and main flower heads. Divide the design area into thirds. Sketch the stems and flower heads onto the background fabric ensuring that they are not in the center of the design area. 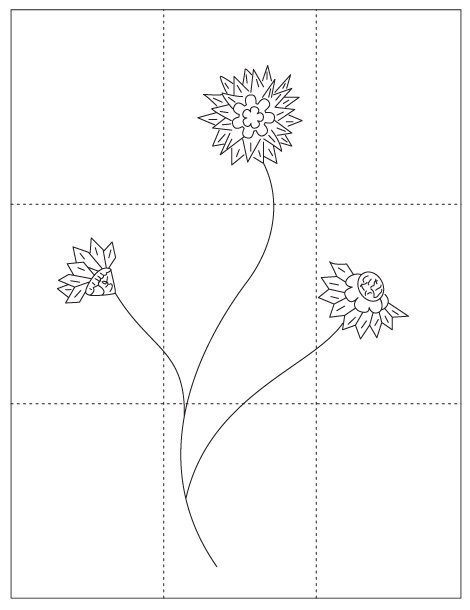 Rule of thirds Select the stitch and thread that you would like to use for the stems. Stitch the stems as desired. Next add the centers of the flowers.
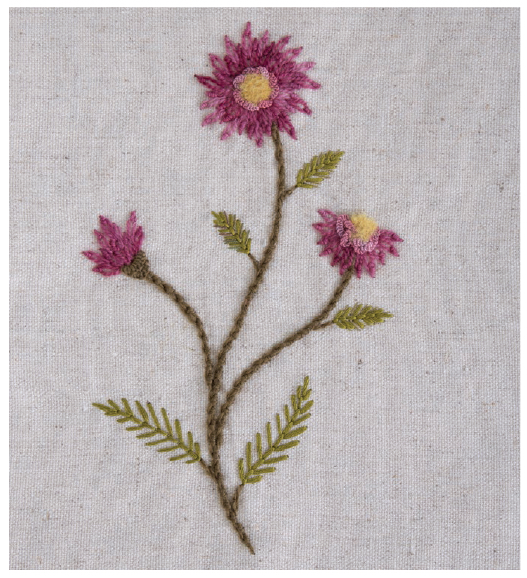
The main flower heads do not need to be the same size or shape. Keep this in mind when stitching the centers. Add the petals or create your own petal combination to add to the flower centers. 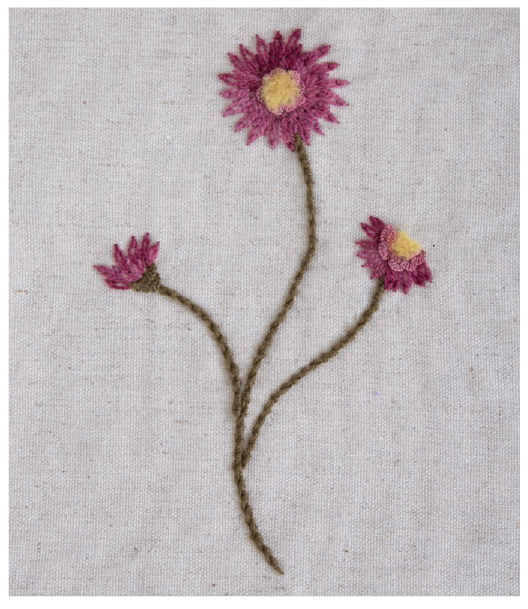 Stage One Stage Two Its time to add the leaves to the design. Start at the bottom of the stem, creating the larger leaves, and work your way up the stem, making the leaves smaller as you go.
  Stage Two Stage Three Sweet little buds are next on the to-do list.
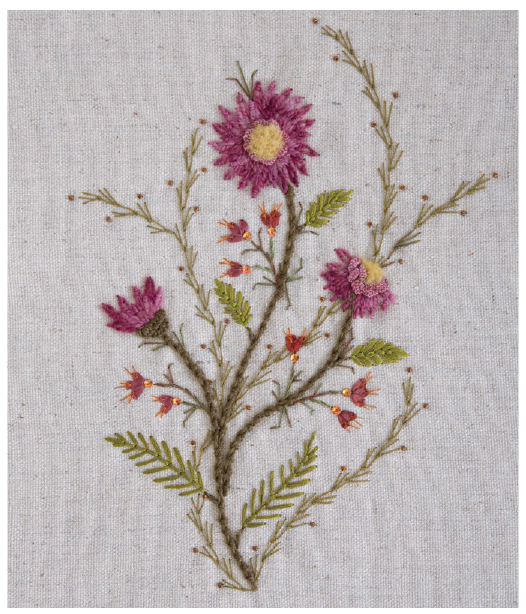
Ensure that the buds do not overpower the points of interest, essentially, the main flower heads. 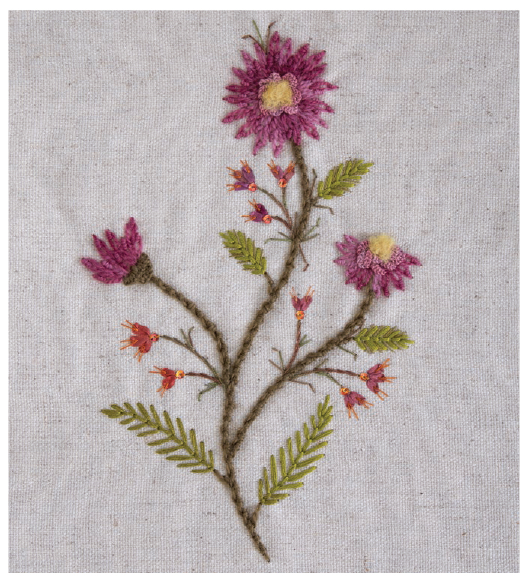 Stage Three Stage Four Creating twigs is my absolute favorite stage of the design process. Twigs add softening and movement to the floral design. Have fun with them but keep the twigs delicate; using a finer thread will help with this. Voil! You have designed and created your very own original piece of floral embroidery.
  Stage Four Tools of My Trade, Needles, and ThreadsTools of My TradeCutting Tools A small sharp pair of embroidery scissors and a thread cutter ring are essential.
I wear my thread cutter ring on my thumb; its much more convenient for me than constantly picking up a pair of scissors. Embroidery Hoops in Various Sizes Whenever possible I use a hoop to keep my work flat and taught. Because I stab my stitches, working in a hoop is a must for this technique of stitching. The flat surface of the fabric in a hoop is more conducive to evenly sized stitches. 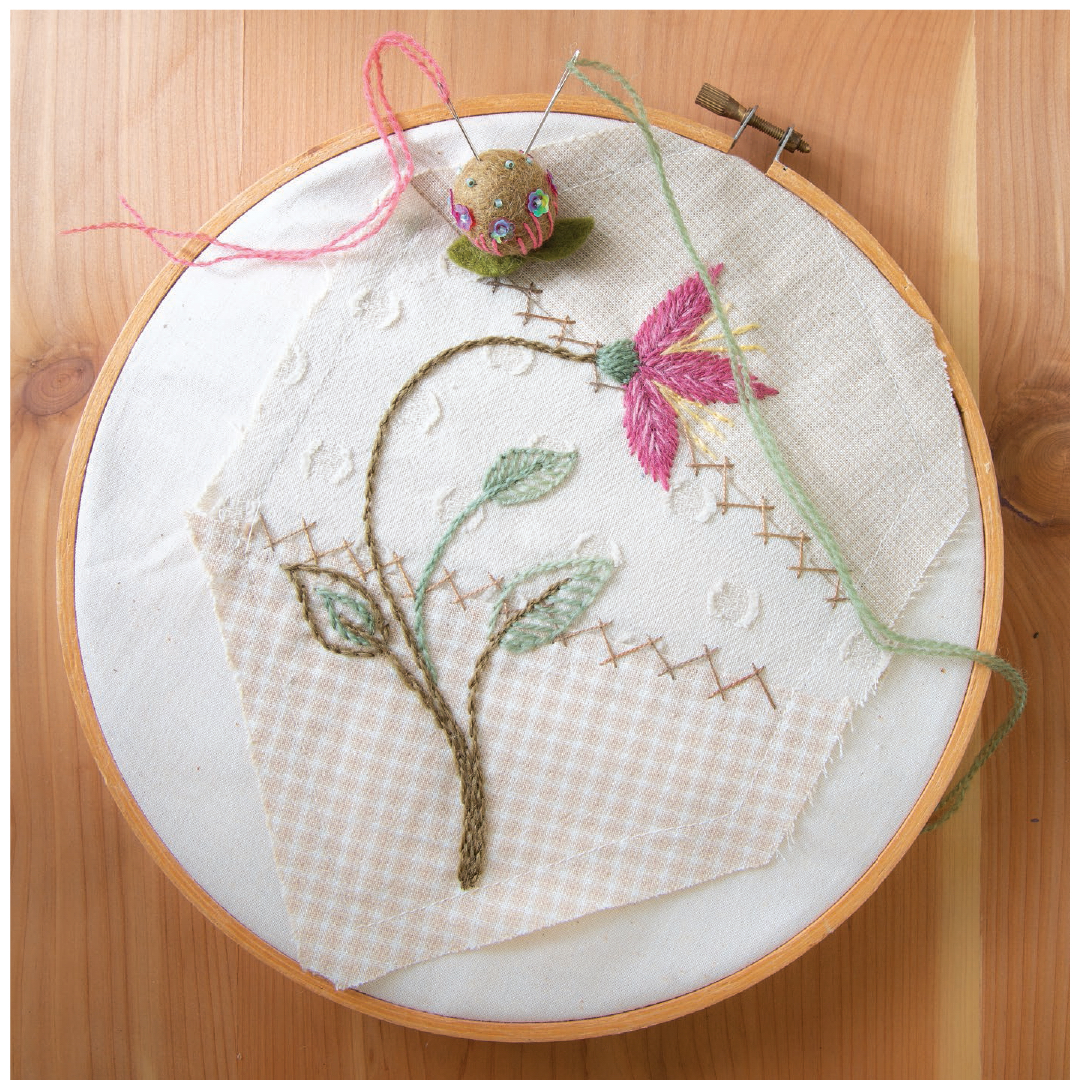 Embroidery hoop and pincushion
 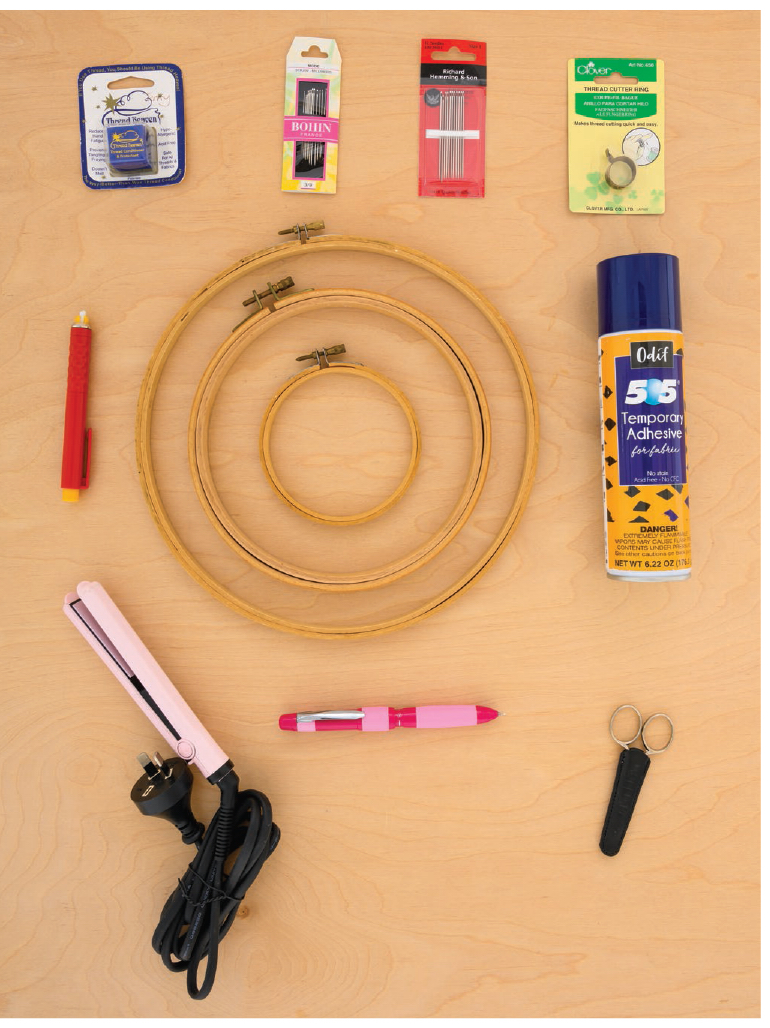 Tools of my trade Marking Pens and Pencils I prefer not to use any pen or marker that promises to fade or disappear with heat or water. Bohin has a great chalk pencil that works well on most fabrics, especially wool and felt.
The Sewline Trio is a mechanical pencil, with different lead color choices, that creates a fine line and is also erasable. Take the time to investigate any form of marking pen or pencil that you choose to use. Fabric Stabilizer It goes without saying that fabric needs to be stabilized to create evenly formed stitches. A nonwoven iron-on fabric stabilizer does not distort the integrity of the base fabric; linen will still look and feel like linen with a nonwoven stabilizer. ParLan is a low-loft iron-on batting that does not beard and gives a denser feel than a nonwoven stabilizer, which is perfect for bags and purses. If ParLan is not available, Pellon 987F Fusible Fleece has a slightly higher loft and is available at most stores.


 Publisher: Amy Barrett-Daffin Creative Director: Gailen Runge Acquisitions Editor: Roxane Cerda Managing Editor: Liz Aneloski Editor: Kathryn Patterson Technical Editor: Debbie Rodgers Cover/Book Designer: April Mostek Production Coordinators: Tim Manibusan and Zinnia Heinzmann Production Editor: Alice Mace Nakanishi Illustrator: Mary E. Flynn Photo Assistant: Lauren Herberg Photography by Estefany Gonzalez of C&T Publishing, Inc., unless otherwise noted Published by C&T Publishing, Inc., P.O. Box 1456, Lafayette, CA 94549
 DedicationTo my beloved mother, Penelope SnashallIn search of my mothers garden, I found my own. Alice Walker Acknowledgments My husband, Vaughn, your support, time, and above all, your patience are invaluable to me. Once again applying your meticulous attention to detail, your computer skills and drafting all the required illustrations to lay the foundations for C&T Publishing to bring our third book to life. This book is as much yours as it is mine. A huge thank-you to the team at C&T PublishingLiz, Roxane, Amy, Gailen, Kathryn, Debbie, Mary, Alice, Zinnia, Tim, April, Estefany, and Lauren.
  Snippets and embroidery Introduction
 Fabric collage and embroidery Start where you are and use what you have is a mantra that I use when approaching my own work and that of the students in my workshops. As embroiderers and creators, we often follow a pattern. When we see a stitch done in a certain thread that we do not have on hand, we rush out to purchase it or wait days for the thread to arrive in the mail.
 Rule of thirds Select the stitch and thread that you would like to use for the stems. Stitch the stems as desired. Next add the centers of the flowers.
 Stage One Stage Two Its time to add the leaves to the design. Start at the bottom of the stem, creating the larger leaves, and work your way up the stem, making the leaves smaller as you go.
  Stage Two Stage Three Sweet little buds are next on the to-do list.
 Stage Three Stage Four Creating twigs is my absolute favorite stage of the design process. Twigs add softening and movement to the floral design. Have fun with them but keep the twigs delicate; using a finer thread will help with this. Voil! You have designed and created your very own original piece of floral embroidery.
  Stage Four Tools of My Trade, Needles, and ThreadsTools of My TradeCutting Tools A small sharp pair of embroidery scissors and a thread cutter ring are essential.
 Embroidery hoop and pincushion
  Tools of my trade Marking Pens and Pencils I prefer not to use any pen or marker that promises to fade or disappear with heat or water. Bohin has a great chalk pencil that works well on most fabrics, especially wool and felt.