• Complain

Steve - Knots Tying Manual: Step By Step Guide To Knots Tying: Stopper Knot, Bowline, Double Bowline Climbing Knot, Figure Of 8 Climbing Knot, Square, Fishing, And Much More

Here you can read online Steve - Knots Tying Manual: Step By Step Guide To Knots Tying: Stopper Knot, Bowline, Double Bowline Climbing Knot, Figure Of 8 Climbing Knot, Square, Fishing, And Much More full text of the book (entire story) in english for free. Download pdf and epub, get meaning, cover and reviews about this ebook. year: 2020, genre: Science. Description of the work, (preface) as well as reviews are available. Best literature library LitArk.com created for fans of good reading and offers a wide selection of genres:

Romance novel Science fiction Adventure Detective Science History Home and family Prose Art Politics Computer Non-fiction Religion Business Children Humor

Choose a favorite category and find really read worthwhile books. Enjoy immersion in the world of imagination, feel the emotions of the characters or learn something new for yourself, make an fascinating discovery.

No cover
  • Book:
    Knots Tying Manual: Step By Step Guide To Knots Tying: Stopper Knot, Bowline, Double Bowline Climbing Knot, Figure Of 8 Climbing Knot, Square, Fishing, And Much More
  • Author:
  • Genre:
  • Year:
    2020
  • Rating:
    3 / 5
  • Favourites:
    Add to favourites
  • Your mark:
    • 60
    • 1
    • 2
    • 3
    • 4
    • 5

Knots Tying Manual: Step By Step Guide To Knots Tying: Stopper Knot, Bowline, Double Bowline Climbing Knot, Figure Of 8 Climbing Knot, Square, Fishing, And Much More: summary, description and annotation

We offer to read an annotation, description, summary or preface (depends on what the author of the book "Knots Tying Manual: Step By Step Guide To Knots Tying: Stopper Knot, Bowline, Double Bowline Climbing Knot, Figure Of 8 Climbing Knot, Square, Fishing, And Much More" wrote himself). If you haven't found the necessary information about the book — write in the comments, we will try to find it.

Knots tying manual is the perfect book for anyone who desires to learn knotting techniques. The book features step by step and easy to follow instructions accompanied by clear picture illustrations to learn over 15 knot tying techniques. Here is a fraction of what this book covers:Tying A Figure Of 8 Climbing Knot,How to Tie a Bowline Knot,Tie A Double Bowline Climbing Knot,How You Can Tie A Square Knot,How you can tie a Stopper Knot,How to Tie an Overhand Knot,How To Tie A Truckers Hitch,How To Tie A Clove Hitch Knot,How To Tie A Palomar Knot,How Can You Tie A Prusik Knot,How Can You Tie A Cow Hitch,How To Tie A Painter Hitch,How To Tie A Marlinspike Hitch,How To Tie A Taut Line Hitch,How You Can Tie A Two Half Hitch Knot,How you can tie a Sheepshank,And much more.Note: all chapters are accompanied with step by step instructions and picture illustrations

Knots Tying Manual: Step By Step Guide To Knots Tying: Stopper Knot, Bowline, Double Bowline Climbing Knot, Figure Of 8 Climbing Knot, Square, Fishing, And Much More — read online for free the complete book (whole text) full work

Below is the text of the book, divided by pages. System saving the place of the last page read, allows you to conveniently read the book "Knots Tying Manual: Step By Step Guide To Knots Tying: Stopper Knot, Bowline, Double Bowline Climbing Knot, Figure Of 8 Climbing Knot, Square, Fishing, And Much More" online for free, without having to search again every time where you left off. Put a bookmark, and you can go to the page where you finished reading at any time.

Light

Font size:

Reset

Interval:

Bookmark:

Make
Knots Tying Manual
Step By Step Guide To Knots Tying: Stopper Knot, Bowline, Double Bowline Climbing Knot, Figure Of 8 Climbing Knot, Square, Fishing, Palomar, Prusik, Overhand Knot, Trucker's Hitch, Clove Hitch Knot, And Much More
Copyright@2020
Elliots Steve
Table Of Content
CHAPTER ONE
How To Tie An Overhand Knot
It is really very simple to tie an overhand knot, but very difficult to untie when you use a thin piece of yarn but if you must untie you need to use specific finger. There are different techniques to tie the knot, based on how tight you desire your rope to be.
Technique 1-Tying an Overhand Knot
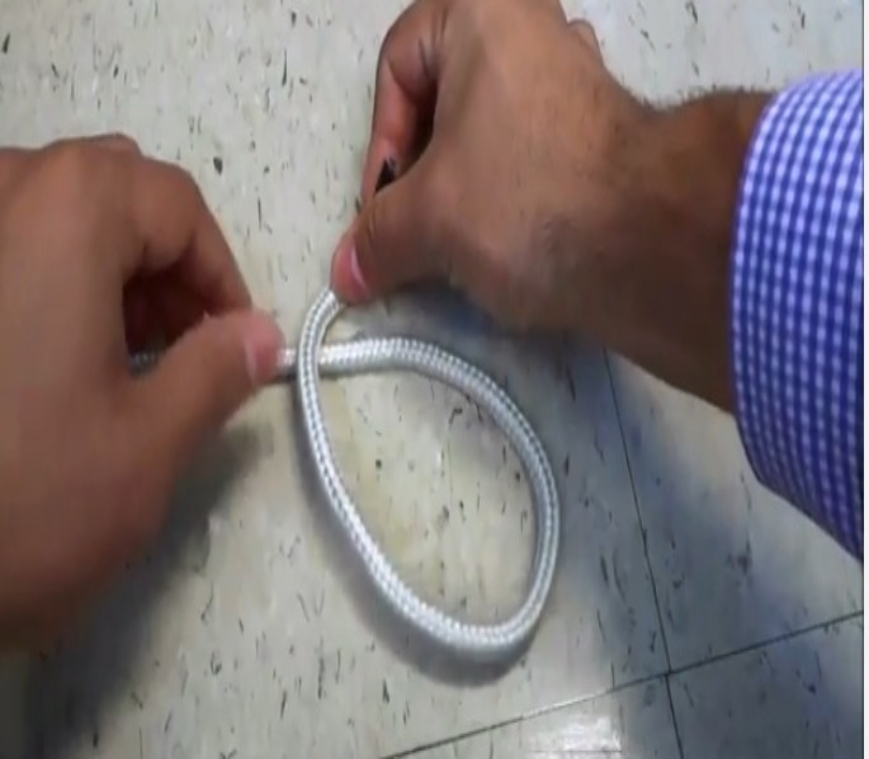
1- create loop with the end of your rope.
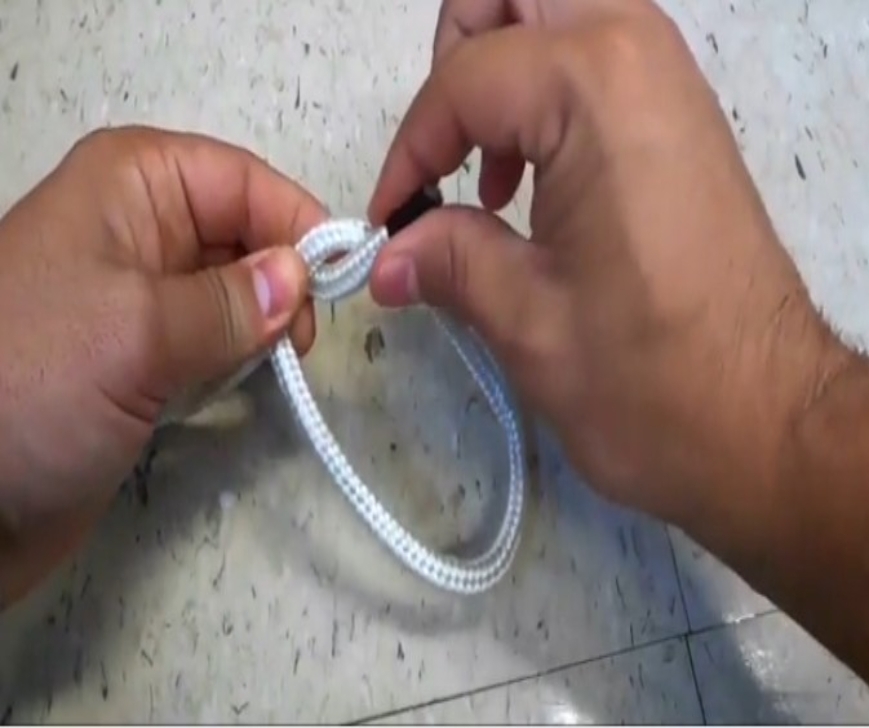
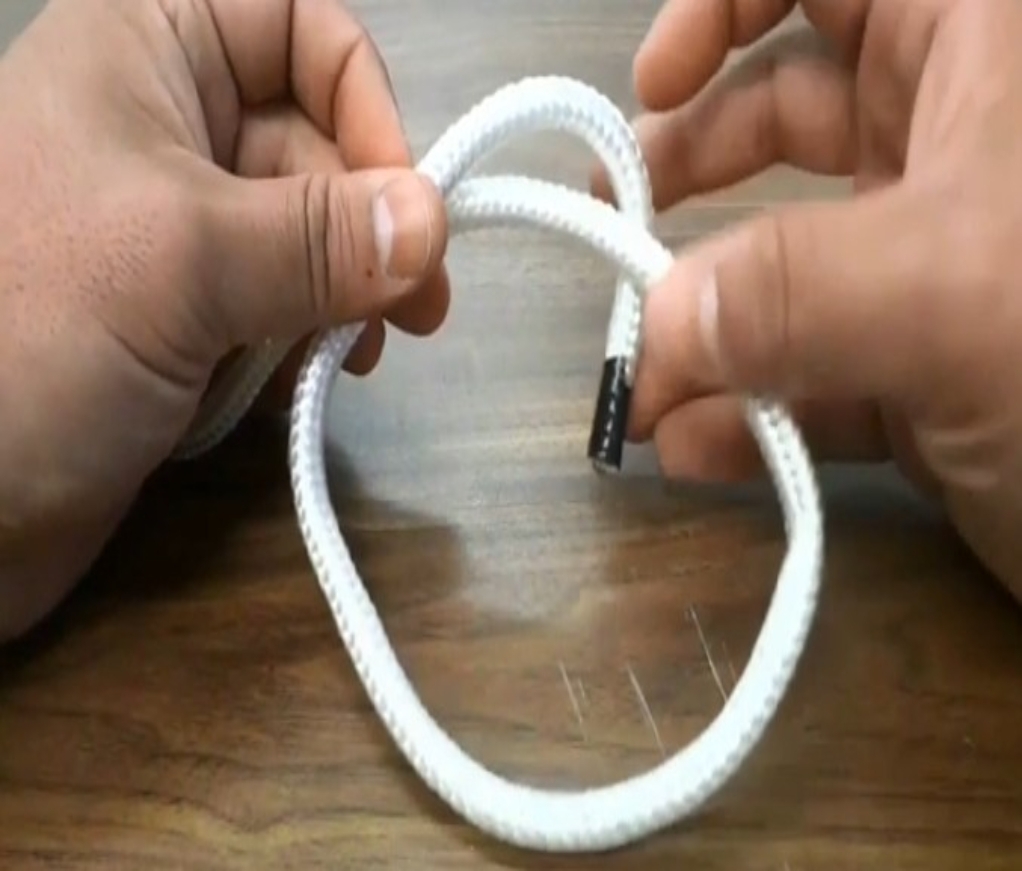
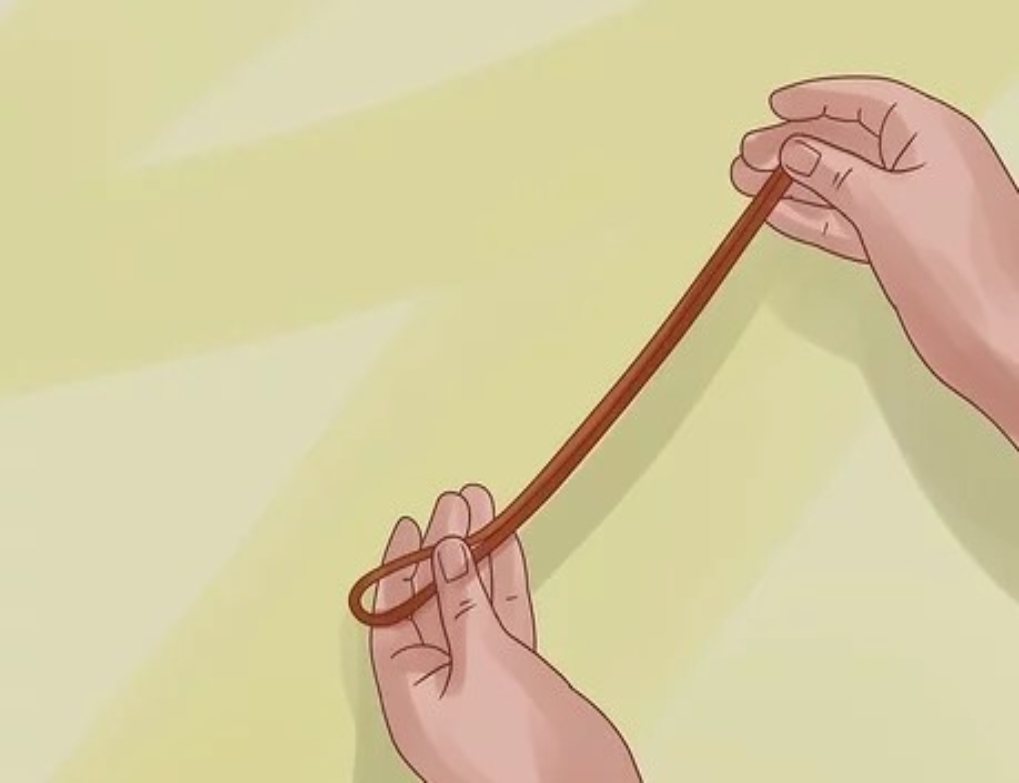
To create a round loop place one end of your rope over the remaining part - photo 1
To create a round loop, place one end of your rope over the remaining part. Note at the bottom of your loop, your knot will be at that area.
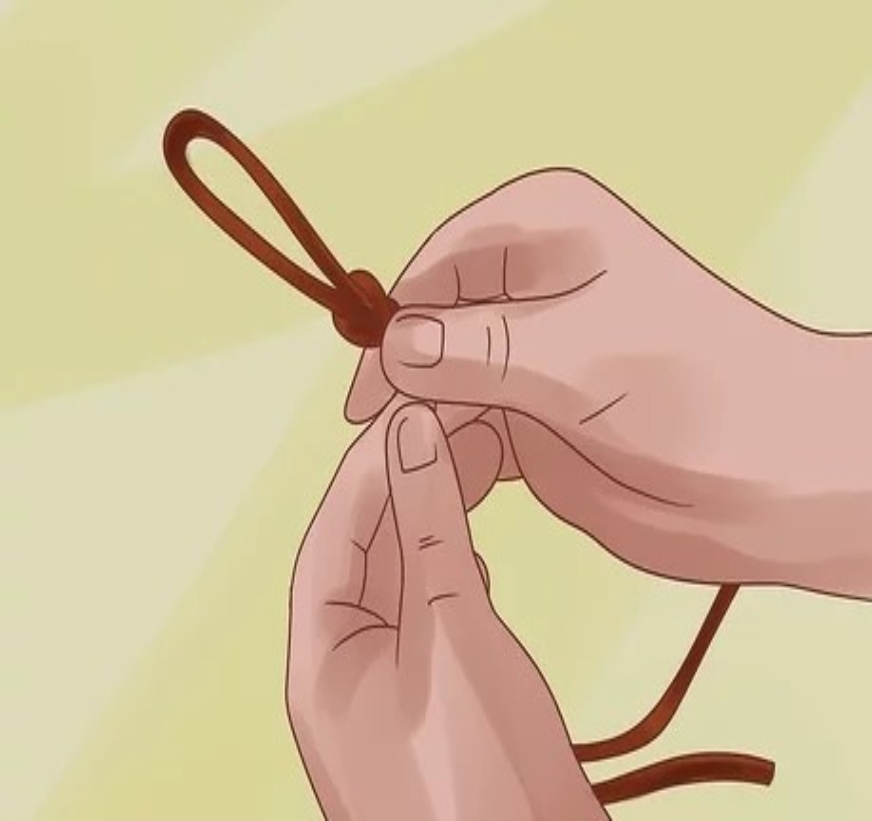
2- Tuck the end of your rope to pass through your loop.
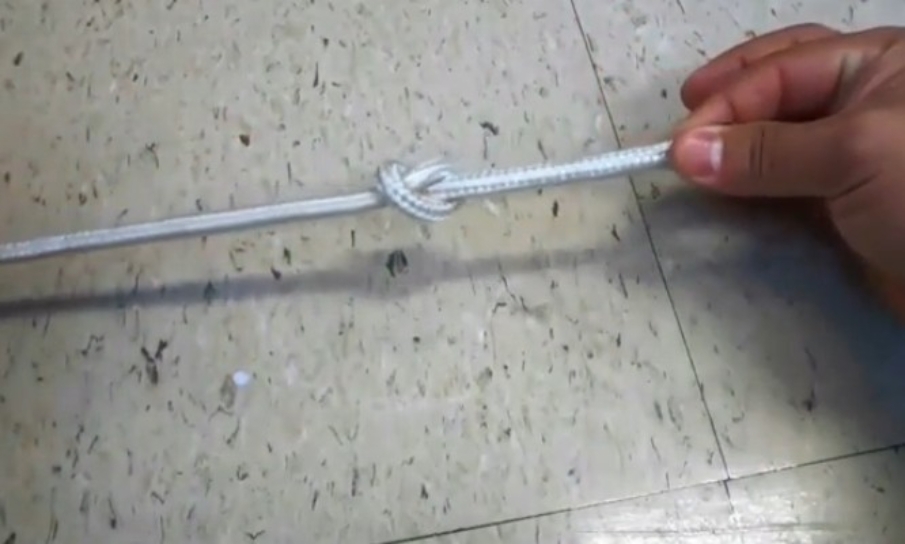
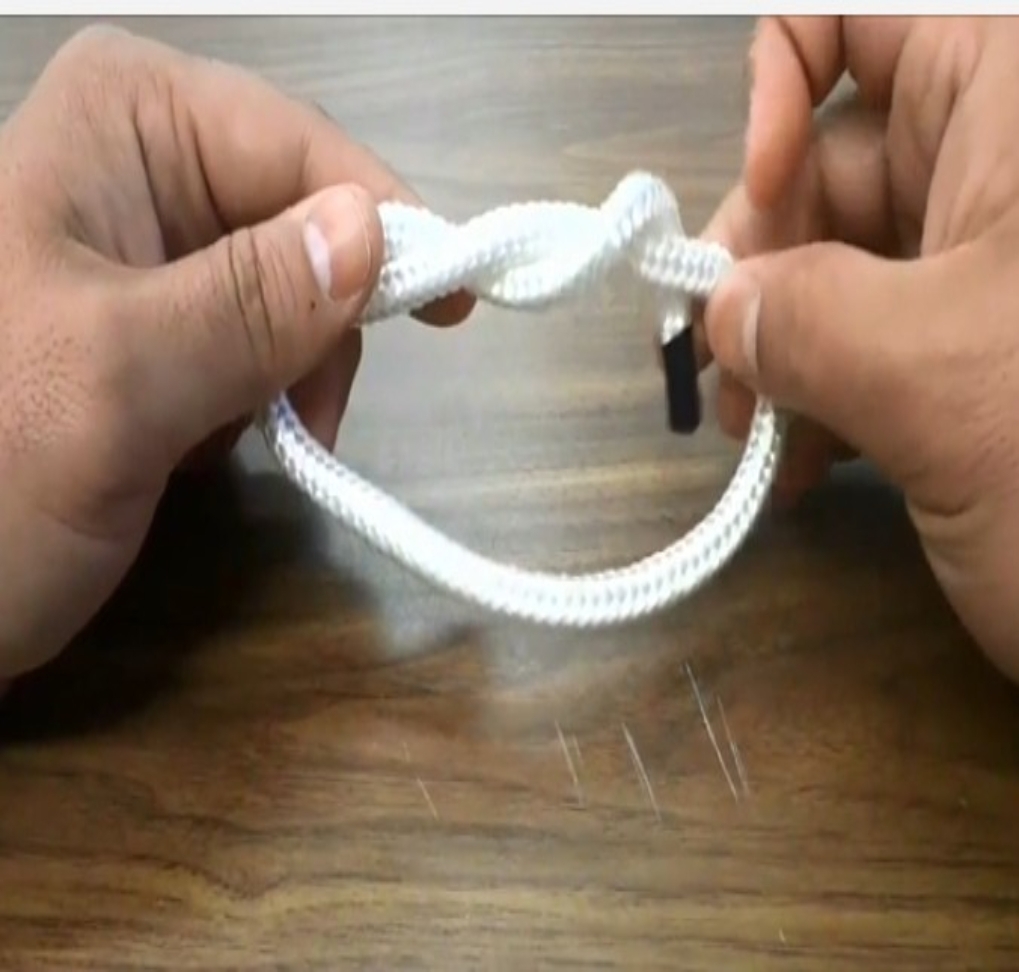
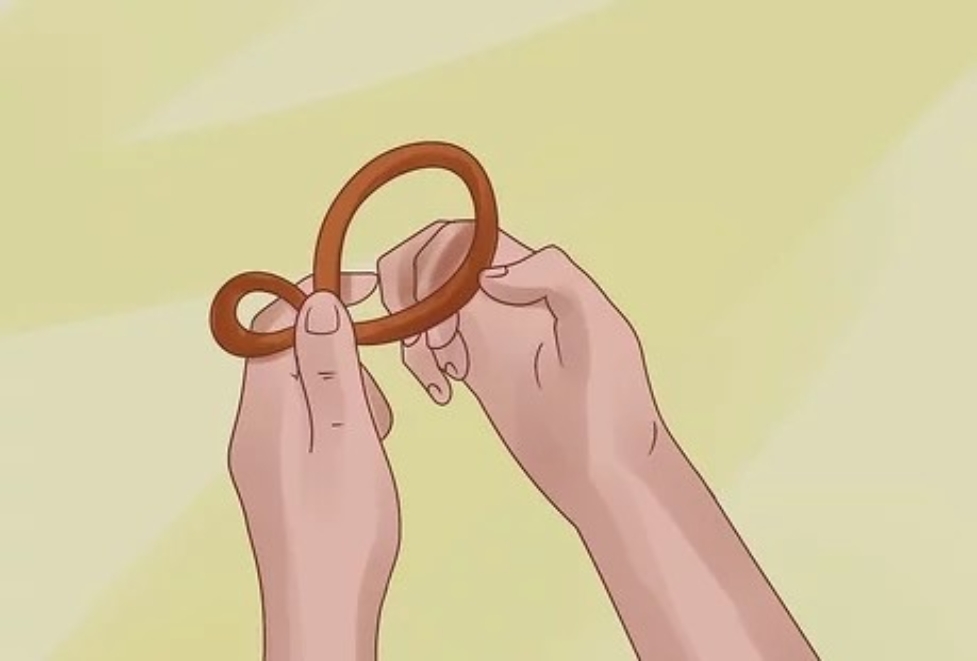
Keep your loop together and put the end of your rope together through the loop - photo 2
Keep your loop together and put the end of your rope together through the loop. You can achieve this with a little round loop and a easy cross over.
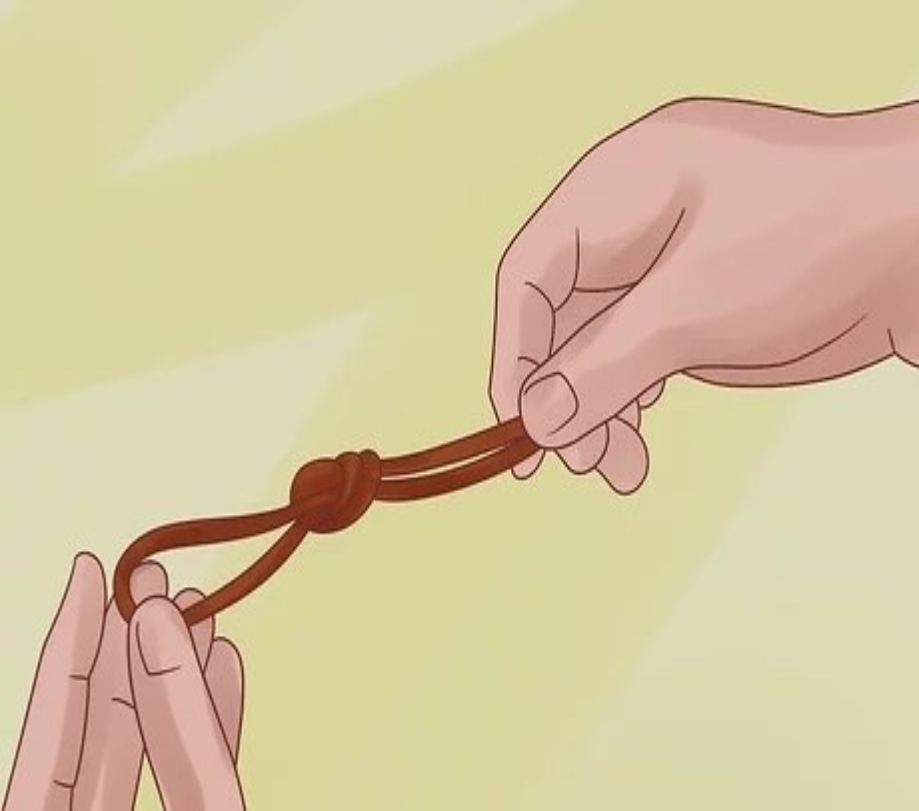
3- Holding the end of your rope, drag your knot tight .
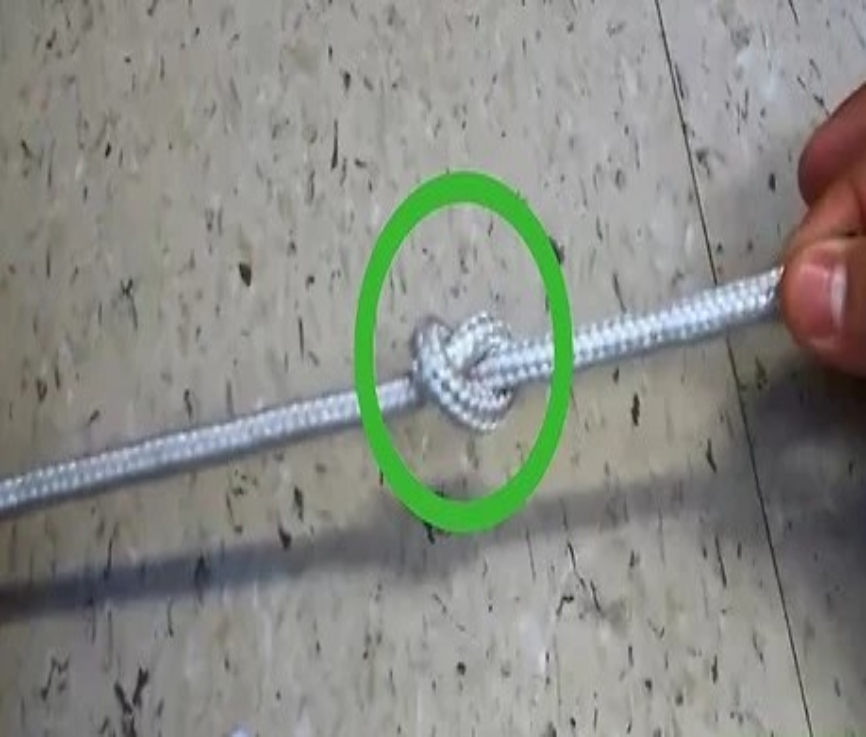
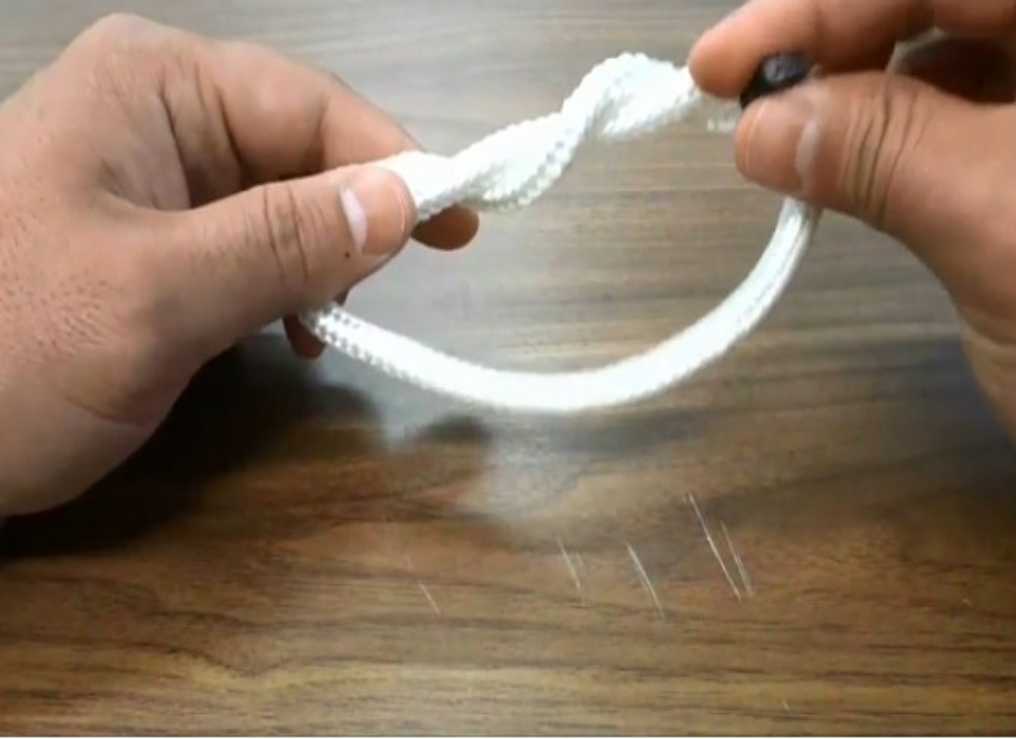
Hold the ends of your rope and then drag your hands from each other in order in - photo 3
Hold the ends of your rope and then drag your hands from each other in order in order to tight your overhead knot very well.
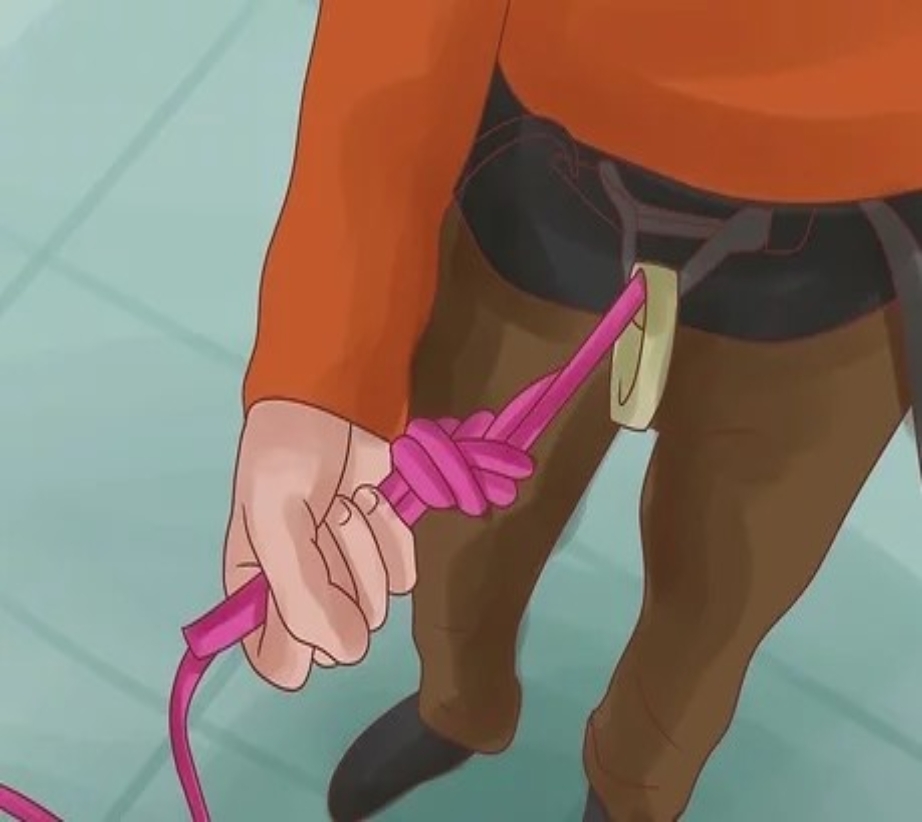
4 Utilize the overhand knot as a stopper .
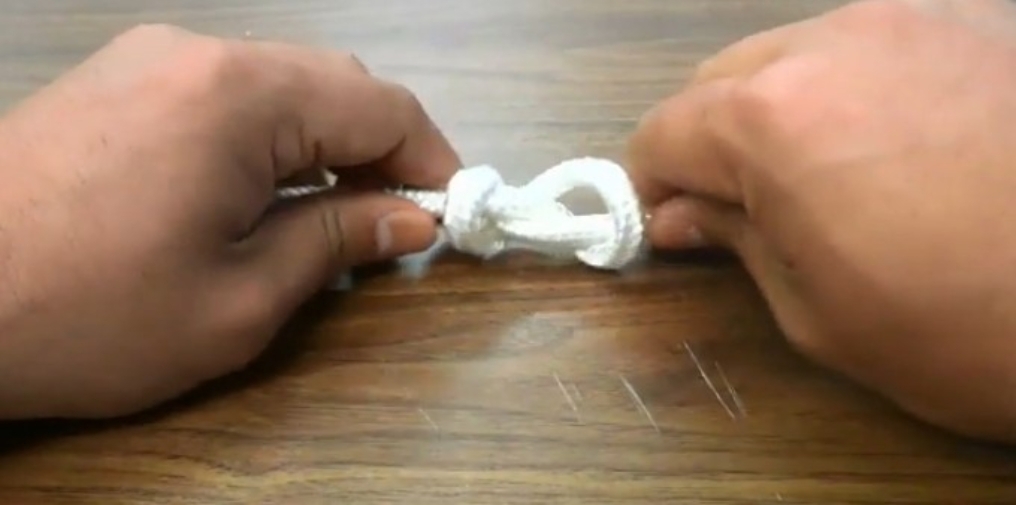
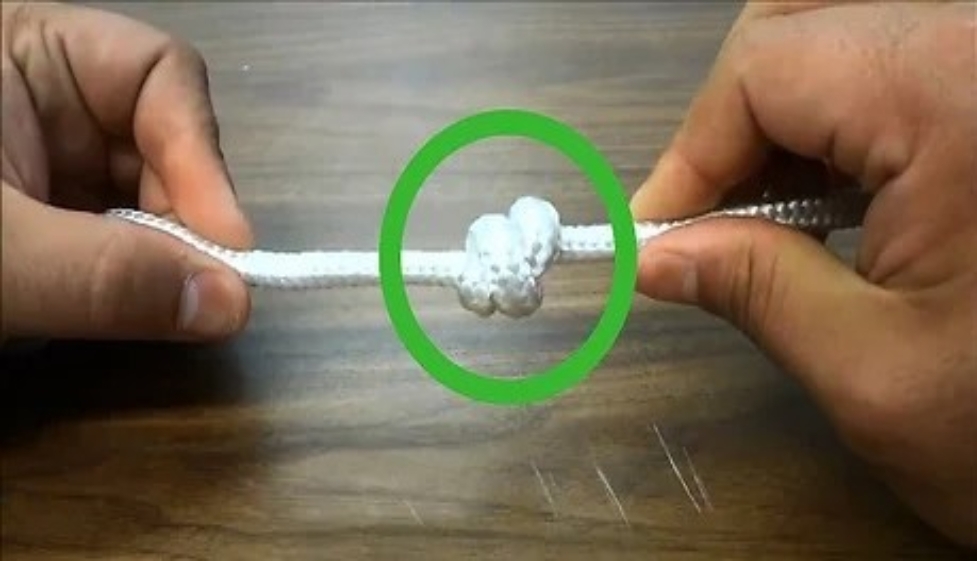
This particular knot is not tight not big but generally use as stopper in - photo 4
This particular knot is not tight, not big but generally use as stopper in order to prevent your rope not to pass back through an opening. This knot can still prevent the end of your hanging rope from fraying.
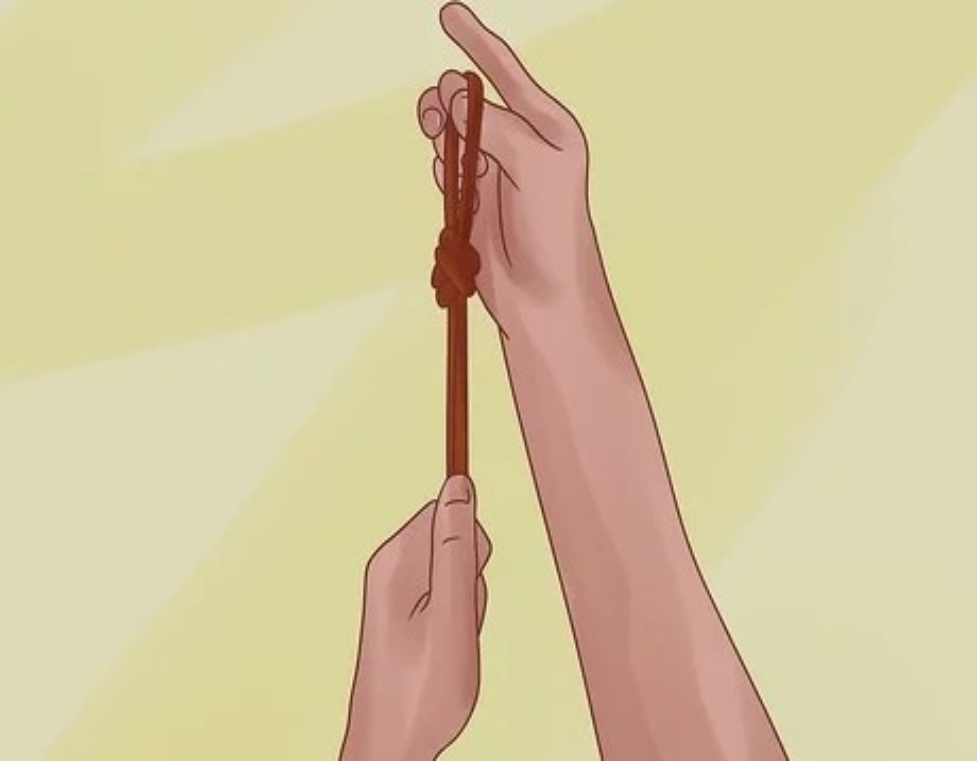
5- untie your knot by taking both ends of your rope closer, and then untie the end.
For you to lose the knot pull the ends of the knot to the back and it will - photo 5
For you to lose the knot, pull the ends of the knot to the back and it will pull in opposite direction
Technique 2 -Tying a Double Overhand Knot
1- Form a loop with your rope where you desire your knot to be.
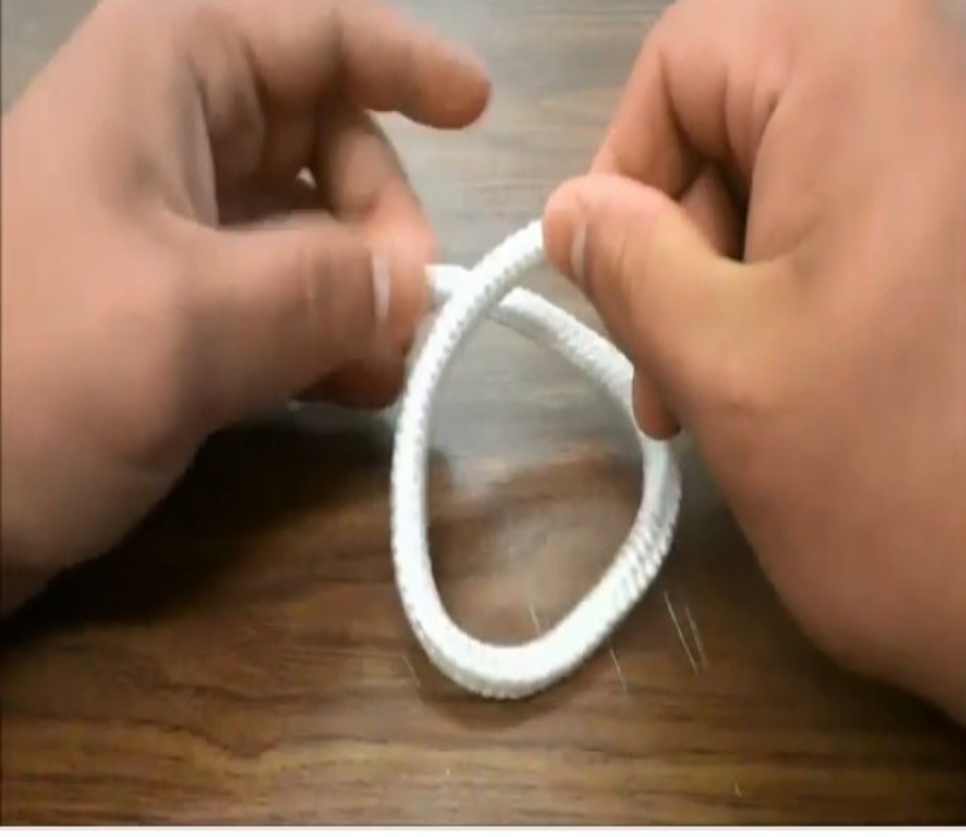
What you need do is to cross end of your rope over the rest part in order to - photo 6
What you need do is to cross end of your rope over the rest part in order to have your loop. Note that the bottom part of your loop is exactly the place your knot must be.
2- Use the end of your rope to pass through the loop .
Put the end of your rope under the loop you created and drag your rope to pass - photo 7
Put the end of your rope under the loop you created and drag your rope to pass from the back
3- Bring the end of your rope back outside of your loop and then wrap it back to pass under.
At this point use your rope to pass the loop 4- Bring the end of your rope - photo 8
At this point use your rope to pass the loop.
4- Bring the end of your rope back to pass through your loop the second time.
At this stage use your rope to pass the loop for the second time This simply - photo 9
At this stage, use your rope to pass the loop for the second time. This simply means that you have turn your rope through the loop twice.
5- Pull on both ends of your rope in order to tighten it.
Drag both ends of your rope to tighten your knot 6 - Employ the double - photo 10
Drag both ends of your rope to tighten your knot.
6 - Employ the double overhand knot for your larger stoppers or for more complex knot.
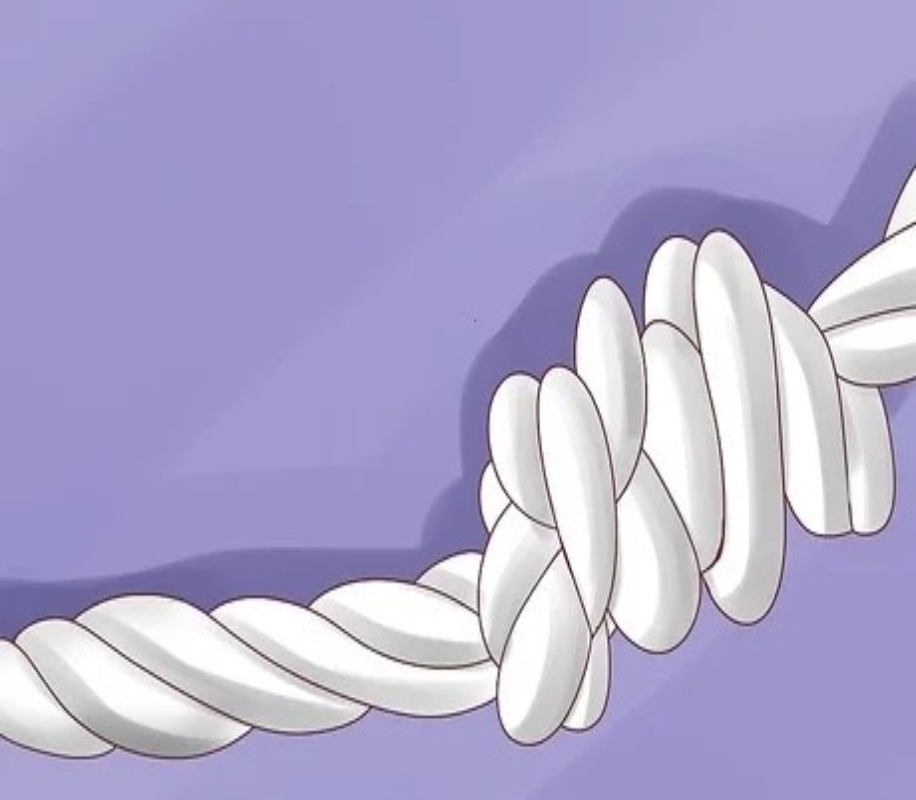
This is double overhand knot is big and thicker stopper knot and it helps to - photo 11
This is double overhand knot is big and thicker stopper knot and it helps to prevent your rope from pass big holes. You can use it to create other knots like double fishermans knot and double overhand noose.
7- Loop the end of your rope as many times as you desire in order to increase your size of your stopper.
Double overhand knot is known as big and thicker stopper If you want a very - photo 12
Double overhand knot is known as big and thicker stopper. If you want a very big knot, what you need to do is to pass your rope through your loop as many times you desire before you drag both ends of your rope. This is called multiple overhand loops.
Technique 3-Tie an Overhand Knot at the middle of your Rope
1- Create a "bight," or U-shape bend, at the center of your rope.
Mark the point at which you want your knot to be then bend your rope backward - photo 13
Mark the point at which you want your knot to be, then bend your rope backward. Note that the bend is referred to as bight and both sides of your rope must be parallel to one another with your end of rope bend.
2 - Pass the bight under your parallel ropes to create a loop.
At this stage you should know that you are working with two ropes at a time - photo 14
At this stage you should know that you are working with two ropes at a time. Note that the rope that rest as you produce your knot is referred to as the standing rope.
3 - Fold up the bight back to pass over and then put it into your loop.
Use the bight to pass under the standing rope and let it go through the loop - photo 15
Use the bight to pass under the standing rope and let it go through the loop.
4 - Use your fingers to adjust your ropes so that your sets of 2 ropes run parallel.
This knot can easily unravel as you drag to tight so you are advice to use your - photo 16
This knot can easily unravel as you drag to tight so you are advice to use your hand to massage it into something more secure.
5 - Holding onto your standing ropes, drag your bight down in order to tighten your knot.
Hold your standing rope and drag your bight to tighten your knot 6 Create an - photo 17
Hold your standing rope and drag your bight to tighten your knot.
6 Create an overhand knot at the center or any position of your rope in order to provide you a grip.
You can create this knot in any point of your cord depending on what you want - photo 18
You can create this knot in any point of your cord depending on what you want. This knot will help to give a grip or avoid slipping.
Next page
Light

Font size:

Reset

Interval:

Bookmark:

Make

Similar books «Knots Tying Manual: Step By Step Guide To Knots Tying: Stopper Knot, Bowline, Double Bowline Climbing Knot, Figure Of 8 Climbing Knot, Square, Fishing, And Much More»

Look at similar books to Knots Tying Manual: Step By Step Guide To Knots Tying: Stopper Knot, Bowline, Double Bowline Climbing Knot, Figure Of 8 Climbing Knot, Square, Fishing, And Much More. We have selected literature similar in name and meaning in the hope of providing readers with more options to find new, interesting, not yet read works.


Reviews about «Knots Tying Manual: Step By Step Guide To Knots Tying: Stopper Knot, Bowline, Double Bowline Climbing Knot, Figure Of 8 Climbing Knot, Square, Fishing, And Much More»

Discussion, reviews of the book Knots Tying Manual: Step By Step Guide To Knots Tying: Stopper Knot, Bowline, Double Bowline Climbing Knot, Figure Of 8 Climbing Knot, Square, Fishing, And Much More and just readers' own opinions. Leave your comments, write what you think about the work, its meaning or the main characters. Specify what exactly you liked and what you didn't like, and why you think so.