Portrait Essentials 4 Volume Bundle
Book 1 - Stunning Portrait Photography - Posing And Lighting, Book 2 - Correcting Facial Flaws - And Other Photo Tips, Book 3 - 50 Keys To Better Photography, Book 4 - Model Release Templates
By Dan Eitreim

Portrait Essentials 4 Volume Bundle: Book 1 - Stunning Portrait Photography - Posing And Lighting, Book 2 - Correcting Facial Flaws - And Other Photo Tips, Book 3 - 50 Keys To Better Photography, Book 4 - Model Release Templates
Copyright 2018 by Dan Eitreim
All rights reserved.
No part of this publication may be reproduced or transmitted in any form or by any means, mechanical or electronic, including photocopying and recording, or by any information storage and retrieval system, without permission in writing from the publisher. Requests for permission or further information should be addressed to:
Author: Dan Eitreim
10650 7th Ave.
Hesperia, California 92345
Published by: On Target Publishing
Published in the United States of America
Please read the full disclaimer at the end of this book.
Table of Contents
Book 1 - Stunning Portrait Photography - Posing and Lighting!
By Dan Eitreim
Introduction
Message From The Author

Hello, Im Dan Eitreim and Ive been shooting photographs professionally for over 20 years.
Before we get started, let me tell you a bit about me.
Getting stunning images is almost automatic for me now, but it wasnt always like that! I remember struggling to figure out what all the buttons and dials on my camera were for, and I remember the frustration at not being able to shoot the type of images I knew it was possible to produce.
I think I own just about every photo technique book available and believe me, there is a lot of misinformation and downright useless information out there.
Most photo books are written - not to really teach you anything new - but to show off the authors photographs! In this series of e-books, Ive tried my best to avoid that pitfall. While there are a lot of my own photos in here, there are also a lot of stock photos. The idea is to use the photos to demonstrate a point, not to show off my work.
Simple system
Ive developed a simple, systematic approach that ANYONE can easily master to start shooting better photos TODAY!
Once youve completed this training lesson along your photo journey, Stunning Portrait Photography - Posing and Lighting, dont lose your momentum! Keep reading the next lesson in the Portrait Essentials bundle...
Correcting Facial Flaws - And Other Photo Tips!

Btw - If you havent yet gotten a copy of Volume 1 - 7 Secrets To Creating Stunning Photos!, its a freebie ! (but, its not listed with Amazon), check it out here:

http://www.OnTargetPhotoTraining.com
Its time YOU put the WOW factor into your photos!
*************************
Lets take a few pages and review Strategic Posing Secrets - Hands & Arms!
Many of you havent seen the previous training volumes, so this will be new material. But even if you HAVE covered these concepts before, they are so important it is worth rehashing and reviewing a little.
This review is longer than most of them. The arms and hands are so vital to the look of a portrait, Im going to include quite a bit about them here even though most of our portaits will be head and shoulders shots!
While not visible, hands and arms have a huge impact on the finished portrait.
Arms - Avoid Elongating And Foreshortening
While the legs form the base of the photograph, the arms are important too! Possibly, arms are even more important than the legs because their positioning is more noticeable in the finished picture.
With the shoulder joint, the elbow and the wrist, an unlimited range of motion - and possible positioning of the arms is possible.
But unfortunately, most of them are not appropriate for a photograph.
If the arm is pointed toward the camera, it can look foreshortened, enlarged - or even completely disappear behind the hand!


If the arm is pointed away from the camera, it can be elongated, lose its identity, or be dwarfed.

The Plane
Ideally, we want the arms on the same plane as the camera. So there is tip #1: Keep the point of view of the camera in mind at all times - and be sure to keep the arms parallel to that viewpoint. I appreciate that this isnt always possible, but keep this tip in mind and do what you can!
Imagine the model standing in front of the camera with a large sheet of glass directly in front of her. Her arms can move to the sides or up and down, in fact she can complete an entire windmill like circle, but her arms cant move forward toward the camera.
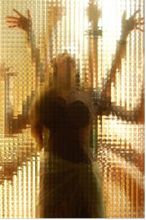
Now, put a large sheet of glass behind her. This restricts the backward movement of her arms.
What is left is the plane that we can work in - without any fear of foreshortening, enlarging, dwarfing and so on.
Though these two pieces of glass are always facing the camera and sandwich the model, she can rotate within her sandwich. As long as her arm position doesnt break the plane of the glass, weve avoided the distortion problems.
The glass sandwich may seem quite restrictive, but as you can no doubt see, she has a LOT of options!
The 4 Positions Of The Upper Arm
The general range of motion for the shoulder - within its pane of glass restriction - is: up, down, out and in.
Since the normal position of the arm is hanging straight down from the shoulder- that position would be down.

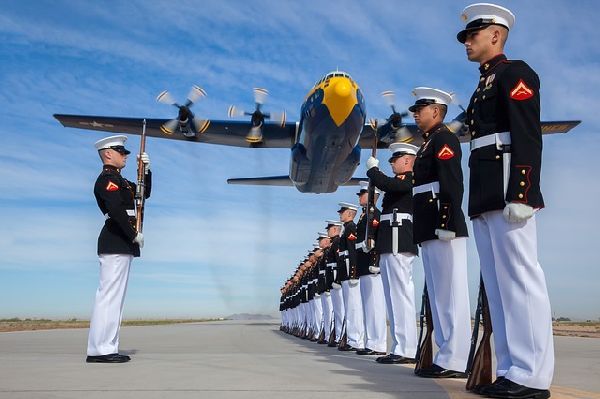
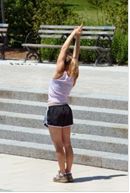
Next, when the arm is straight up, obviously, that is the up position
Next page


