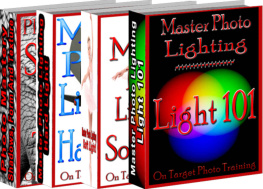
Master Photo Lighting
Book 1 - Master Photo Lighting - Light 101, Book 2 - Master Photo Lighting - Hard Light, Book 3 - Master Photo Lighting - Soft Light, Book 4 - Photo Mastery - Shadows, Form And Texture
By Dan Eitreim
Master Photo Lighting: Book 1 - Master Photo Lighting - Light 101, Book 2 - Master Photo Lighting - Hard Light, Book 3 - Master Photo Lighting - Soft Light, Book 4 - Photo Mastery - Shadows, Form And Texture
Copyright 2018 by Dan Eitreim
All rights reserved.
No part of this publication may be reproduced or transmitted in any form or by any means, mechanical or electronic, including photocopying and recording, or by any information storage and retrieval system, without permission in writing from the publisher. Requests for permission or further information should be addressed to:
Author: Dan Eitreim
10650 7th Ave.
Hesperia, California 92345
Published by: On Target Publishing
Published in the United States of America
Please read the full disclaimer at the end of this book.
Table of Contents
Book 1 - Master Photo Lighting - Light 101
By Dan Eitreim
Introduction
Message From The Author

Hello, Im Dan Eitreim and Ive been shooting photographs professionally for over 20 years.
Before we get started, let me tell you a bit about me.
Getting stunning images is almost automatic for me now, but it wasnt always like that! I remember struggling to figure out what all the buttons and dials on my camera were for, and I remember the frustration of not being able to shoot the type of images I knew it was possible to produce.
I think I own just about every photo technique book available and believe me, there is a lot of misinformation and downright useless information out there.
Most photo books are written - not to really teach you anything new - but to show off the authors photographs! In this series of e-books, Ive tried my best to avoid that pitfall. While there are a lot of my own photos in here, there are also a lot of stock photos. The idea is to use the photos to demonstrate a point, not to show off my work.
Simple system
Ive developed a simple, systematic approach that ANYONE can easily master to start shooting better photos TODAY!
Once youve completed this training lesson along your photo journey, Master Photo Lighting... Light 101, dont lose your momentum! Keep reading the next volume in the Master Photo Lighting bundle...
Master Photo Lighting - Hard Light
Btw - If you havent yet gotten a copy of Volume 1 - 7 Secrets To Creating Stunning Photos!, its a freebie ! but, its not listed with Amazon, check it out here:

http://www.OnTargetPhotoTraining.com
Its time YOU put the WOW factor into your photos.
Lets get started!
**********
Aperture
Lets recap a little bit. In our previous On Target Photo Training lesson, Master Photo Aperture we discussed the aperture. For many of us, the aperture is a confusing subject somewhat akin to Voodoo! But when we break it down to its individual components it all becomes very clear and easy to comprehend.
The aperture is nothing more than a hole that lets light into the camera. The light striking the film or digital sensor is what makes our photograph.
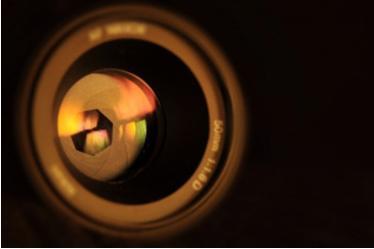
The major issue that we are dealing with is to make sure we have the right amount of light.
If we have too little, the photo is underexposed. If we have too much, the photo is overexposed. So the amount of light the hole (aperture) is letting in, is our first concern.
There are several ways to manipulate the amount of light going through the aperture (hole).
It can be done through adjusting the actual size of the hole, through the shutter speed, and through the speed of the film or ISO setting on our digital camera.
Why would we bother with these other options? Why not just set the aperture to the right size and be done with it?
Heres why
Depth Of Field
Weve discovered that not only does the aperture control the amount of light entering the camera to give us a proper exposure, it also controls the depth of field.
The depth of field is the amount of the photograph that will be in acceptable focus in the finished print. This is an important creative option. A larger aperture lets in more light and has a shallow depth of field. A small aperture lets in less light but has a greater depth of field.
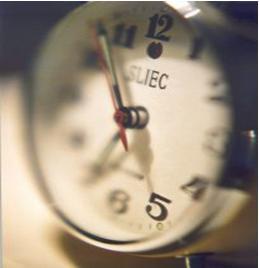
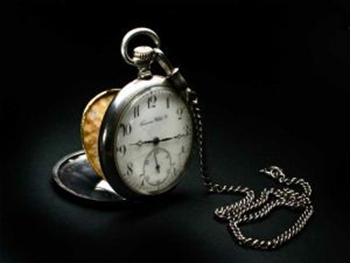
By the way if you are ever shooting a timepiece with hands, particularly if you are trying to SELL the timepiece the top pros recommend that you always do it with the hands at 10 and 2 oclock. Im not sure why, but if I had to guess Id say its because the balance seems to be more pleasing to the eye. The sales results are undisputed.

Other benefits of controlling the depth of field By letting the background be completely blurry (large aperture), we are able to isolate our subject against a non-distracting background. This will focus our viewers eye on the main subject - the star - of our photo.

Or, at the other extreme, we can have the photo be in sharp focus (small aperture) all the way to the horizon. This is useful if we are shooting landscapes where we want everything in the scene to be in focus.
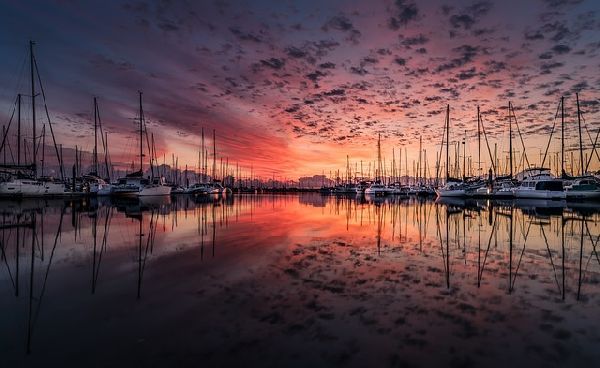
Or, we can have the focus fall somewhere in between the two extremes.
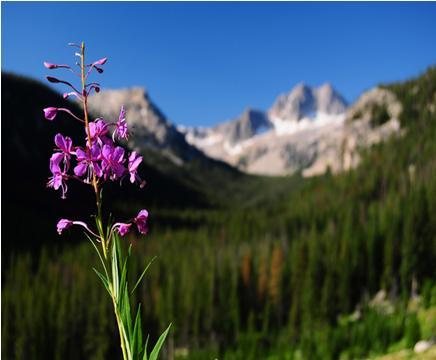
Depth of field is one of our most valuable creative options and you should know exactly what you want the finished result to be - before you press the shutter button. (Pre-visualize and write it down in your notebook!)
The F Stop
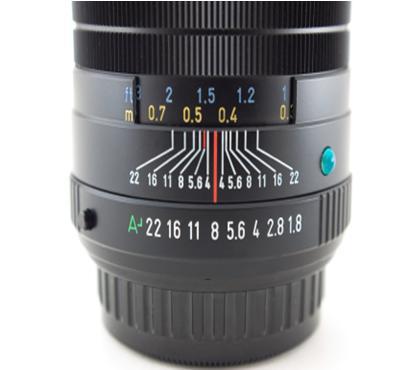
In setting our aperture, when we see the cryptic numbers on the adjusting ring, numbers like - 2.8, 5.6 or 11, it is the size of the hole that is being measured.
Next page
