DIY Air Dry Clay Projects
Fun and Easy Projects Using Air-Dry Clay
Jose Escobar
Copyright 2020 Jose Escobar
All rights reserved.
DEDICATION
The author and publisher have provided this e-book to you for your personal use only. You may not make this e-book publicly available in any way. Copyright infringement is against the law. If you believe the copy of this e-book you are reading infringes on the author's copyright, please notify the publisher at: https://us.macmillan.com/piracy
Contents
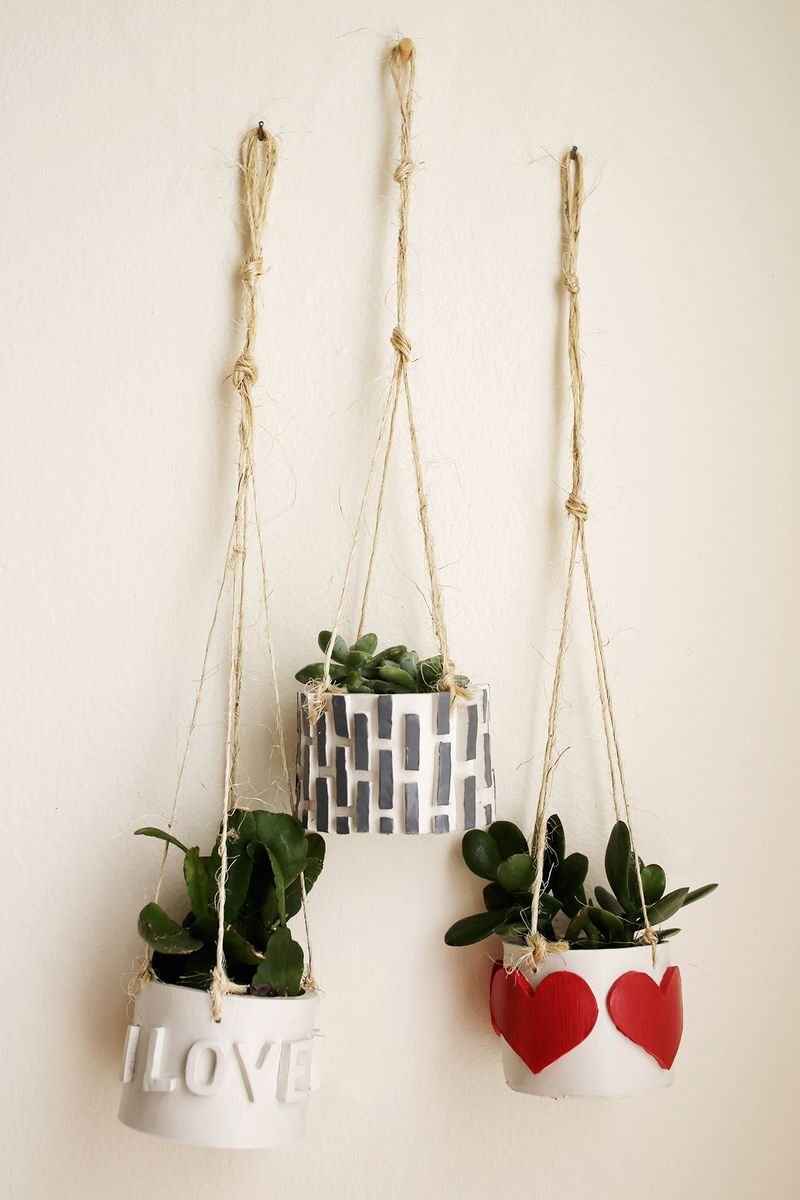
Mini Planter
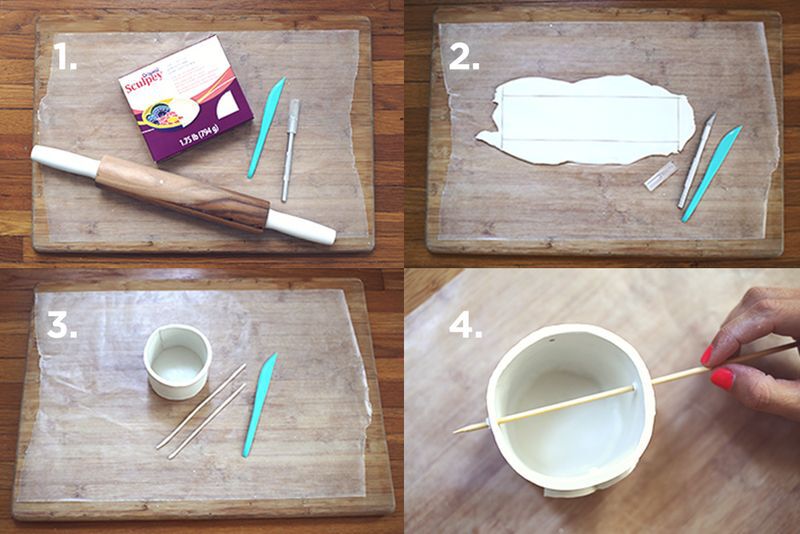
What Youll Need:
Oven-bake clay
X-Acto knife, clay knives
piece of wax paper
cutting board
and a rolling pin.
Instructions
Roll your clay out about 1/4 of an inch thick and cut a long rectangle that is 10 inches long and 2 1/2 inches tall. Cut out a circle for the bottom of the planter that is 3 1/2 inches wide.
Place your long rectangle piece on top of your circle to create your sides. Roll thin "snakes" of clay to put on the inside bottom of the planter (where the walls meet the planter bottom). Use the clay knives to smooth out the clay snake between the crack to create a water-tight seal. Roll out more clay and cut out the design that will go on the sides of your planter.
Use a wooden skewer to poke 4 evenly spaced holes near the top of your planter. Bake your clay according to the package directions and let the planter cool. Tie two pieces of twine through the holes of the planter (tying each strand across from each other) and make a knot near the top of the strands so that you have a loop to hang the planter from.
Clay Pendant Lamp
What Youll Need:
air dry clay
paint pens
hanging light cord + bulb
Tools:
plastic cones
needle tool from pottery tool kit
rolling pin
Instructions :
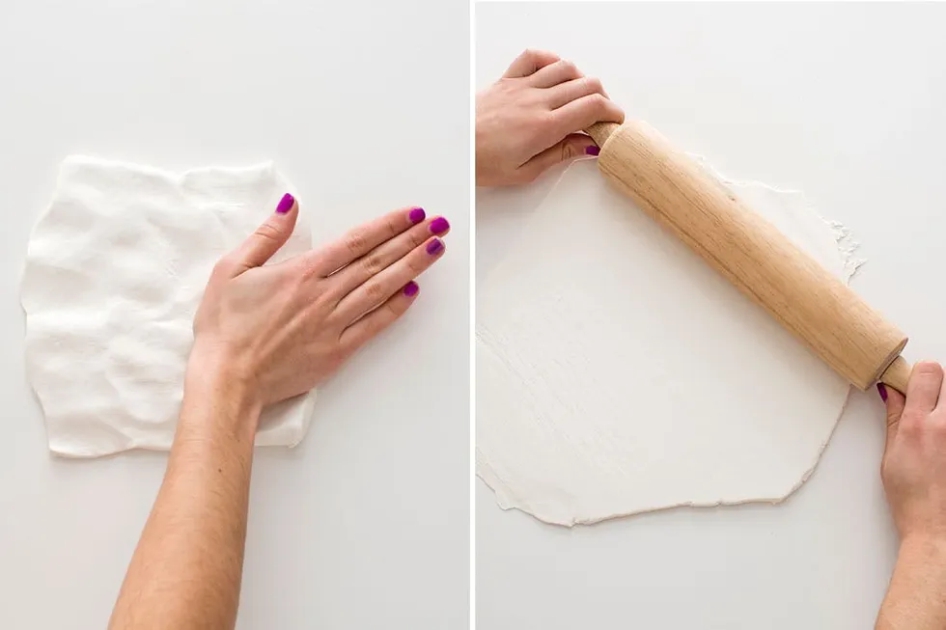
1. Get your hands messy! Using the rolling pin, roll out your air dry to make an oval shape.
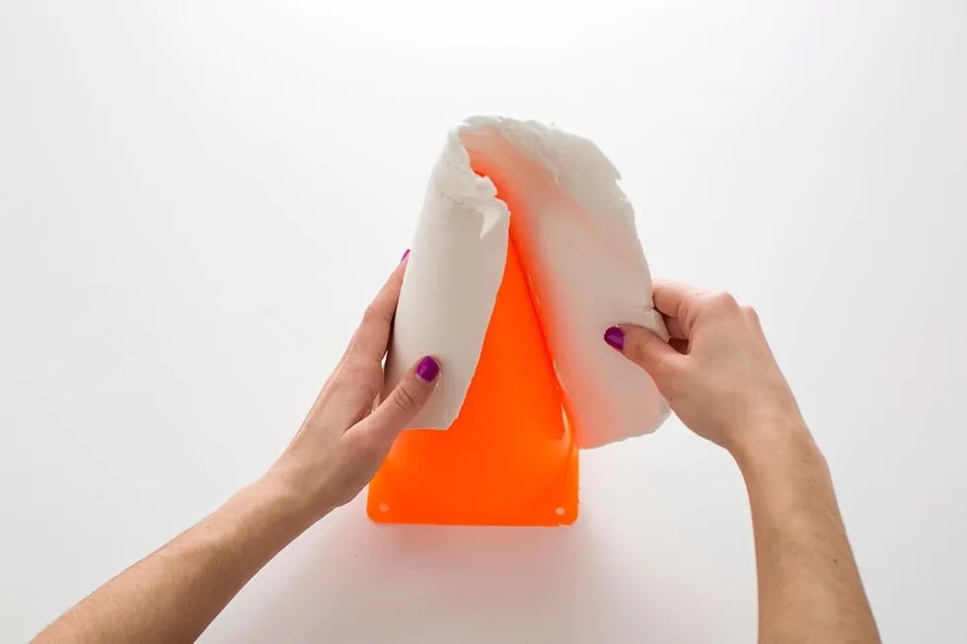
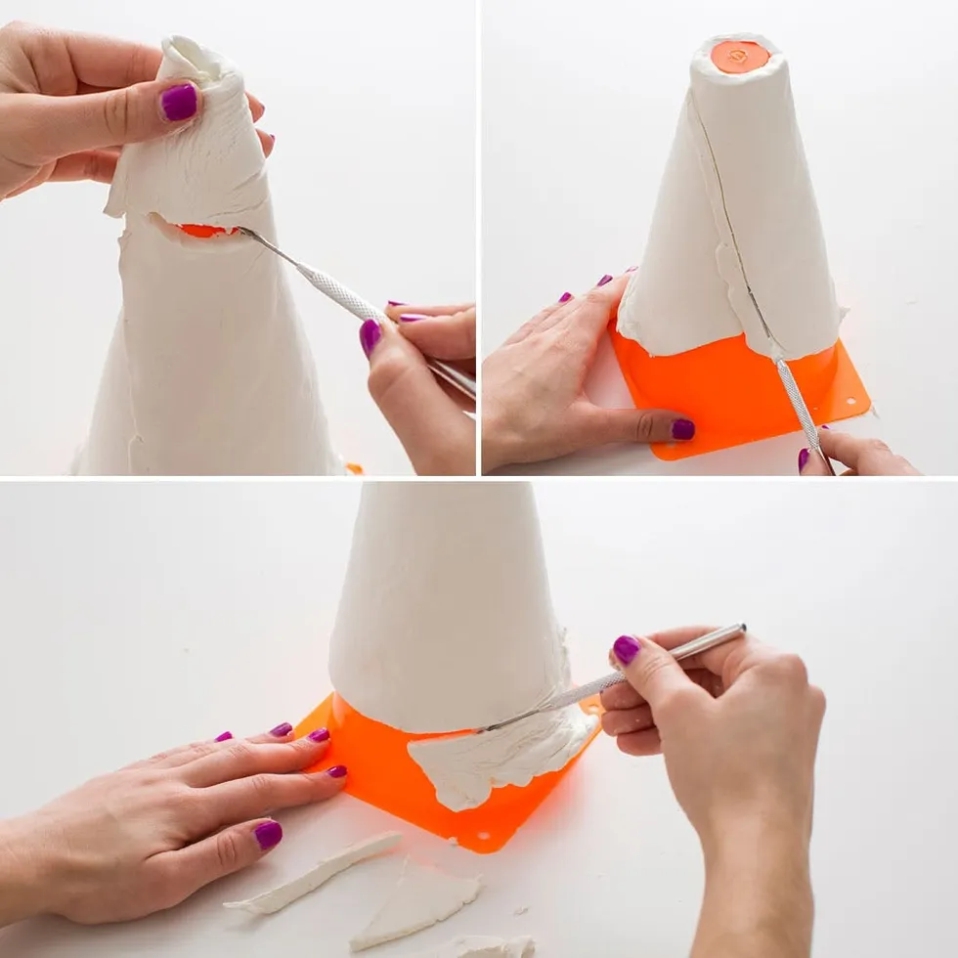
2. Wrap the clay around the cone.
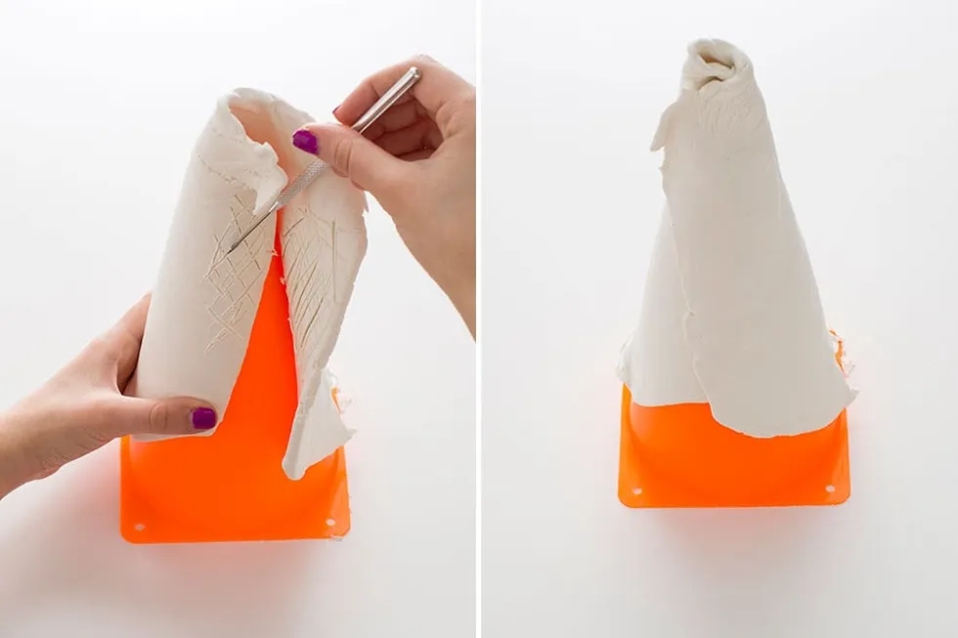
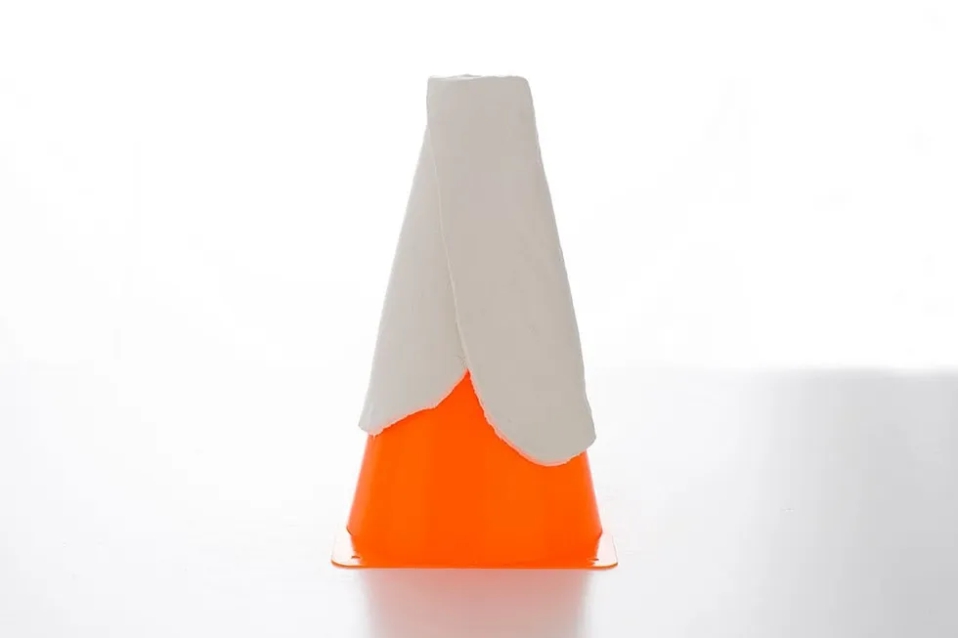
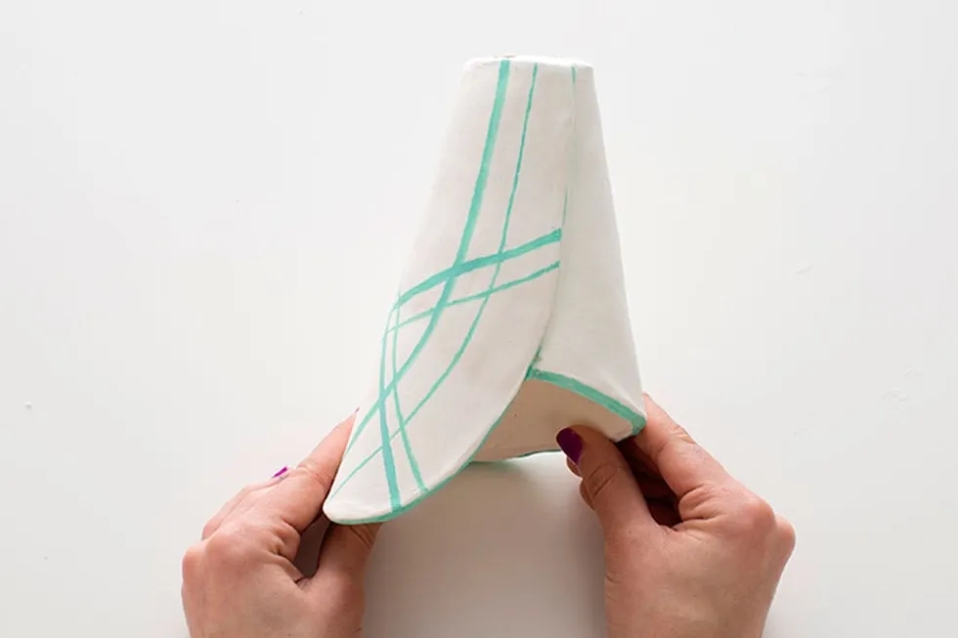
3. Using your needle tool flatten out the top of the clay cone to be even with the top of the plastic cone, and then shape the bottom. We rounded out the edges to make it look like it was two sheets of paper overlapping each other.
4. Wait for it to dry! We suggest waiting 10 hrs, removing it from the cone, and then letting it dry overnight for a total of 24 hours.
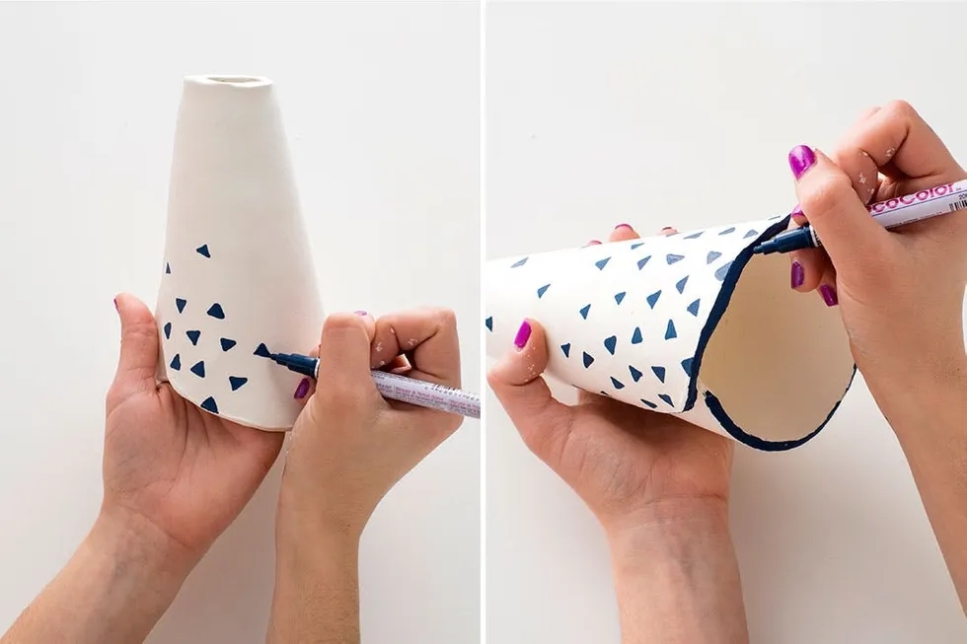
5. Once it is dry, decorate with paint pens. We created fun patterns like lines, dots, and triangles.
Just look at that bright shiny orange cone its just waiting to be the mold for a lamp.
Unwrap your clay and roll it out into an oval shape. We suggest pounding it out with your hand first, it will make it a lot easier to roll and you can get out some frustration.
Time to dig through your garage to find those random orange cones! Once it is found and cleaned, wrap the clay around the cone.
Using your needle tool create cross hatching marks on the faces where the clay will meet. This will help the clay stick together when drying.
Time to clean this bad boy up and make it look like a real lamp shade. First even off the top of your clay cone using the needle tool. Next, trim the seam and along the back edge. You will want it to be a smooth diagonal line down the front and flow into a clean rounded curve along the back.
Use your fingertips to apply pressure to smooth out bumps in the clay.
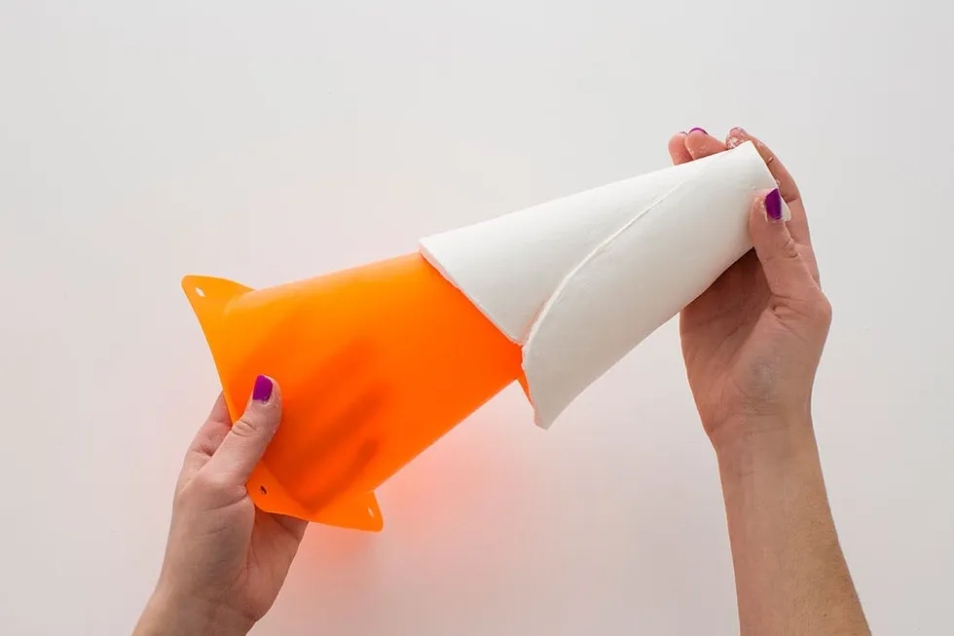
Alright, time for the boring part. Youll need to let this dry for about 24 hours. We recommend letting it dry for about 10 hours and then taking it off the mold and allowing it to dry for another 10 more.
Taking the clay cone off the traffic cone can be tricky. Some of ours slid right off and some we needed to cut the cone out with scissors. Do your best to squeeze and pull the plastic cone away from the clay without damaging the structure.
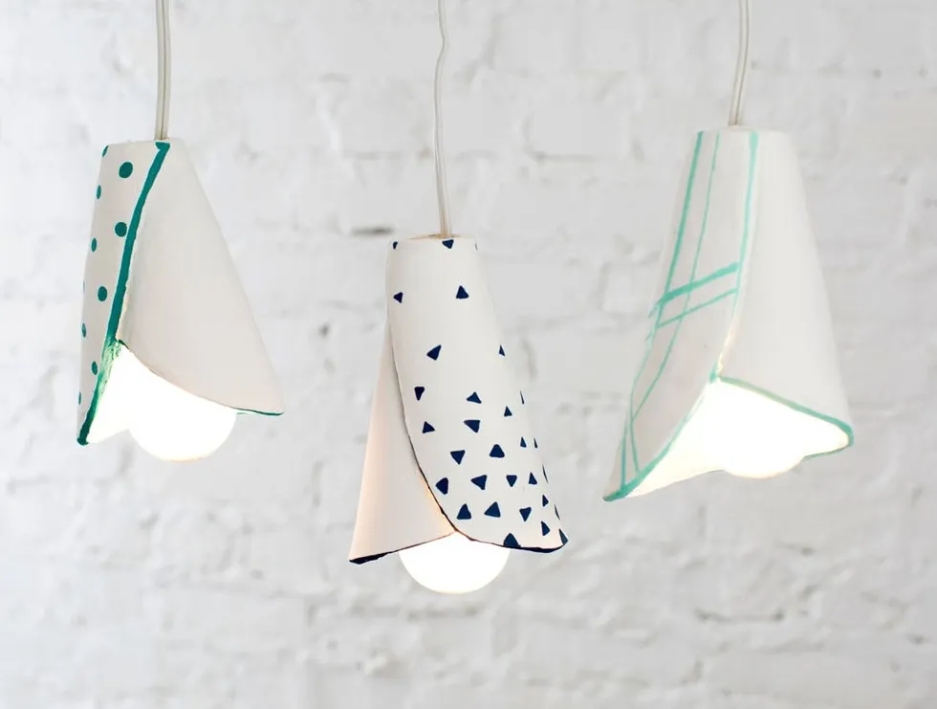
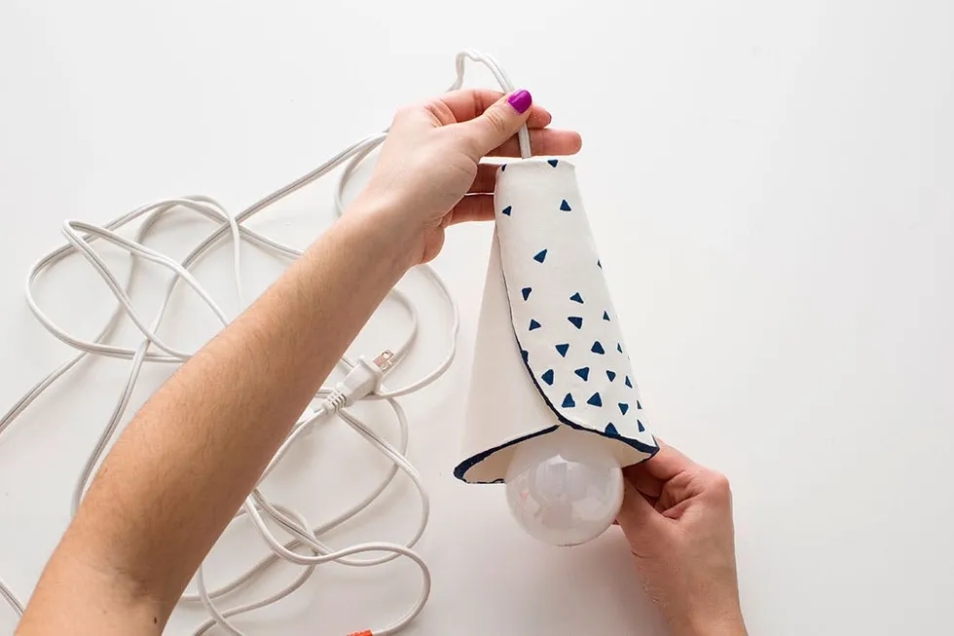
Dry and get ready to paint (with paint pens of course)! We decorated using a simple triangle pattern. We created a confetti effect by drawing more triangles at the bottom and fewer at the top.
Trs chic!
If triangles arent your thing, try interesting lines. We created lines that mimicked the curves of the lamp shade. Lines with different weights give the pattern more pizzazz and dimension.
Oh polka dots. You never fail us. If youre concerned about making the dots all the same size then ditch paint pen and grab acrylic paint and a Q-tip!
Grab a hanging light cord from your local hardware store and get that lampshade set up to shine!
These pendant shades are great pieces to add a unique touch into any room. We went for a more minimal look by allowing the patterns to play into the curves of the clay. However, feel free to make it crazy with bright colors and bolder patterns.
Making three at once is not hard at all! What ties this trio together is the use of various shade of teal which we love!
Clay Beads Necklace
What Youll Need:
air dry clay
acrylic paint
small and medium paintbrushes
leather cord
Instructions
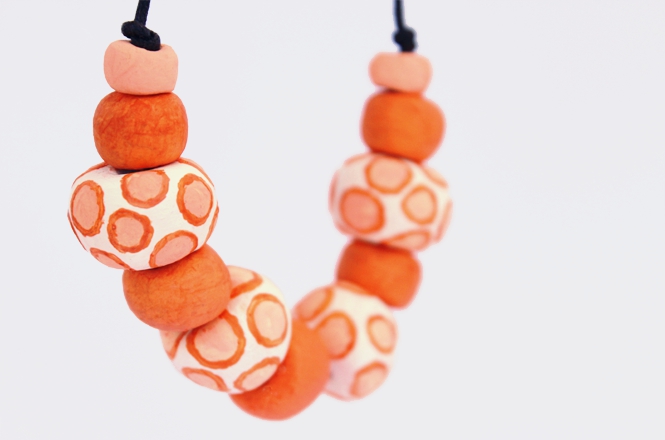
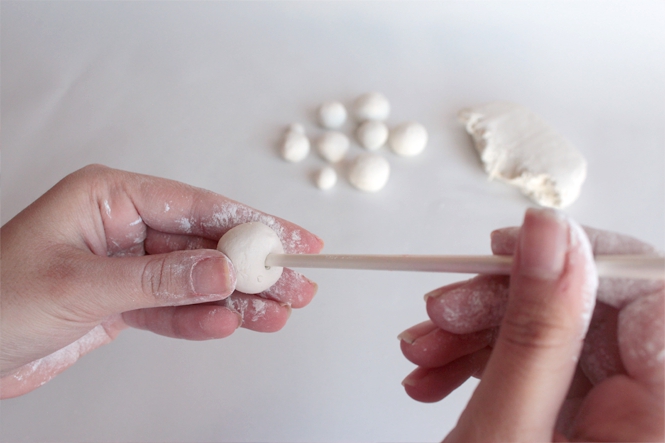
1. Make beads of different sizes with the clay and use the end of a small paintbrush to make the holes, let the beads dry completely. If you want to make the exact same necklace you will need to make 4 large beads, 5 medium beads, and 2 small beads.


