Carlson - Clay creation workshop: 100+ projects to make with air-dry clay
Here you can read online Carlson - Clay creation workshop: 100+ projects to make with air-dry clay full text of the book (entire story) in english for free. Download pdf and epub, get meaning, cover and reviews about this ebook. City: Cincinnati;Ohio, year: 2014, publisher: F+W Media;Impact, genre: Home and family. Description of the work, (preface) as well as reviews are available. Best literature library LitArk.com created for fans of good reading and offers a wide selection of genres:
Romance novel
Science fiction
Adventure
Detective
Science
History
Home and family
Prose
Art
Politics
Computer
Non-fiction
Religion
Business
Children
Humor
Choose a favorite category and find really read worthwhile books. Enjoy immersion in the world of imagination, feel the emotions of the characters or learn something new for yourself, make an fascinating discovery.

- Book:Clay creation workshop: 100+ projects to make with air-dry clay
- Author:
- Publisher:F+W Media;Impact
- Genre:
- Year:2014
- City:Cincinnati;Ohio
- Rating:3 / 5
- Favourites:Add to favourites
- Your mark:
Clay creation workshop: 100+ projects to make with air-dry clay: summary, description and annotation
We offer to read an annotation, description, summary or preface (depends on what the author of the book "Clay creation workshop: 100+ projects to make with air-dry clay" wrote himself). If you haven't found the necessary information about the book — write in the comments, we will try to find it.
Carlson: author's other books
Who wrote Clay creation workshop: 100+ projects to make with air-dry clay? Find out the surname, the name of the author of the book and a list of all author's works by series.


Clay creation workshop: 100+ projects to make with air-dry clay — read online for free the complete book (whole text) full work
Below is the text of the book, divided by pages. System saving the place of the last page read, allows you to conveniently read the book "Clay creation workshop: 100+ projects to make with air-dry clay" online for free, without having to search again every time where you left off. Put a bookmark, and you can go to the page where you finished reading at any time.
Font size:
Interval:
Bookmark:

Cincinnati, Ohio
www.impact-books.com
The clay that is used for the projects in this book is a super soft, lightweight, air dry clay. There are many brands on the market, including, among others, Cloud Clay, Creatology Air Dry Clay and Model Magic. Oven-baked polymer clay, kiln-fired clays and heavier, wetter air dry clays are not appropriate for most of the projects in this book.

These lightweight, air dry clays are easy to work with, providing hours of entertainment and experience in making 3-D art. They are colorful, nearly mess-free and require very little in the way of equipment or tools.
The packages may vary in consistency depending on the brand and whether the package is airtight. Since the clay begins to dry upon contact with air, it is important to keep the clay protected in airtight containers or bags. Generally it dries to the touch in 24 hours. If the clay is too soft, leave it exposed to the air until it starts to dry a bit.
Usually the clay does not stick to hands, though it sticks very easily to itself. Provide yourself with a suitable work area because some of the colors may stain hands or work surfaces. Washing with soap and water will remove most stains.
Inside each package of lightweight, air dry clay is a whole world full of creations. Its up to you to imagine it all into being. But youll have help. Lots of help. This book is full of tips, tricks and ideas to help you do just that. Ready to start?

Does the clay that you are using feel light, like a marshmallow? Are the words air dry printed somewhere on the package? If so, then you probably have clay that will work for making these animals.

If you want one piece of clay to stick to another, just touch them together. Its that easy. If you dont want them to stick, keep the pieces separated.
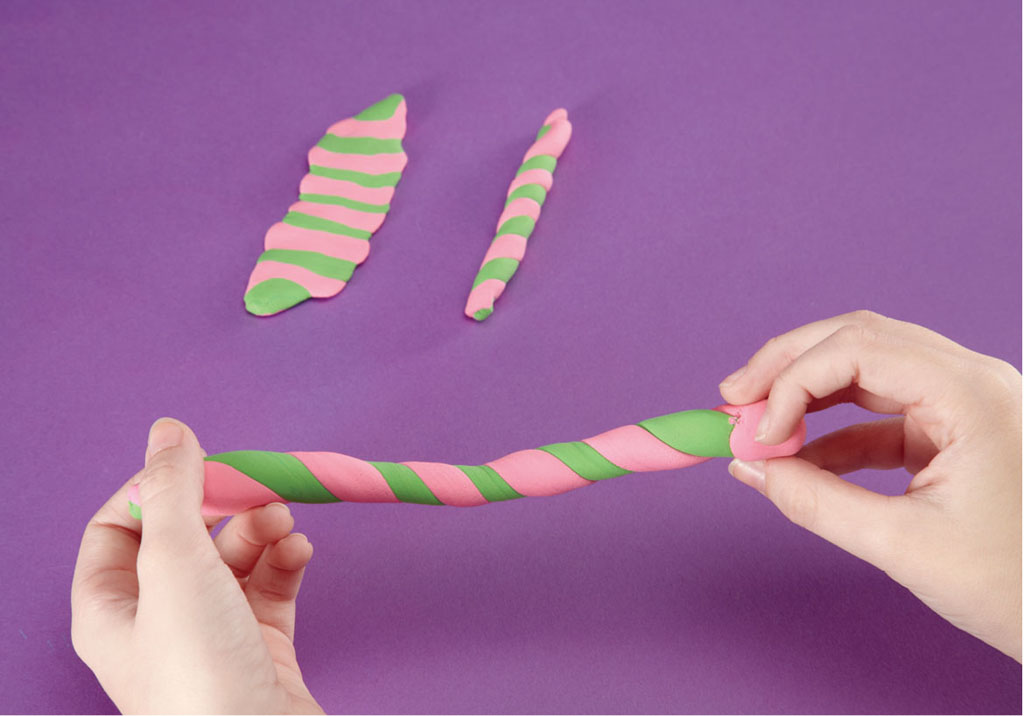
Create striped clay by twisting two or more colors together. Make solid colors by twisting the colors together, rolling and folding, then twisting again.
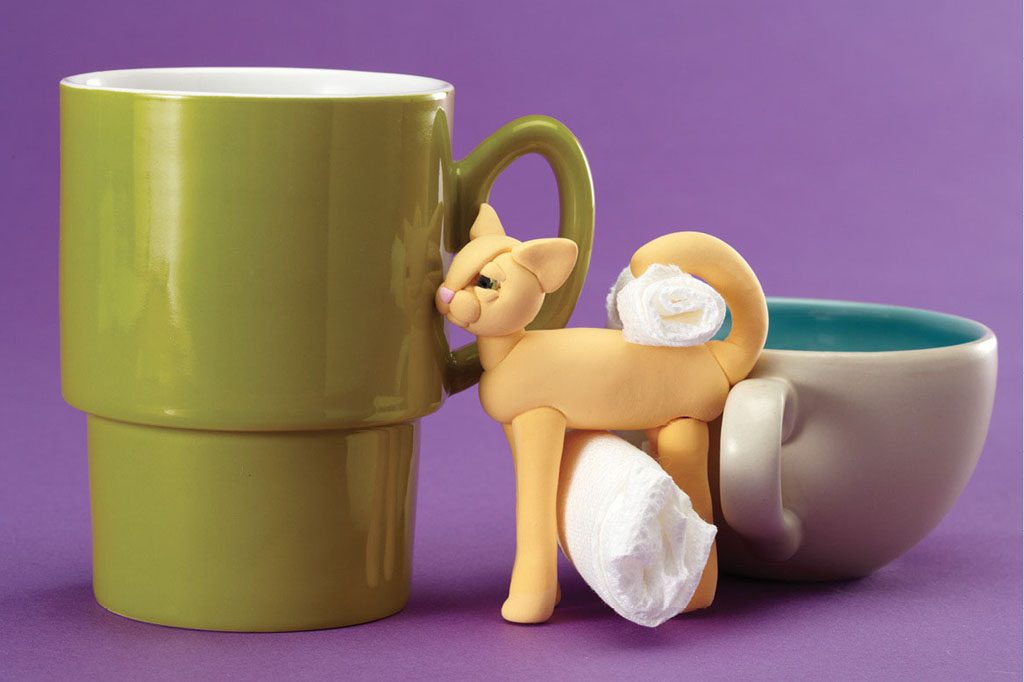
Help your creations keep their shape by propping them up until they are completely dry. This wont matter for some pieces, but an arm that you want to stay up in the air or those wings that are posed for lift off will droop if not propped in place.
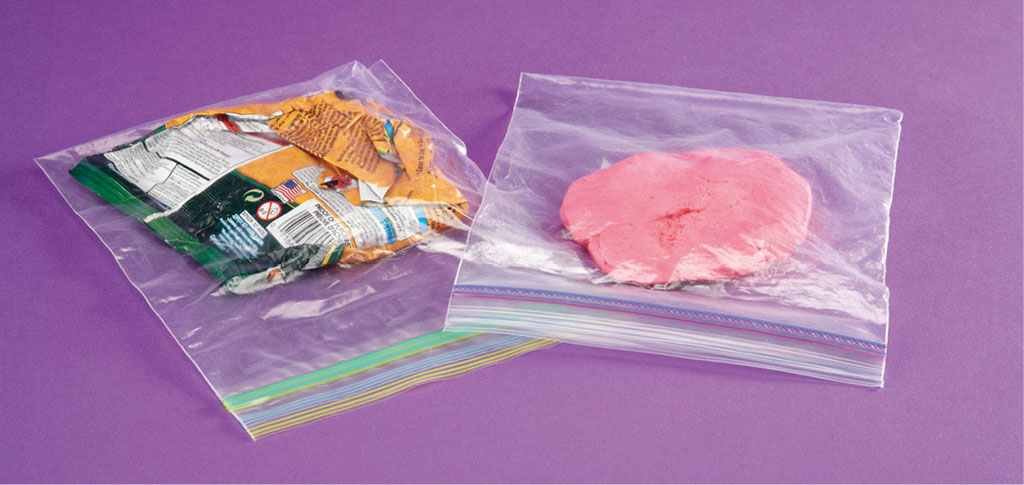
Clay that is dried out doesnt stick to itself very well. And it doesnt roll into a smooth ball or shape. To keep it fresh, store it in an airtight container or bag. Seal the container every time you use the clay.
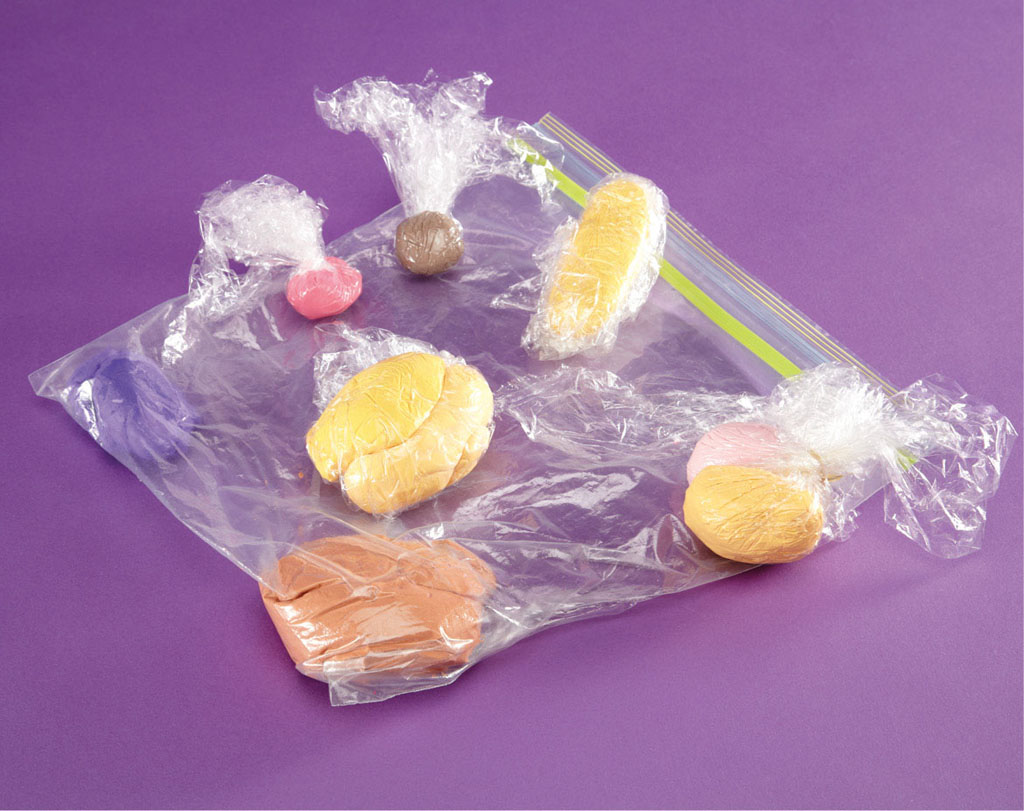
Put all of the colors that youll use for a project into one gallon-sized bag. If the colors keep sticking together, keep them separate by wrapping each in a piece of plastic wrap. Flatten the bag to press out the air, then fold over the top if youll be using it right away. Remember to tightly close the bag when youre done with the project so you can use the clay another time.
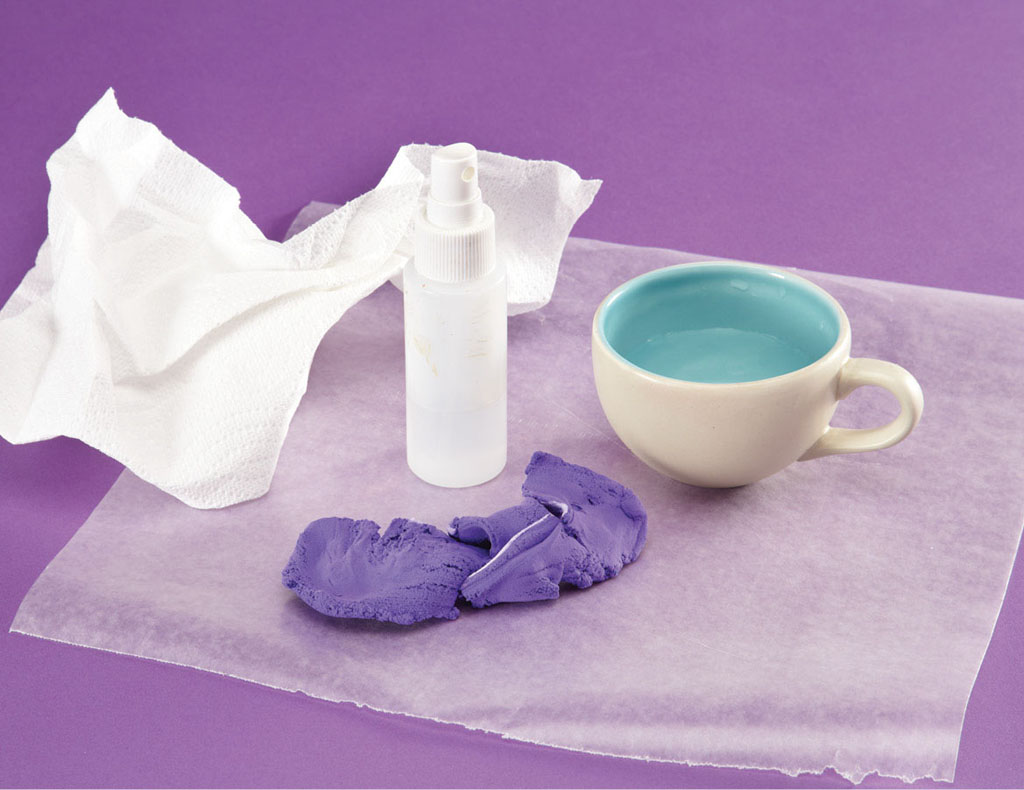
If your clay dries out, try folding and twisting it to see if it becomes workable. Still too dry? Place it in a plastic bag and sprinkle a little bit of water on it. Too much water will make it very sticky. Leave the clay in the bag for a few minutes, then twist and mix it to see if its workable again. If your clay is very dry, you may have to add more water and let it rest even longer. Completely dried-out clay usually cannot be revived, so remember to keep it covered!
Make yourself an art supply box. Decorate the outside if you like and put your favorite art supplies and tools in it. That way youll always know where they are, and theyll be there when youre ready to create.
You dont have to go out and buy all new tools. Look around and see what you already have that might work. Here are some suggestions.
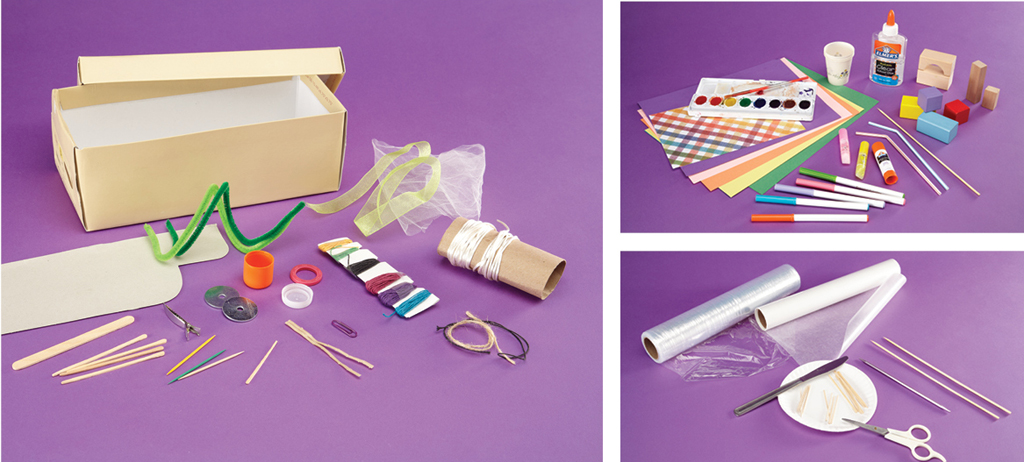
Fill Your Toolbox
Barbecue skewers
Barrettes
Beads
Blocks
Bottle caps
Craft sticks
Dull knife
Flat and round toothpicks
Glitter glue
Glue stick
Knitting needles
Old toothbrushes
Paintbrushes
Paper
Paper clips
Plastic bags
Plastic wrap
Ruler
Scissors
Shoe boxes
Straws
Twist ties
Washers or weights
Watercolor markers
Watercolor paint
Wax paper
White glue that dries clear
Not all art supplies need to be purchased. Toilet paper and paper towel tubes, boxes and scrap paper can be rescued from the trash bin. Watch for small jars and cans in the trash and save them to use as handy containers, but make sure they dont have sharp edges and are well rinsed. Some of my favorite tools are ones that I make from drinking straws and plastic lids.
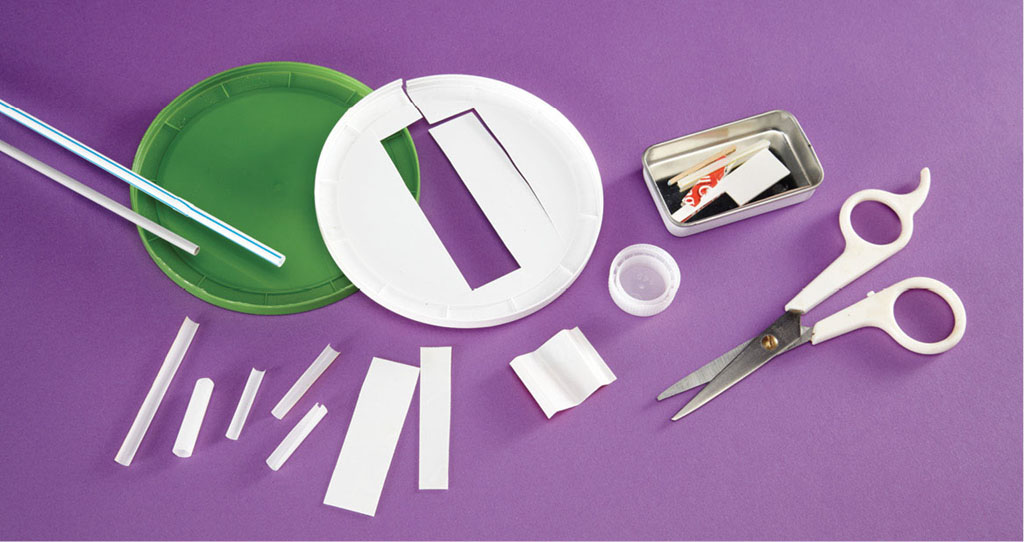
Pieces of a straw can be used for making curved lines. To make straw tools, cut drinking straws in sections, then cut them again lengthwise.
Pieces cut from a plastic lid also make great cutting tools. Make them in different sizes so youll have some choices. Bend some pieces to make wavy lines or long curved lines.
Font size:
Interval:
Bookmark:
Similar books «Clay creation workshop: 100+ projects to make with air-dry clay»
Look at similar books to Clay creation workshop: 100+ projects to make with air-dry clay. We have selected literature similar in name and meaning in the hope of providing readers with more options to find new, interesting, not yet read works.
Discussion, reviews of the book Clay creation workshop: 100+ projects to make with air-dry clay and just readers' own opinions. Leave your comments, write what you think about the work, its meaning or the main characters. Specify what exactly you liked and what you didn't like, and why you think so.