Table of Contents
Unfortunately, as in so many crafts, you and I cant walk into a store and buy a metal sculpture kit. Our metal sculpture kit must be assembled one tool at a time.
What follows is a collection of tools and how I use them. First off, I want to make clear that you dont need all these tools to create metal sculpture. When I first started I only had the basic hand tools that are illustrated here and the Oxy/Ace torch.
I started metal sculpture as a hobby in 1967. Since 1973 Ive been designing, crafting and selling metal sculpture full time. The tools youll see in this book are the result of adding tools for well over 40 years.
Basic Hand Tools
Here is my basic selection. Some of these I've had since I got my first torch in 1967.
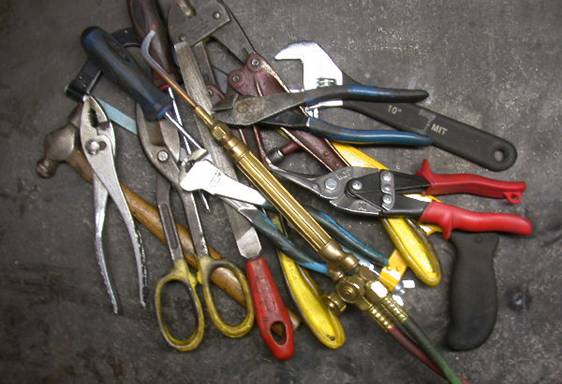
The assorted tools here are:
pliers
adjustable wrench
ball pein hammer
file
sheet metal shears
aviation shears
hack saw
bolt cutter
diagonal cutter
end cutter
screw drivers
and the torch
You probably already have most of the hand tools that youll need.
Some tools you can get by with just buying the cheapest. But there are some tools you'll want to get the best available.
An example are Needle Nose Pliers. I usually have two or three pairs on the table. A couple of good pairs and one that is of the cheap variety. I use the cheap one when I have the needle nose close to the torch flame. These take a lot of abuse so it not a big expenditure to buy another inexpensive pair.
Special emphasis is on the aviation shears, the diagonal cutters and the end cutters. These three get a lot of use so for the diagonal and end cutters I use either Channel Lock or Klein tools. I prefer these with the longer handles as it gives more leverage and thus easier on the hands.
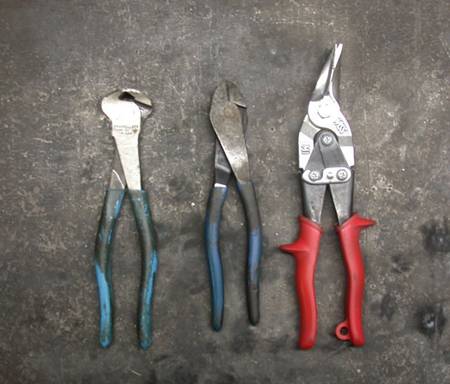
Aviation shears get a tremendous amount of use and I make sure that I buy the best available. I prefer Wiss aviation shears but Pro Tools aviation shears are also good.
Aviation shears come in three colors; red, green and yellow. The colors signify that one color cuts to the right, one to the left and the other is for straight cuts.
I use this red pair and cut in all directions. This take a bit of getting use to but I've never found it necessary to have all three colors.
Its just one of the ways I try to make things as simple as possible.
For basic hand tools I will usually check at Harbor Freight and Grizzly tools. They are both online. Harbor Freight has many retail locations, so check to see if they have one in your area.
Both Harbor Freight and Grizzly have the cheap imported tools and higher quality tools also.
Today there are many options of where to buy online. Often I will browse Amazon.com and check on the tools that they sell. Amazon stocks a lot of tools and their prices are quite competitive.
The main benefit to searching on Amazon are the reviews. I prefer to know what the average user thinks of a tool rather than taking the word of the manufacture.
Brazing Welding Table
Video on Welding Table & Heat Sink
Video: 
I first started with an 18" square steel table that was 1/4" thick. I found that this was easily warped from the heat of the torch flame and eventually got this 3' x 4 by thick steel table top which is what I use today.
Actually this is the second 3 x 4 x table. One time I was doing some heavy steel work and the first table warped. That really surprised me. I didnt think that a table would ever warp.
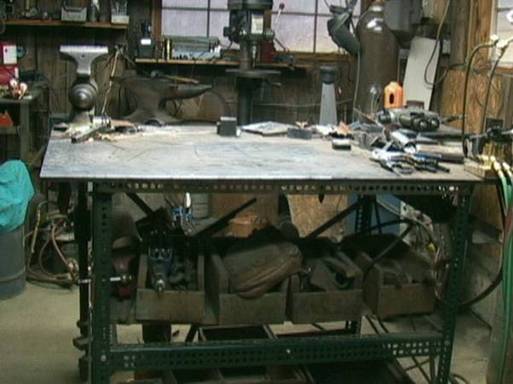
I wouldn't go less than 3/8th inch thick for a steel table top. With a 3/8" or less you'll want to use a heat sink. A heat sink keeps the parts you are brazing from being directly on the table. This allows for air to flow beneath the heat sink resulting in the table not getting hot. The heat sink is shown in the video.
There are other options such as a firebrick table top. Firebrick is less expensive, but I have tried firebrick and it hasn't worked out well for me.
Junk yards are a good place to look for something like a welding table. Several years ago I saw a table that was 4 inches thick and about 4 x 4. That would have been excellent but I didnt know how I could transport it back to my shop.
Even if I could have hired someone to haul it, I didnt know how I could move it around in my shop. I know it weighed well over a ton. The point is, keep your eyes open for a used steel table and eventually youll find what youre looking for.
Drill Press Vices
Here are three drill press vices; the one on the right is the more traditional type.
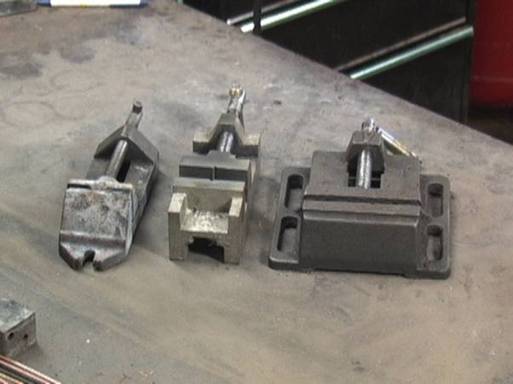
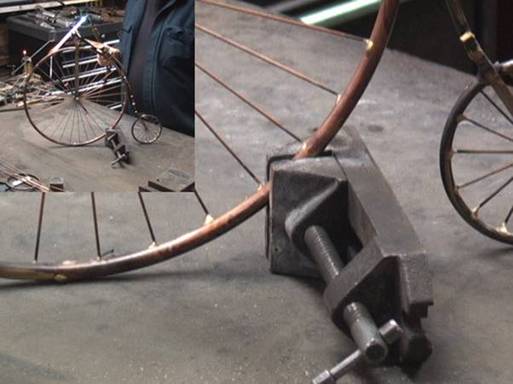
I particularly like the one on the left because I can lay it on its side when holding an upright piece, as in this photo below of a highwheel bicycle. The vice in the center is equally as good. The vice in the center is the only one like this I have found at a reasonable price. Check out this link and do a search on their page for: Drill Press Vice. http://www.victornet.com/
The 4 inch and 4 inch Grinder
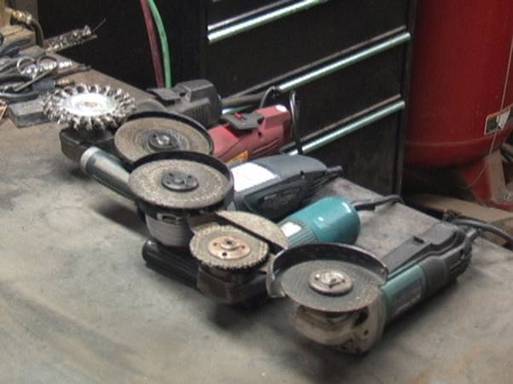
As you can see I have a number of these. The first thought is to think of these as grinders. But, what they really are is a power source for different types of circular abrasives.
1/16 cutting disc
Course grinding disc
Fine grinding disc
Sanding disc
Wire Brush
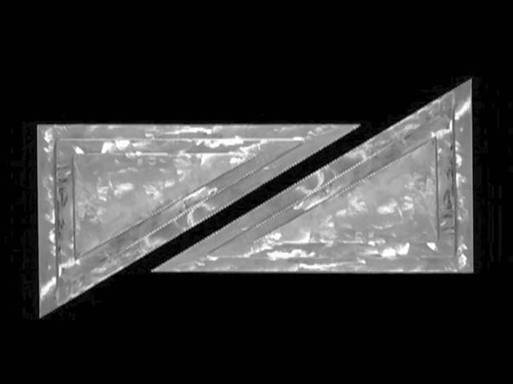
The photo below is from the Steel Sculpture Series. These pieces have been ground and then sanded with the 4" grinder. The different levels of grinding and sanding reflect the light which makes these pieces more interesting to the viewer.
