So far, we have worked with logic provided by Unity. You can extend the working logic by finding new assets. For instance, to change a visual element of the game, you can create your own assets or find an asset in Unity's Asset Store . To access the Asset St ore, go to Window > Asset Store or visit www.assetstore.unity3d.com .
The Asset Store is an inventory of plug-ins and asset packages that you can add to your project. The next screenshot shows the Asset Store website .
On the right-hand side i s a list of categories. Select the 3D Models category. 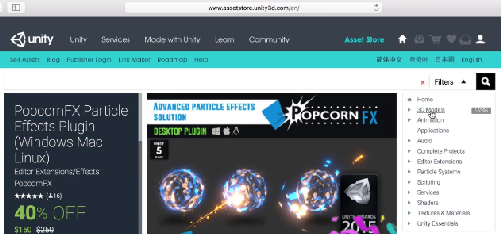 You can set several filters from the page that appears, such as only viewing free 3D models.
 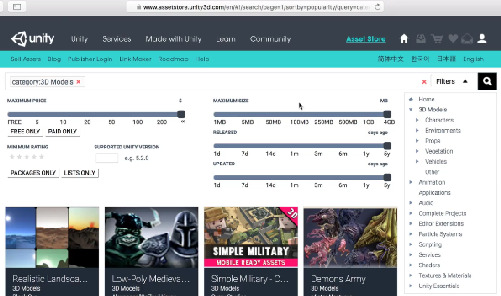 Once you create an account with Unity, you can download an asset. Then you can i mport it to the Assets folder in your project.
Chapter 2: Introduction to Unity
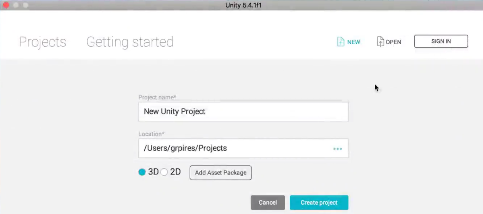
To make a new project in Unity, click on "NEW" in the top right of Unity's start screen.
In the start screen, you can adjust some of the project's settings. Give the project a name and location. The Location field refers to the folder in which you want to save the project. It is good practice to create a new folder just for your Unity projects so that you can easily find them. Have the 3D rendering mode enabled. Press the "Create Project" button.
Unity will create a folder with the same name as your project name in the location you specified. The Unity Editor will open. Your screen will look like the following: 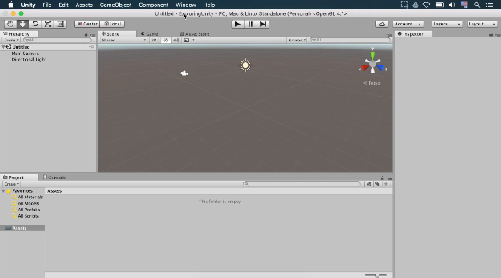 The left sidebar is the Hierarchy window. This is like the hierarchy you have in your operating system. For example, in your Pictures folder, you may have sub-folders of events that group together photos. The Hierarchy lists the names of the objects in the game's scene.
Each object can have its own hierarchy. Currently, we have the items Main Camera and Directional Light, which are game objects . Anything that changes how a game works visually or internally, such as a player, enemy, or explosion, should be in a game object. You can see the objects listed in the Hierarchy in the Scene window, which is the window in the center of your screen. The Scene displays the virtual world you build for a game. Right-click in the Scene window.
The cursor will change to an icon of an eye, as evident in the next image. While holding the right mouse button, you can move the cursor to look around the Scene. 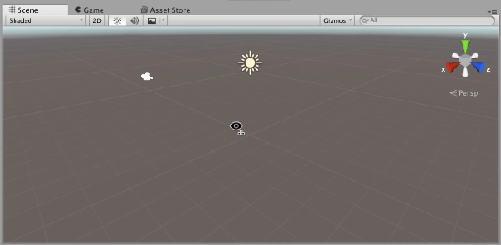 Another way to navigate the Scene is to press the W, A, S, and D keys on your keyboard while holding the right mouse button. This is like the left, right, forward, and back arrow controls on a video game handheld. Click on "Main Camera" in the Hierarchy.
 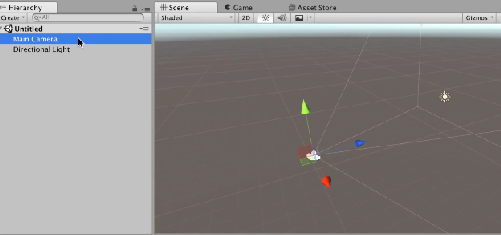 The Main Camera renders (draws) the game for the player.
  The Main Camera renders (draws) the game for the player.
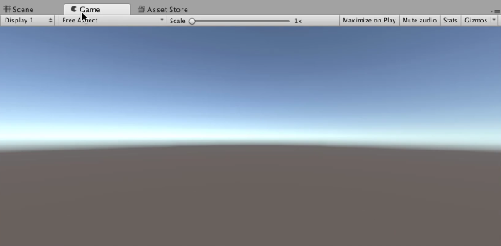
It can be thought of as a player. While Main Camera is selected, there is a Camera Preview box in the bottom right of the scene. The Camera Preview shows the scene from the perspective of a player. 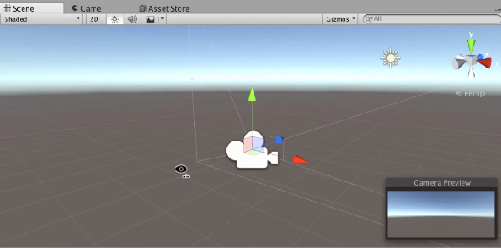 To see the scene from a player's point of view, click on the "Game" tab beside the "Scene" tab. The Game window will open, as in the following screenshot.
  Re-open the Scene window.
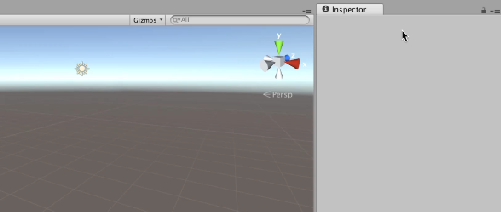
Click on "Directional Light" in the Hierarchy. Arrows will appear around the Directional Light's symbol in the Scene. The Directional Light emits light rays. You can change this game object to change the lighting of a scene. 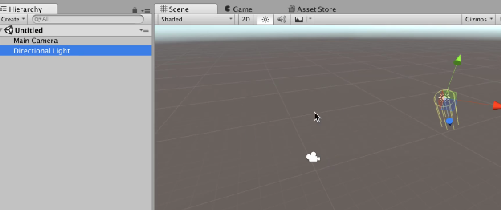 The window to the right of t he Scene contains the Inspector .
 Click on Main Camera.
 Click on Main Camera.
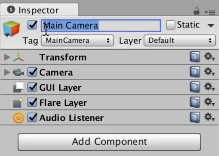
The Inspector will fill with attributes of Main Camera that you can change. At the top is the name of the game object. The Tag tab allows you to label the object. The Layer tab is not often changed for Main Camera because this tab can help you check for collisions in the scene.  Main Camera's Inspector shows the following components: Transform, Camera, GUI Layer, Flare Layer, and Audio Listener. Components change how game objects behave.
The Transform component is the most basic component of a game object. Transform allows you to set the position, rotation, and scale of an object. 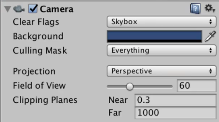 The Camera component shows details about the camera. Currently, the Clear Flags property is "Skybox", so the Game Window contains a sky. If you change Clear Flags to "Solid Color", the Game window will fill with the color of the "Background" property.
  A lot of learning in Unity is experimentation; changing values and seeing the immediate effects in the Game window.
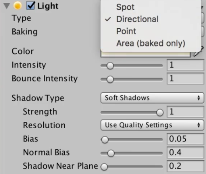
Select Directional Light from the Hierarchy. The Inspector will change to contain components of the Directional Light object. In the Light component, you can change the light's type, color, intensity, shadows, and more. The bottom window in Unity contains the Project window. This window contains the Assets folder, which contains all the files that make up your game.  Beside the Project tab is the Console tab.







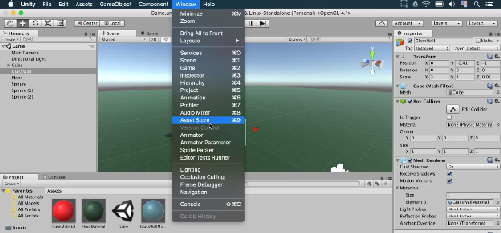 The Asset Store is an inventory of plug-ins and asset packages that you can add to your project. The next screenshot shows the Asset Store website .
  You can set several filters from the page that appears, such as only viewing free 3D models.
  Once you create an account with Unity, you can download an asset. Then you can i mport it to the Assets folder in your project.
 To make a new project in Unity, click on "NEW" in the top right of Unity's start screen.
  The left sidebar is the Hierarchy window. This is like the hierarchy you have in your operating system. For example, in your Pictures folder, you may have sub-folders of events that group together photos. The Hierarchy lists the names of the objects in the game's scene.
 Another way to navigate the Scene is to press the W, A, S, and D keys on your keyboard while holding the right mouse button. This is like the left, right, forward, and back arrow controls on a video game handheld. Click on "Main Camera" in the Hierarchy.
  The Main Camera renders (draws) the game for the player.
  To see the scene from a player's point of view, click on the "Game" tab beside the "Scene" tab. The Game window will open, as in the following screenshot.
  Re-open the Scene window.
 The window to the right of t he Scene contains the Inspector .
 Click on Main Camera.
  Main Camera's Inspector shows the following components: Transform, Camera, GUI Layer, Flare Layer, and Audio Listener. Components change how game objects behave.
 The Camera component shows details about the camera. Currently, the Clear Flags property is "Skybox", so the Game Window contains a sky. If you change Clear Flags to "Solid Color", the Game window will fill with the color of the "Background" property.
  A lot of learning in Unity is experimentation; changing values and seeing the immediate effects in the Game window.
 Beside the Project tab is the Console tab.