Summary
In this chapter, we helped you set up your system for VR development and built your project for your target platform and devices. We discussed the different levels of device integration software and then installed software that was appropriate for your target VR device onto your development machine and asset packages into your Unity project. While we have summarized the steps, all of these steps are well documented on the device manufacturers sites and in the Unity manual and we encourage you to look at all the relevant documentation.
At this point, you should be able to preview your VR scene in Unity Editor's Play mode. And you should be able to build and run your project and install and run it as a binary directly on your device.
In the next chapter, we'll work more on the diorama scene and explore techniques to control objects in virtual reality. From a third-person perspective, we'll interact with objects in the scene (Ethan, the zombie) and implement look-based control.
Creating and releasing balloons
Let's now create a BalloonController that will be the application component that creates and controls balloons. It will reference our MyInputController. Follow these steps:
- In Hierarchy , create an empty game object, reset its Transform, and name it BalloonController
- Create a new script on the object named BalloonController and open it for editing as follows:
public class BalloonController : MonoBehaviour
{
public GameObject meMyselfEye;
private MyInputController inputController;
void Start ()
{
inputController = meMyselfEye.GetComponent();
}
void Update ()
{
if (inputController.ButtonDown())
{
NewBalloon()
}
else if (inputController.ButtonUp())
{
ReleaseBalloon();
}
// else while button is still pressed, grow it
}
This is the skeleton of the controller. Given a reference to the MeMyselfEye object, the Start() function gets its MyInputController component and assigns it to the inputController variable .
Update() is called each frame while your game is running. It will call inputController.ButtonDown or ButtonUp to see if the user has changed their input, and in response, either create or release a balloon. We'll write the functions next.
Note that we've also included a placeholder (as a comment) where we'll add the GrowBalloon function too.
Given the balloon prefab, the BalloonController can create new instances of it in our scene, by calling the Unity Instantiate function. Add the following public variable declaration at the top of your controller class for the balloon prefab:
public GameObject balloonPrefab;
And add a private variable to hold the current instance of the balloon:
private GameObject balloon;
Now, the NewBalloon function, which is called when the player presses the button, references the prefab and instantiates it as follows:
private void NewBalloon()
{
balloon = Instantiate(balloonPrefab);
}
The ReleaseBalloon function is called when the player releases the button. It will apply a gentle upward force on the balloon so it floats skyward. We'll define a floatStrength variable and apply it to the object's RigidBody (the Unity physics engine and RigidBodies are explained in a later chapter):
public float floatStrength = 20f;
And,
private void ReleaseBalloon()
{
balloon.GetComponent().AddForce(Vector3.up * floatStrength);
balloon = null;
}
Notice that we also clear the balloon variable (setting it to null), getting it ready for the next button press.
Save the file and in Unity:
- Drag the MeMyselfEye object from Hierarchy onto the BalloonController's Me Myself Eye slot in Inspector
- Drag the Ballon prefab from the Project's Assets folder onto the BalloonController's Balloon Prefab slot in Inspector
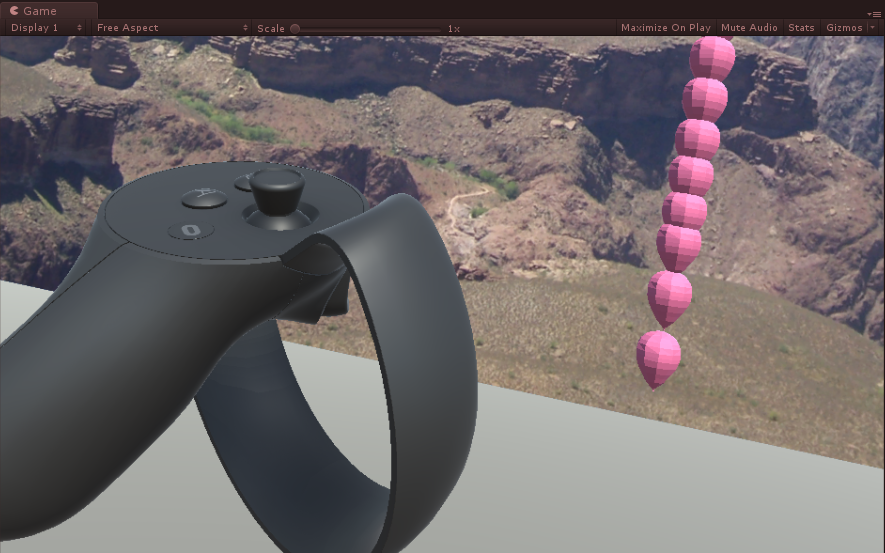
When you're ready, press Play . Inside VR, when you press the Fire1 button (or whichever you programmed), a new balloon is instantiated. When you release it, the balloon floats upwards. In the following game window, I have pressed the button multiple times in succession, creating a series of balloons:
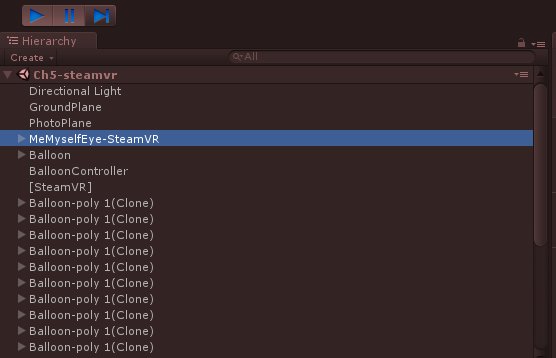
Here is the Hierarchy of the same game state, showing the cloned balloons in the Hierarchy (my prefab's name is Balloon-poly):
Fly away!
Now, we'll add the BirdController as an Animation Track in our Timeline. The AnimIndex parameter is an integer value that will step up in value along the timeline. We want to Bluejay to start learning to fly around 80 seconds, and jump from location to location about 10 seconds apart (80, 90, 100, 110, 120, and away at 130).
- Open the Timeline Editor window for the BlackbirdDirector.
- Drag the BirdController object from Hierarchy onto the Timeline , adding a new Animation Track.
- Press its red Record button.
- Select the BirdController in Hierarchy.
- Move the Playhead to 80, and in Inspector , set Anim Index to 1.
- Move the Playhead to 90 and set Anim Index to 2.
- Continue for the other indexes 3 through 6.
- Press the red Record button again to stop recording.
- Preview the curve. If it doesn't start at 0 (prior to 80s), use Edit in Animation Window and add another Keyframe with value 0.
The Animation Track curve for the Anim Index parameter is shown here, simply incrementing by one at each keyframe:
Play it through. Wow! The bird flies from rock to rock, and eventually flies away!
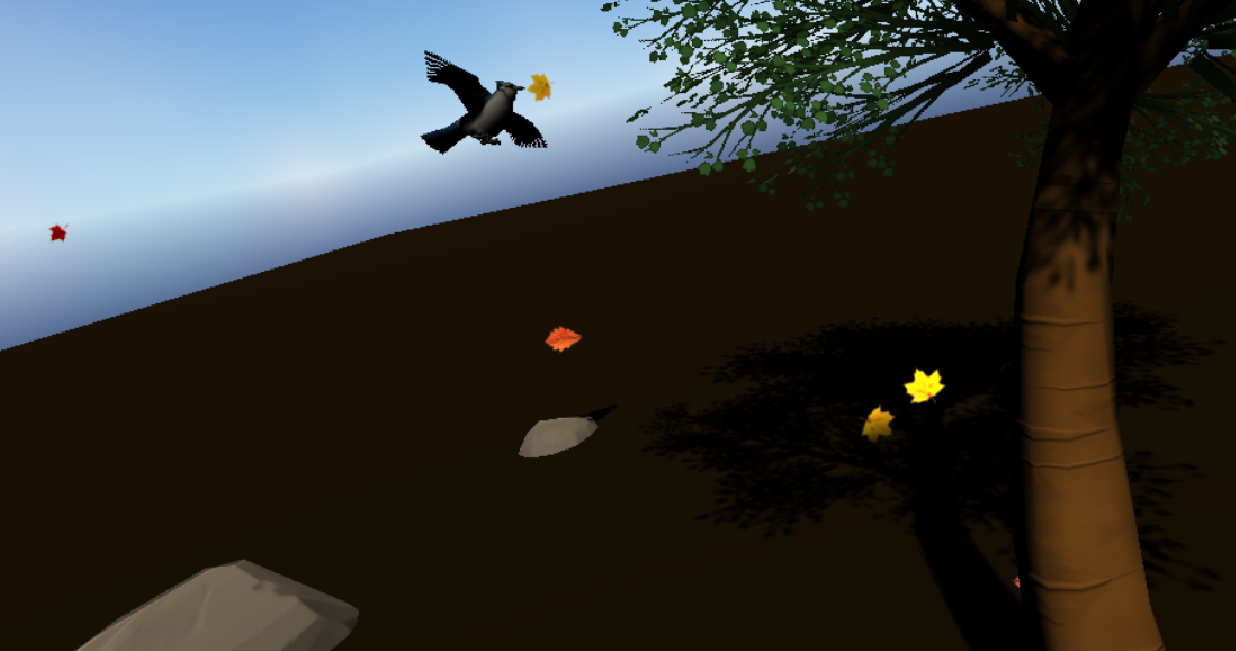
You can adjust the bird's path and timing between landings by moving the location objects and the animation curve keyframes, respectively. You could also try animating the BirdController's Bird Scale parameter to make the bird increasingly more bold and strong as it learns to fly. A screen capture is given here with the bird flying and leaves falling:
We have a completed story. To wrap this up, let's add a little bit of interactivity, so the player can control when the story begins playing.
Capturing cubemaps and reflection probes
Unity includes support for capturing scene views as part of its lighting engine. A call to camera.RenderToCubemap() will bake a static cubemap of your scene, using the camera's current position and other settings.
The example script given in the Unity documentation, https://docs.unity3d.com/Documentation/ScriptReference/Camera.RenderToCubemap.html, implements an editor wizard for capturing a cubemap of your scene directly in the Editor, and is included here:
using UnityEngine;
using UnityEditor;
using System.Collections;
public class RenderCubemapWizard : ScriptableWizard
{
public Transform renderFromPosition;
public Cubemap cubemap;
void OnWizardUpdate()
{
string helpString = "Select transform to render from and cubemap to render into";
bool isValid = (renderFromPosition != null) && (cubemap != null);
}
void OnWizardCreate()
{
// create temporary camera for rendering
GameObject go = new GameObject("CubemapCamera");
go.AddComponent();
// place it on the object


