Contents
Guide
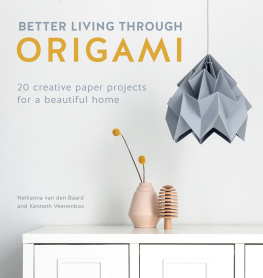
BETTER LIVING THROUGH
ORIGAMI
20 creative paper projects for a beautiful home
Nellianna van den Baard and Kenneth Veenenbos

www.sewandso.co.uk
Contents

Introduction
Can you fold a traditional origami crane? Dont worry if the answer is no. Neither could we when we first started. We were inspired to start paper folding when Nelliannas father presented us both with a small origami model, which he had made after taking an origami tutorial that we had given him as a birthday present. We were so blown away by its strength and shadow play that we decided to explore the skill of origami folding for ourselves to design lampshades.
Initially, this was a time of trial and mostly error. Folding sheets of baking paper to save on costs, we eventually came up with what are now our best-known pendant lamp designs the Chestnut and the Moth, which were the first origami-style lampshades on the market when we launched our company, Studio Snowpuppe, back in 2010.
Since we first started our design studio, we have often asked ourselves the question: are we a paper studio making lamps, or a lamp studio making paper lampshades? While writing this book, we have found our answer. Having been given the opportunity to work with paper to create projects other than lamps for the first time, we have discovered that we have a passion to create all sorts of beautiful origami products for the home.
Many of the projects included have been specially designed and cannot be found in the marketplace, although we have also decided to include our popular Moth lampshade and a floor lamp edition of the Thistle, which is our most current design.
Whether you are an experienced origamist or just a beginner, each project is described in a way that is easy to understand and we hope to encourage you to develop your origami skills. Who knows, after you have finished all the projects in this book, you may even be able to fold an origami crane!
Kenneth & Nellianna


How to Use This Book
Before you get started we recommend that you read the following section to ensure that you understand the basics. Here we explain how to follow the instructions and diagrams for the projects in the book. We also list the tools and equipment youll need to create the projects, with some advice on choosing the correct paper and assembling the designs.
Our method
We learned to design and make our folded interior products by trying different techniques and making a lot of models this is one of the most enjoyable aspects of working with paper!
It is important to note that the techniques we have used to create the projects featured in this book do not follow the strict rules of traditional origami. These rules state that the project must be folded from a single square of paper without any gluing or cutting.
For our projects we use different shapes and sizes of paper, cut and attach pieces of paper together, and we even add other materials like wood and cord. However, most of the required folds are used in traditional origami.
The terms and descriptions used in this book relate to our personal preferences, so these may be different from what you will find in other books that are solely relating to origami techniques.
Difficulty ratings
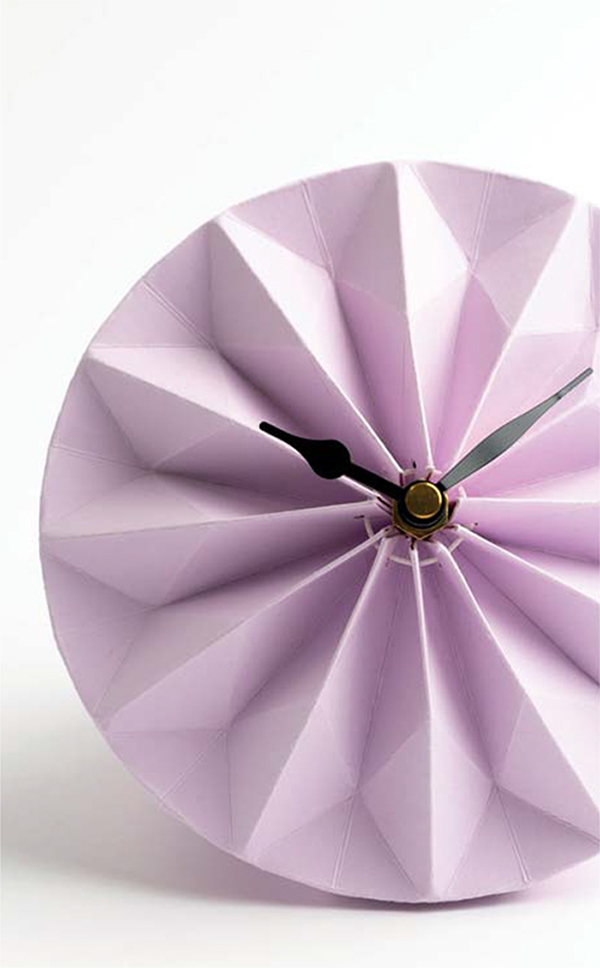
Icons are shown at the beginning of each project to indicate the difficulty of the folds and techniques involved. If youre new to folding, we recommend starting with one of the beginner level projects (1 star). Once youve successfully completed the simpler designs, you can progress to the intermediate (2 star), advanced (3 star) and very advanced (4 star) level projects.

Choosing paper
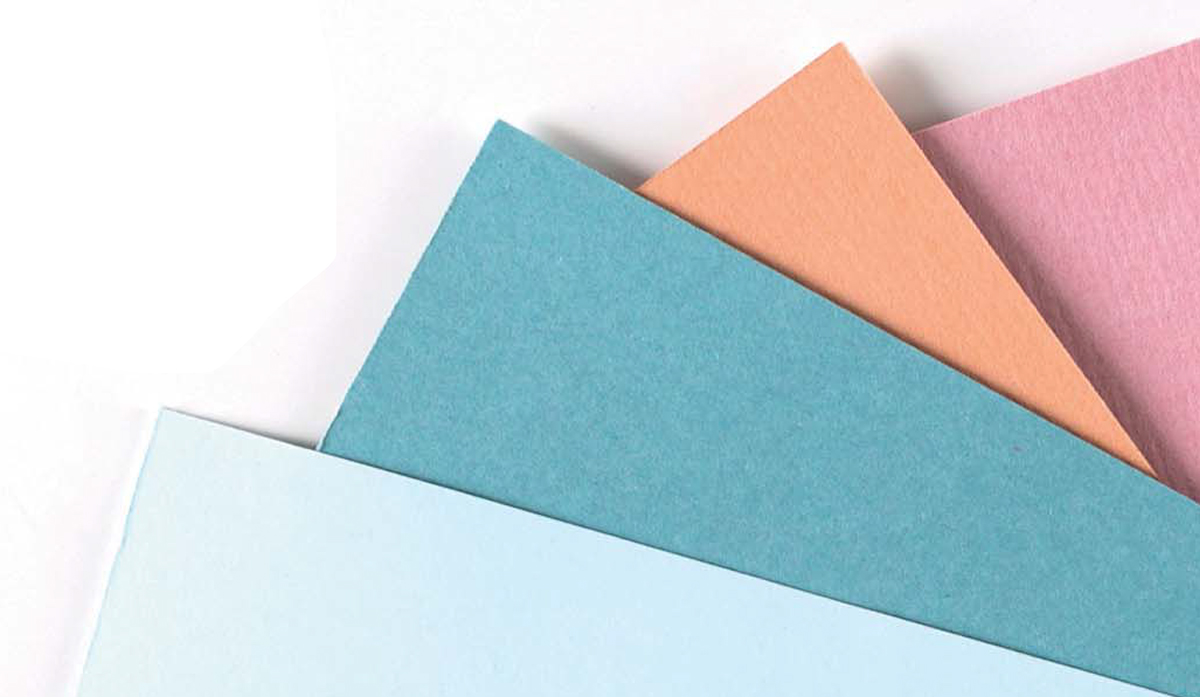
When choosing paper for the projects there are three things to bear in mind paper weight, colour and size. For each project we advise on the best paper to use, with specific details for paper weight and size given in the requirements list, and advice on colour offered in the introduction.
Paper weight
Paper weight relates to the thickness of the paper, which is measured in grams per square metre (gsm or g/m2). In this book, we work with three different paper weights:
- Between 210gsm and 270gsm (medium weight cardstock): This is used for most of our projects, as it offers the perfect balance of strong but foldable paper.
- Between 290gsm and 340gsm (heavy cardstock): This is used for projects that do not have as many folds, as it is more important to use strong paper.
- Between 150gsm and 190gsm (lightweight, flexible cardstock): This lighter weight paper is useful for projects where transparency is important, for example where light needs to shine through the paper.
Paper colour
All of the projects in this book look good in white, but you may prefer to use coloured paper to coordinate with your existing home dcor. Advice on choosing the most appropriate colour is provided in the introduction for the relevant project.
If you choose a coloured paper, make sure that it is fully coloured (i.e., the paper is coloured on both sides and also has a coloured core) as some coloured papers can be layered with white. You will get the best results using a paper that is made from coloured paper pulp.
Paper size
You will need to cut paper to specific sizes for each project based on the measurements given in the requirements list. It is important that this is done accurately to ensure the best results. We recommend using a sharp craft blade with a metal ruler.
For the projects featured in this book the maximum size of paper we use is 1000 x 700mm. This is very close to the International Organization for Standardization (ISO) B1 size, which is widely available from stationers. Of course you can always use a smaller size, but in some cases this may mean that you will need to attach more pieces of paper together.
Tools and equipment
The following list covers the main tools and materials that we work with for the projects featured in this book. Any specific materials or additional tools that may be required are listed with the individual project instructions:
- Cutting mat
- Bone folder
- Scoring tool
- Metal ruler
- Geo triangle
- Craft blade
- Scissors


![Marcia Joy Miller - Origami for Busy People: 27 Original On-The-Go Projects [Origami Book, 48 Papers, 27 Projects]](/uploads/posts/book/151502/thumbs/marcia-joy-miller-origami-for-busy-people-27.jpg)
