Publisher: Amy Marson
Creative Director: Gailen Runge
Art Director: Kristy Zacharias
Editor: Liz Aneloski
Technical Editors: Carolyn Aune and Teresa Stroin
Cover Designers: Kristen Yenche and April Mostek
Book Designer: Kristen Yenche
Production Coordinator: Jenny Davis
Production Editor: Joanna Burgarino
Illustrator: Tim Manibusan
Photo Assistant: Mary Peyton Peppo
Instructional photography by Diane Pedersen, unless otherwise noted
Published by C&T Publishing, Inc., P.O. Box 1456, Lafayette, CA 94549
Dedication
This book is dedicated to quilt shop owners everywhere. They help us choose our projects, pick our fabrics, and befriend our sewing machines. Where would we be without them?
Acknowledgments
Writing an instructional book about quilting really is a group effort. There are a few obvious helpers: quilters Patricia E. Ritter, Marybeth OHalloran, and Heather Spence, all of whom graciously shoehorned my work into their busy schedules. Less obvious are a group of quilters in Miami (they know who they are), who are willing to try almost any pattern before its published; Chrissy OConnor, who graciously tested the binding instructions; and Joan Bailey McMath, who is still the best proofreader I know. Anything that works well in this book is because of them, and anything that doesnt probably wasnt seen by them. My editors, Liz Aneloski and Carolyn Aune, played a huge part, as did the book designer, Kristen Yenche, and others at C&T Publishing whose names I dont even know. Least apparent of all are the students, co-workers, and family members whose interest and encouragement over the years have motivated me to become a better quilter. In the end its all about time on the clock. And obsession.
Introduction
During the approximately eleven years that Ive been making French Braid quilts, the same two questions have arisen repeatedly. This book was written in part to address them.
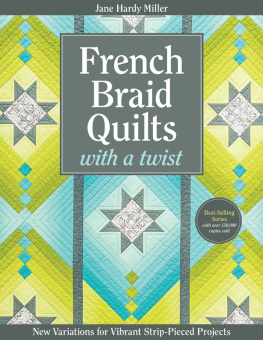
The first issue is the twelve-fabric braid run, the fabrics that appear as chevrons in the braids. Because they are the most noticeable aspect of the braids, they set the tone for the finished quilt. I have always been a proponent of a twelve-fabric closely shaded braid run. But as I saw more French Braids over the years, I realized that even those with less-than-perfect braid runs still looked good. I tried using fewer fabrics in the braid run and repeating them more often. Eventually the success of .
Second, if you are among the many quilters who have asked whether the size of the segments could be changed, this book is for you. The segment sizes vary, not only from quilt to quilt but within some of the quilts. In fact, if youre brave enough to try it, theres even one in which the segments arent even rectangles.
So, Im still careful in selecting a braid run, perhaps more so than most quilters. But in this book, Ive tried to make choosing the fabrics easier. The braid runs have been simplified by using fewer fabrics, as well as by placing less emphasis on perfection in the braid run, and the quilts use many sizes of segments. I hope this evolving style will encourage quilters who have previously been intimidated by French Braids to try one.

Equipment
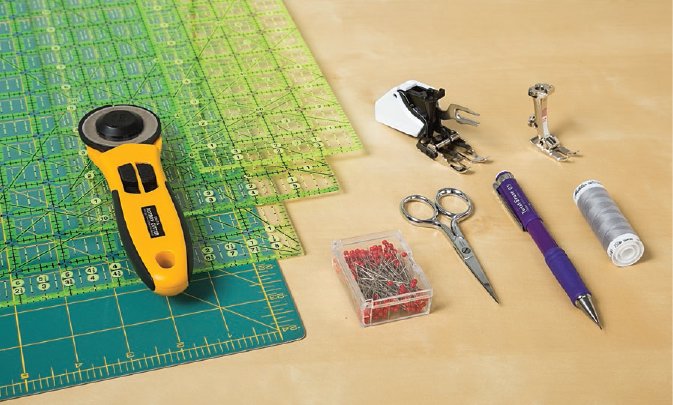
You probably already own most of the equipment needed to make any quilt in this book: a sewing machine with a reliable straight stitch and a foot, and basic sewing supplies such as pins and scissors. The structural integrity of your quilt depends on the thread; save the 10-spools-for-$1 for another project and get out the good stuff. The same is true of your fabric: youll put a lot of time into making a quilt, so dont devalue your effort by using an inferior product.
All the projects in this book include strip piecing, so you will also need a rotary cutter, mat, and, depending on the project, at least one long, wide ruler6 24 or even 8 24. I also often use a shorter ruler (4 14) for cutting segments, and the nonbraid projects may require an additional large square ruler and a second long, wide ruler. Please remember that a rotary cutter is a dangerous implement; the best way to avoid injury is to pay attention while using it.
You will need a sharp pencil for marking the sides of the braids or columns. A mechanical pencil works best, as the marked line is always the same width. Failing that, have a pencil sharpener available while you mark. It is theoretically possible to mark in ink, since youre marking the cutting line rather than the sewing line. But in case of error, ink is harder to remove than pencil, and ink can shadow through or bleed onto other fabrics.
Fabric Selection
Fabric selection for the French Braid projects varies with the number of fabrics in the braid run, and more specific fabric suggestions are given with some of the projects. However, there are a few constants. Try to make the braid run flowit doesnt have to be perfect, but its nice if there isnt a large jump. And no matter how great the fabrics look at the store or on your cutting mat, the braid will look very different when its sewn; because of this, try to purchase the ending triangle, separator, and border fabrics after the braids are completed.
There are a few scrappy French Braids in this book (), and fabric selection for those is more forgivingalmost anything goes. However, there are a few pitfalls to avoid. Do not use diagonally patterned prints in the braid run, because the print will run vertically on one side of the braid and horizontally on the other. Large, high-contrast prints can sometimes appear as blotches in the braid run; unfortunately, theres no way to tell in advance whether this will add interest or merely be distracting. Be careful of stripes that run parallel to the selvages, because they often create a visual stopping point in the braids. Stripes that run perpendicular to the selvages seem to have less of this effect but can still be unpredictable.
For starting or ending triangles, avoid regular geometric prints such as stripes and plaids, or any motif that appears in straight lines or rows; the ends of the braids are not always perfectly square, and straight lines will often be askew. Directional motifs or one-way designs will work for the starting triangles or center squares as long as you understand that you may need to allow extra fabric for fussy cutting. However, use of a directional print for ending triangles may require cutting each triangle individually.
French Braid Construction
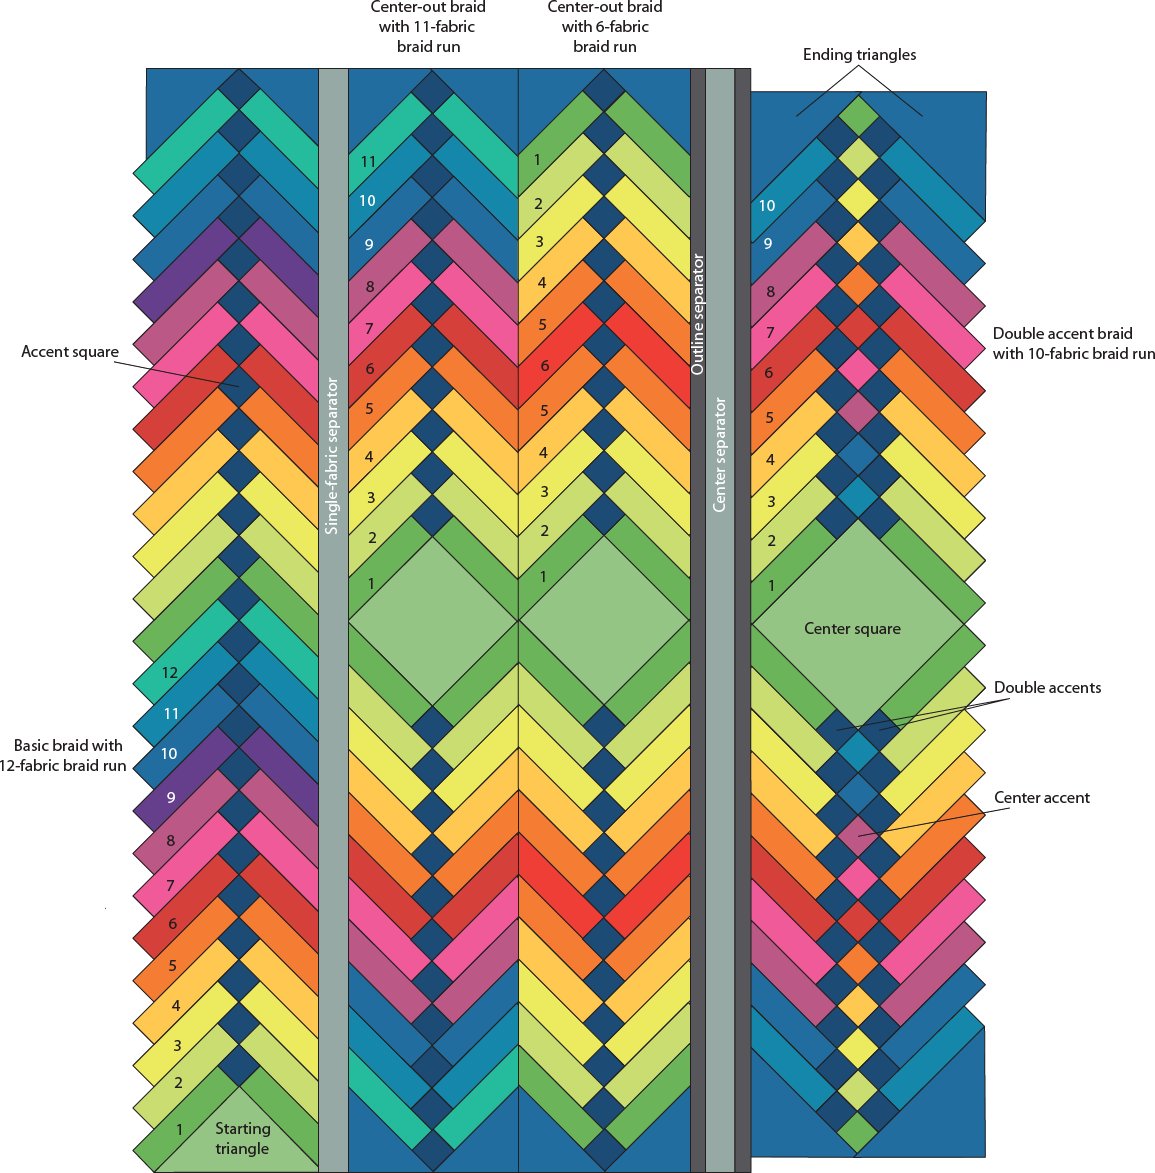
This book features two types of French Braids: basic braids and center-out braids. Each will be discussed separately. Although your segments may be proportioned differently than those in the illustrations in those sections, the technique is always the same.
I dont usually pin as I add the segments, but if you cant match the top ends and seams without pinning, do so. I also strongly suggest that you lay out one entire braid run with the center square or starting triangle before beginning to sew. This will give you a chance to change or rearrange the braid fabrics before the braid is sewn together.
PIECING BASIC BRAIDS
Follow the instructions for your project to cut the required number and size of segments and the starting triangles.
Next page
