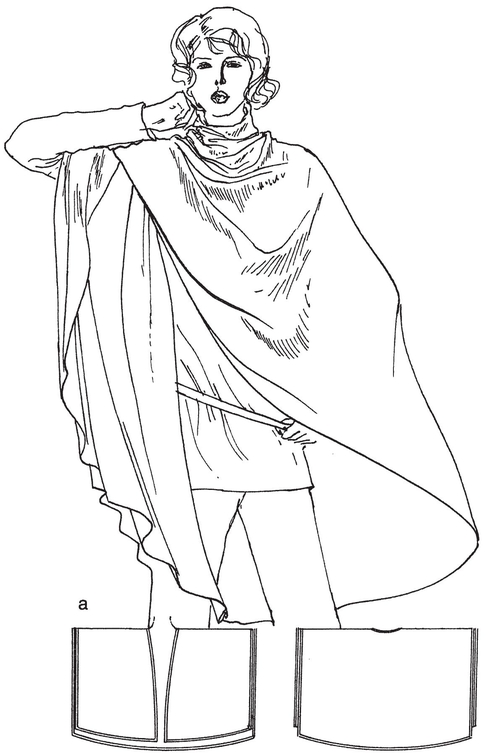
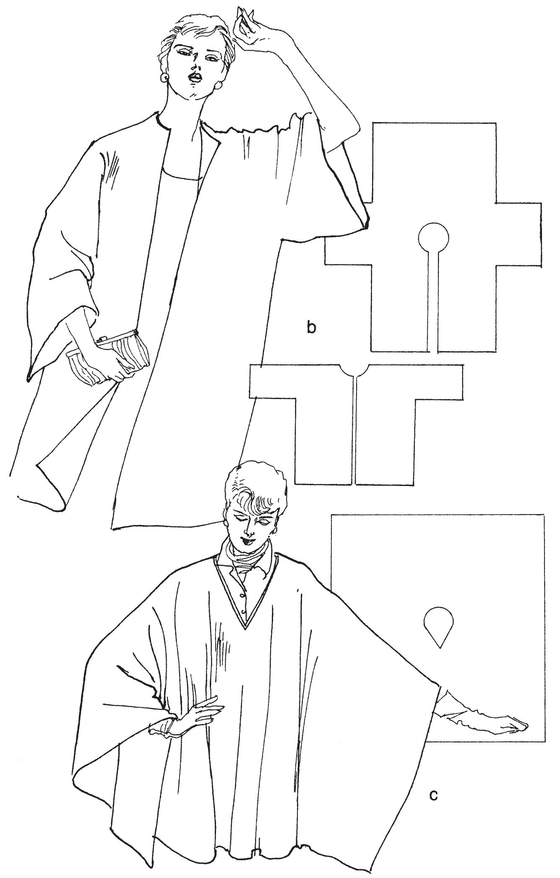
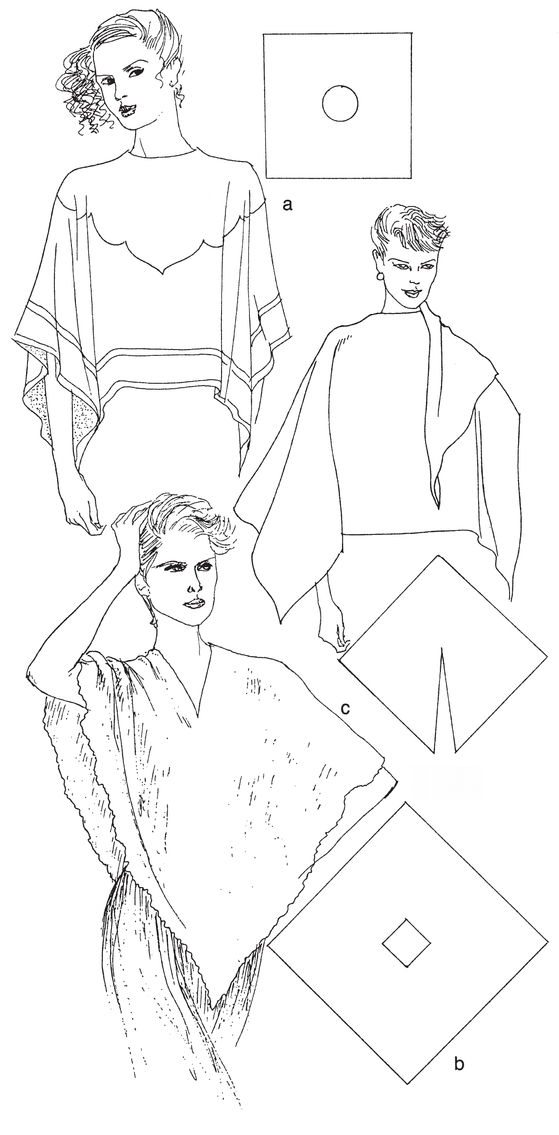
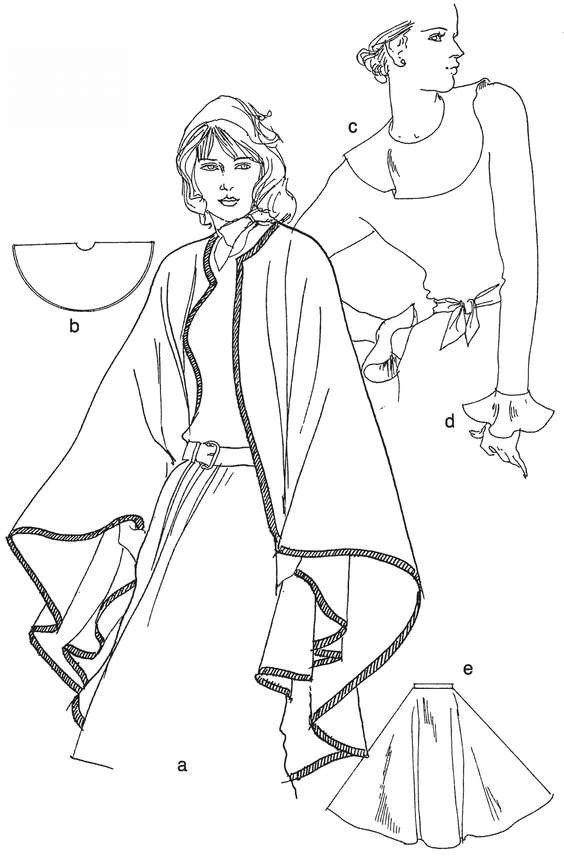
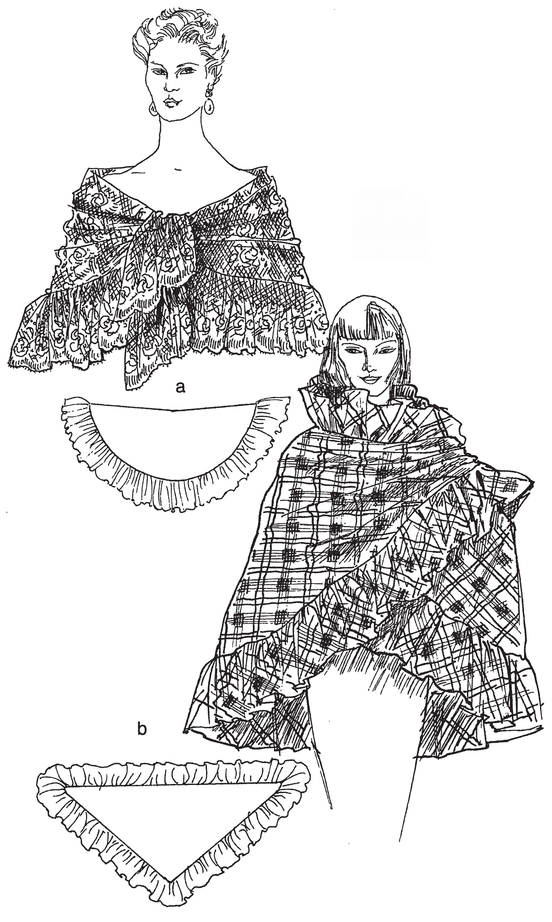
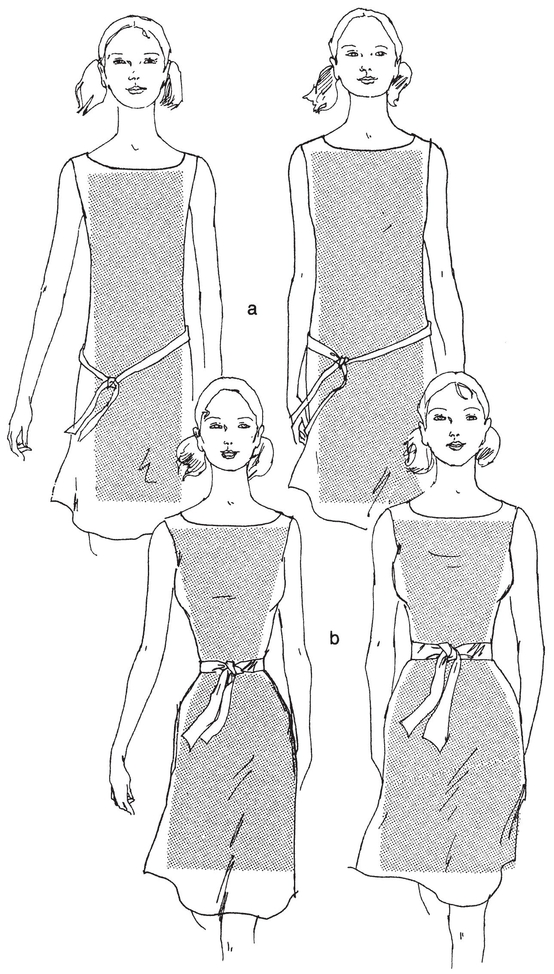
The simplest patterns to make are for clothes designed merely to cover, not to conform to the wearers contours. Such designs were in times past and are still a favored way of dressing. Patterns for them are derived from geometric shapes.
For a nonconforming body covering, ease of construction and ease of fit are more important considerations than individualized shaping. While the wearer lends a degree of dash and animation to the garment, its handsomeness depends largely on the beauty and character of the fabric of which it is made. Individualization of such a one-size-fits-all garment is more a matter of style than of the relationship of its lines to the lines of the figurehow one drapes it, wraps it, winds it, belts it, trims it, accessorizes it.
All one really needs to know to make the pattern for such clothes is the length and width and which geometric shape to use.
CONSIDER THE POSSIBILITIES
There are rectangles, squares, circles, semicircles, and triangles with which to work.
Cut as long and as wide as you wish, a rectangle becomes a fashionable stole (), a trimming (Fig. le), and so on.
Fold a rectangle in half, slash an opening in front, and fling one end over your shoulder (). (Make a neckline large enough to slip over the head but not so large as to slip off the shoulders. If necessary to piece the fabric, plan a center seam.)
With a hole to slip over your head, a square becomes a capelet ().
A circle with ().
A semicircle () of either single or double thickness, trimmed or untrimmed, makes an elegant shawl.
GENERAL DIRECTIONS FOR MAKING A PATTERN FROM A GEOMETRIC SHAPE
Before making the pattern, see Chapter 3, Its a Pattern!
1. Determine the size and shape of the garment (or part of it).
2. Use a length of pattern paper of sufficient length and width. (Tissue, shelf, or wrapping paper will do.) Piece the paper where necessary.
3. Sketch in the desired shape of the pattern.
4. True the lines with an appropriate drafting tool: ruler, yardstick, triangle, French curve, compass, or any circular shape of appropriate size (in a pinch, a bowl or plate works well).
5. Fold the pattern in half lengthwise and/or crosswise to even out both sides of a balanced design.
6. Add seam allowances where necessary. Indicate the grain of the fabric with a double-headed arrow.
7. Test the pattern in some trial material to perfect it for size, shape, fullness.
GEOMETRIC FORMS AND BLOCK PATTERNS
To make patterns for clothes designed to conform to the figure, one must know length, width, and figure (rather than geometric) shape. Such garments and those with more intricate styling than that offered by a simple geometric shape are developed by drafting or draping. Draping is a highly personal, slow, often costly method of producing patterns. Flat-pattern drafting is a simple, standard, fast, comparatively inexpensive method. Therefore, the latter is (understandably) more widely used today than draping. (Directions for draping will be found in Chapter 15.)
Flat patterns start with and are variations of a block pattern a geometric shape again. (The block pattern is also called a sloper or basic pattern. )
Accustomed as they were to dealing with rectangular lengths of cloth, those inventive souls who devised the flat-pattern system saw the rectangle as a logical starting point. By measuring a certain amount down, up, or over, within the rectangle, they found it possible to construct a block pattern for a bodice, a skirt, sleeves, slacks, and the like. This was, in fact, the method used (still used by many) for producing style patterns as well as slopers.
Great as it is, a pattern is flat while you are not and thereby hangs a tale.
Chapter 2
An Art to a Dart
The body has height, width, and depth. Within this roughly cylindrical framework there are a series of secondary curves and bulges, each with its high point, or apexmore in a woman, less in a man, and differently placed in a child. These concern the patternmaker for the pattern must provide enough length and width of fabric to cover the high points (where the body is fullest, the measurements largest, and the fabric requirements greatest) while at the same time providing some means of controlling the excess material in a smaller adjoining area. Dart control is the means by which this is accomplished.
Wherever on the body there is a difference between two adjoining measurements (bust or chest and waist, hips and waist, lower shoulder blades and waist, upper shoulder blades and shoulders) or wherever movement creates a bulge (as at the elbow), you will find that some form of shaping by dart control is necessary.
Dart control is the basic structure of all fitted and semifitted clothing whatever the design. The rules for dart control apply equally to childrens, boys, and mens clothing as well as to girls and womens. The needs of a womans figure are most marked, so the principles of dart control can be more clearly demonstrated by it. There is this too: there are more variations in design in womens clothing than in mens. Therefore, the illustrations in this book are largely limited to womens clothing.
DART CONTROL, A SYSTEM FOR SHAPING FABRIC TO FIT THE FIGURE
This is how dart control works. Say your hips measure 37 inches and your waist measures 27 inches. The garment must fit at both waist and hips despite their difference in measurement. That 10-inch differential comes out in dart control.
The greater the difference, the larger the amount of control. The smaller the difference, the smaller the amount of control. It is not whether a figure is short or tall, heavy or slim, which determines that amount. It is always the relationship between the two adjoining measurements.
DART CONTROL FOR COLUMNAR FIGURES
However heavy, slim, short, or tall, columnar figures need less shaping because there is less difference between adjoining measurements ().
DART CONTROL FOR HOURGLASS FIGURES
However heavy, slim, short, or tall, hourglass figures need more shaping because there is more difference between adjoining measurements ().
DART CONTROL FOR ALL FIGURE TYPES
There is this, too: the larger the amount of stitched dart control, the larger the resulting bulge. The smaller the amount of stitched dart control, the smaller the resulting bulge. This means that the shaping will be greater in those areas of the body that have the greatest need. Gentler shaping is reserved for those areas where the needs are less.


