Joan Wiener Bordow - The Illustrated Hassle-Free Make Your Own Clothes Book
Here you can read online Joan Wiener Bordow - The Illustrated Hassle-Free Make Your Own Clothes Book full text of the book (entire story) in english for free. Download pdf and epub, get meaning, cover and reviews about this ebook. year: 2008, publisher: Skyhorse Publishing, genre: Home and family. Description of the work, (preface) as well as reviews are available. Best literature library LitArk.com created for fans of good reading and offers a wide selection of genres:
Romance novel
Science fiction
Adventure
Detective
Science
History
Home and family
Prose
Art
Politics
Computer
Non-fiction
Religion
Business
Children
Humor
Choose a favorite category and find really read worthwhile books. Enjoy immersion in the world of imagination, feel the emotions of the characters or learn something new for yourself, make an fascinating discovery.
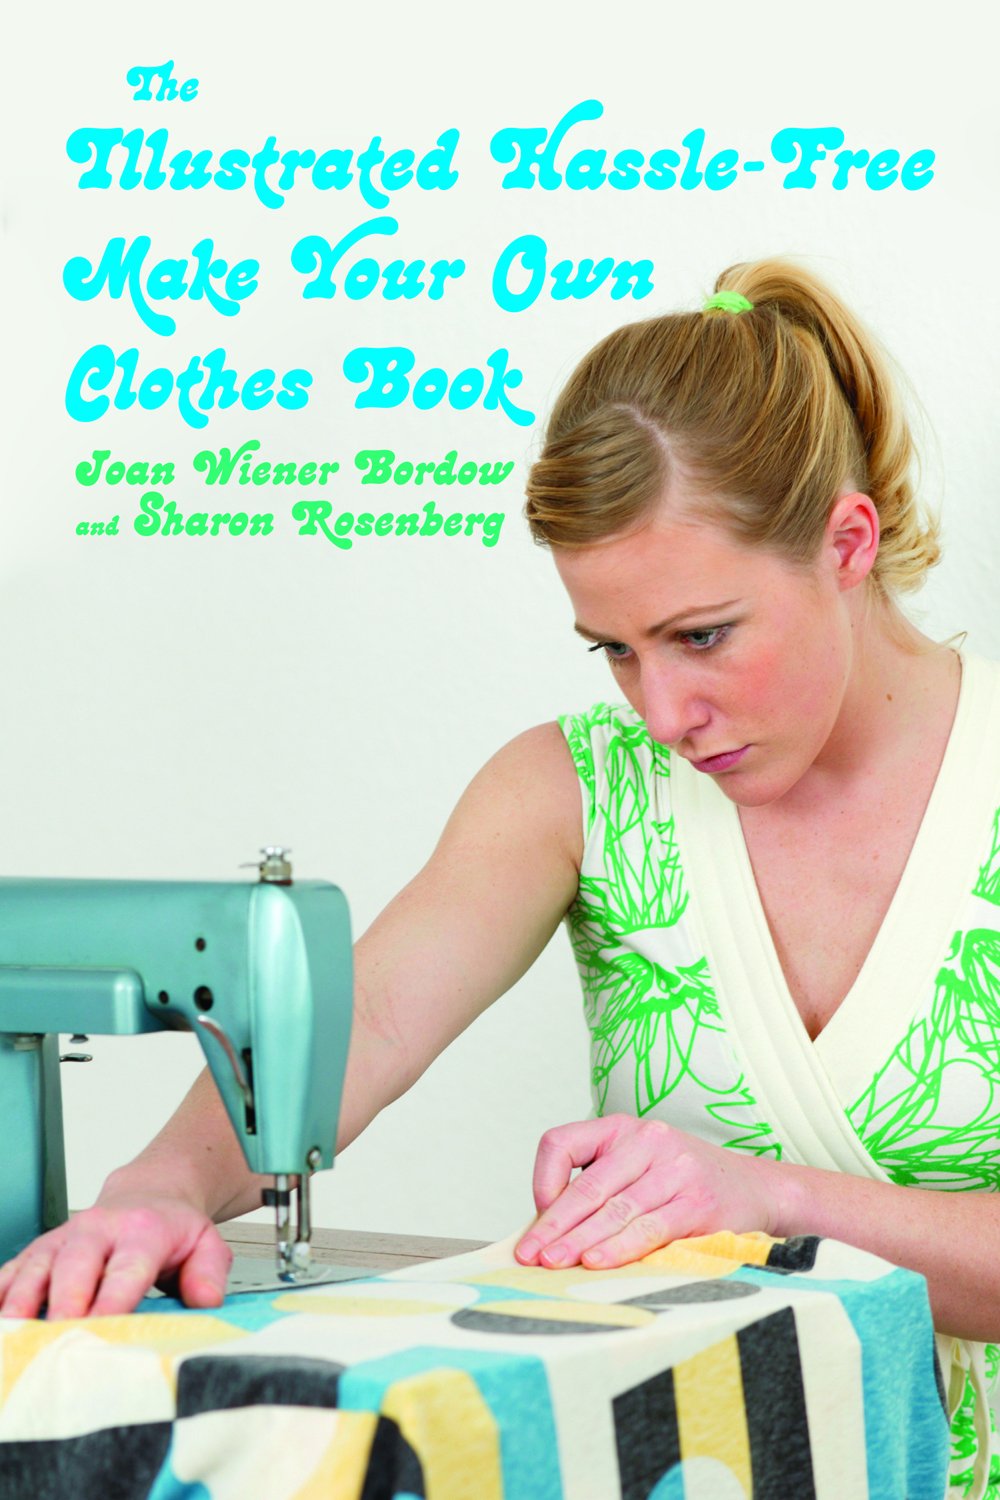
- Book:The Illustrated Hassle-Free Make Your Own Clothes Book
- Author:
- Publisher:Skyhorse Publishing
- Genre:
- Year:2008
- Rating:4 / 5
- Favourites:Add to favourites
- Your mark:
The Illustrated Hassle-Free Make Your Own Clothes Book: summary, description and annotation
We offer to read an annotation, description, summary or preface (depends on what the author of the book "The Illustrated Hassle-Free Make Your Own Clothes Book" wrote himself). If you haven't found the necessary information about the book — write in the comments, we will try to find it.
A simple, no-nonsense guide to home sewing.Los Angeles Times
Here is the straight-up dope on how to make your own clothing. With or without patterns, machines, or fancy materialsanyone can do it! Got some old clothes that you love and that fit well? Use them as patterns for new ones. Want something new and spectacular, something that fits right along where your head is moving? Cut up, remodel, add on, and let your old stuff evolve! Readers will embrace the step-by-step illustrations, clear and encouraging prose, and timeless collection of clothesfrom skirts and pants to dresses, a waistcoat, and even a teeny-weeny bikini. The Illustrated Hassle-Free Make Your Own Clothes Book promises to be both an indispensable resource and a much-noticed collectible on every hipsters bookshelf. 100 black-and-white illustrationsJoan Wiener Bordow: author's other books
Who wrote The Illustrated Hassle-Free Make Your Own Clothes Book? Find out the surname, the name of the author of the book and a list of all author's works by series.


The Illustrated Hassle-Free Make Your Own Clothes Book — read online for free the complete book (whole text) full work
Below is the text of the book, divided by pages. System saving the place of the last page read, allows you to conveniently read the book "The Illustrated Hassle-Free Make Your Own Clothes Book" online for free, without having to search again every time where you left off. Put a bookmark, and you can go to the page where you finished reading at any time.
Font size:
Interval:
Bookmark:

Here are some supplies for the well-stocked sewing kit. The first group are the things you need to begin, the second group those youll acquire as you go along. When you start a project, buy the things that you need: thread, zipper, snaps or buttons. Youre bound to have leftovers and will soon gather a lovely collection of odds and ends for future use.
Things to Start With:
Brown Paper or Paper Bags for making patterns
Needlesassorted sizes
Seam Ripper
Scissors
Straight Pinslarge box, medium size
Tailors Chalk
Tape Measure
Things Youll Acquire:
Beeswax
Buttons
Elastic
Embroidery Needlesassorted sizes
Embroidery Threads
Hooks & Eyes
Leather Needlesassorted sizes
Safety Pinsassorted sizes
Seam Binding
Snapsassorted sizes
Threadlarge spool black
large spool white
assorted colors
Zippers
If you have a sewing machinegreat!but not having one shouldnt keep you from sewing. In many places, electricity isnt available and its better not to depend on machines.
Hand sewing is sturdier than machine sewing. Its also a lot more relaxing. What machines can do is shorten sewing time considerably. If you do have access to a machine, dont be afraid to use it. Theyre extremely simple to operate and can be used for all seam sewing. Hems, however, should always be done by hand.
If you dont know how to use a machine, have someone show you how. This is always better than relying on a diagram.
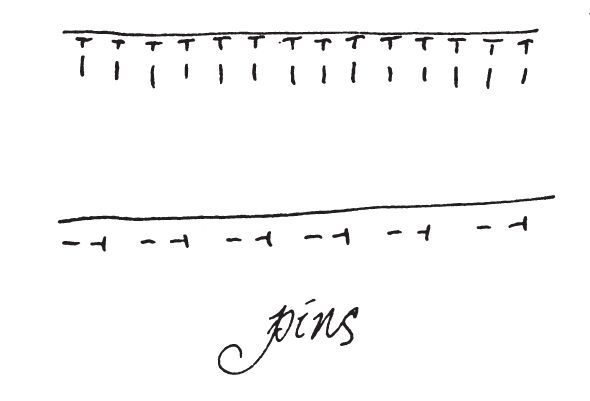
When using a machine, be careful not to sew in a straight line directly over pins. This can damage the machine. Rather place pins facing the machines needle, pulling them out before the needle reaches themor, place pins perpendicular to the needle and sew over them that way.
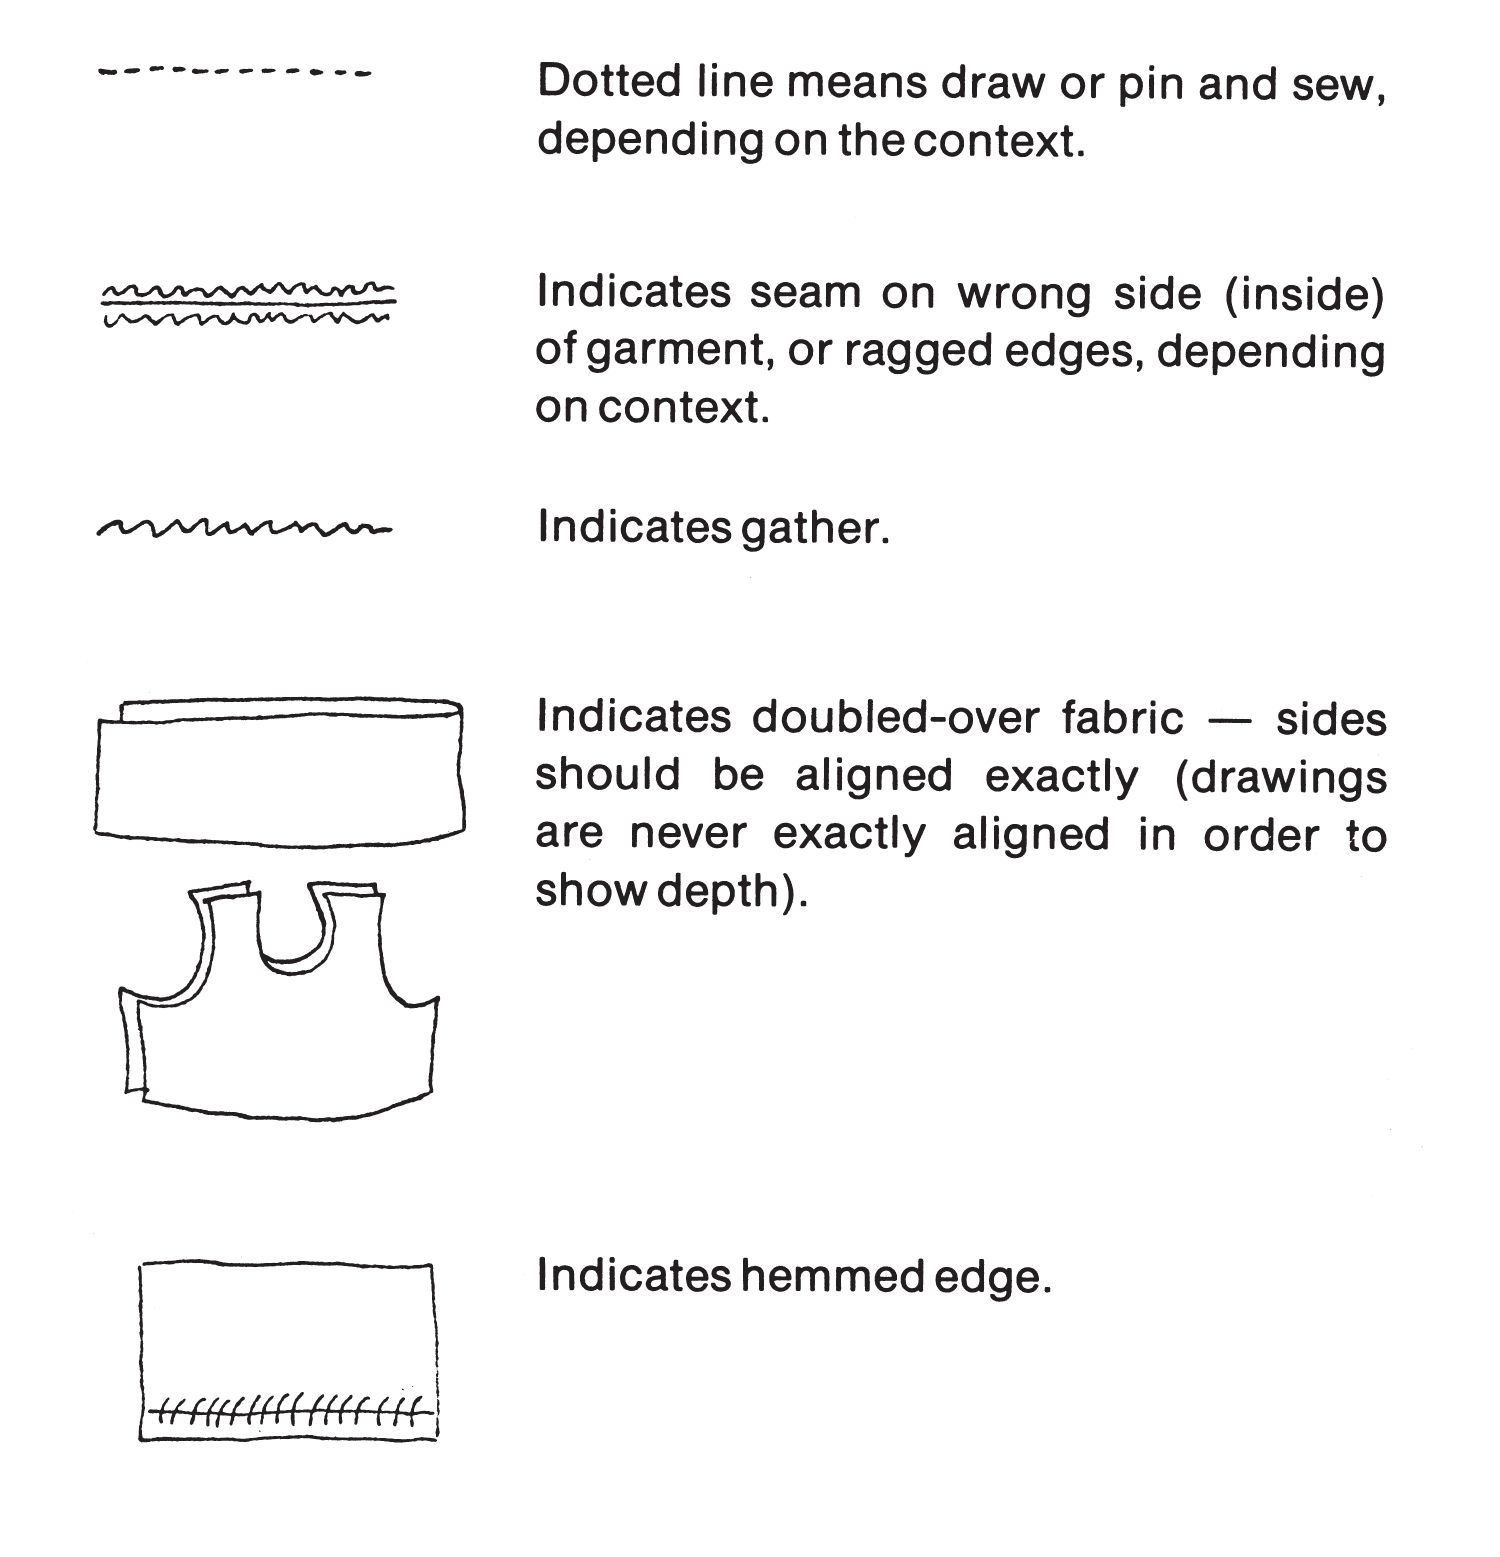
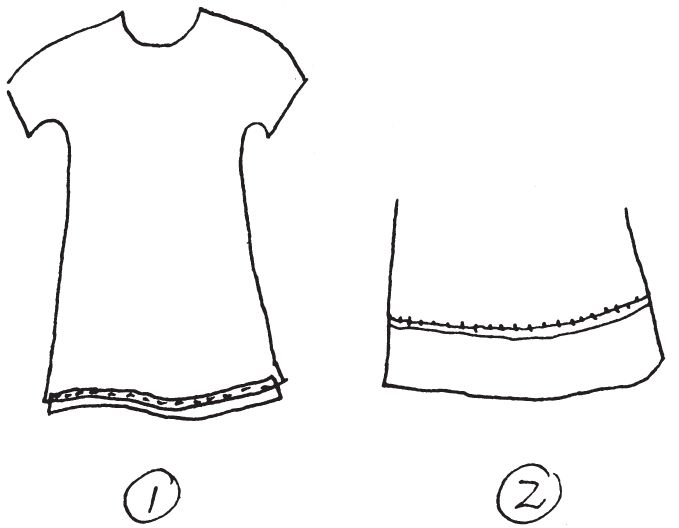
Casing: This refers to folding over and sewing down the fabric in such a way as to form a tube through which you can string elastic or a ribbon tiefor waistbands on elastic top pants, string gathered necklines or elastic gathered cuffs at wrist or ankle.
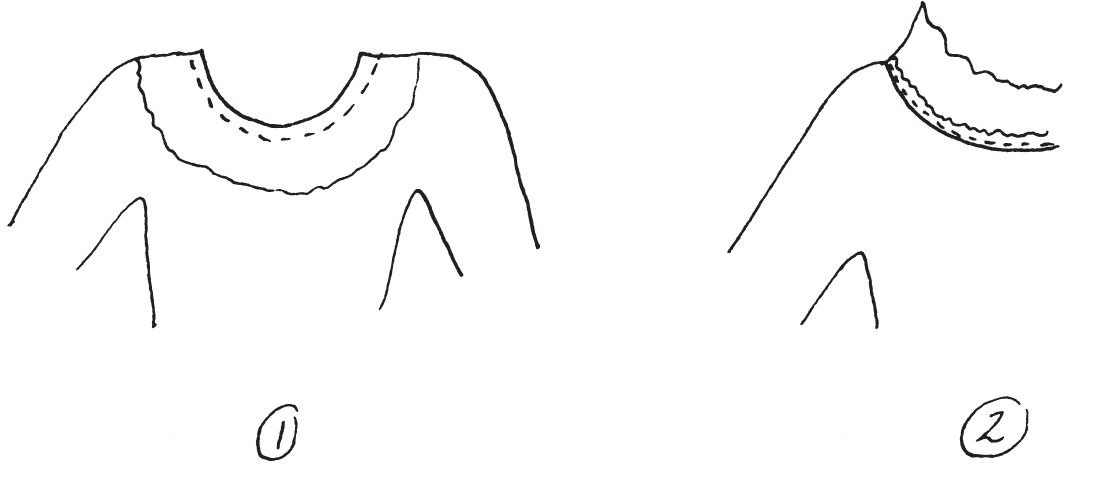
Clip Curves: Material sewn on a curve tends to bunch up when worn. Therefore, its necessary to clip curves at armholes, necklines, crotches, etc. This allows the material to lie flat. Always start your clipping at the ragged edge, cutting up to, but not over, the seam.

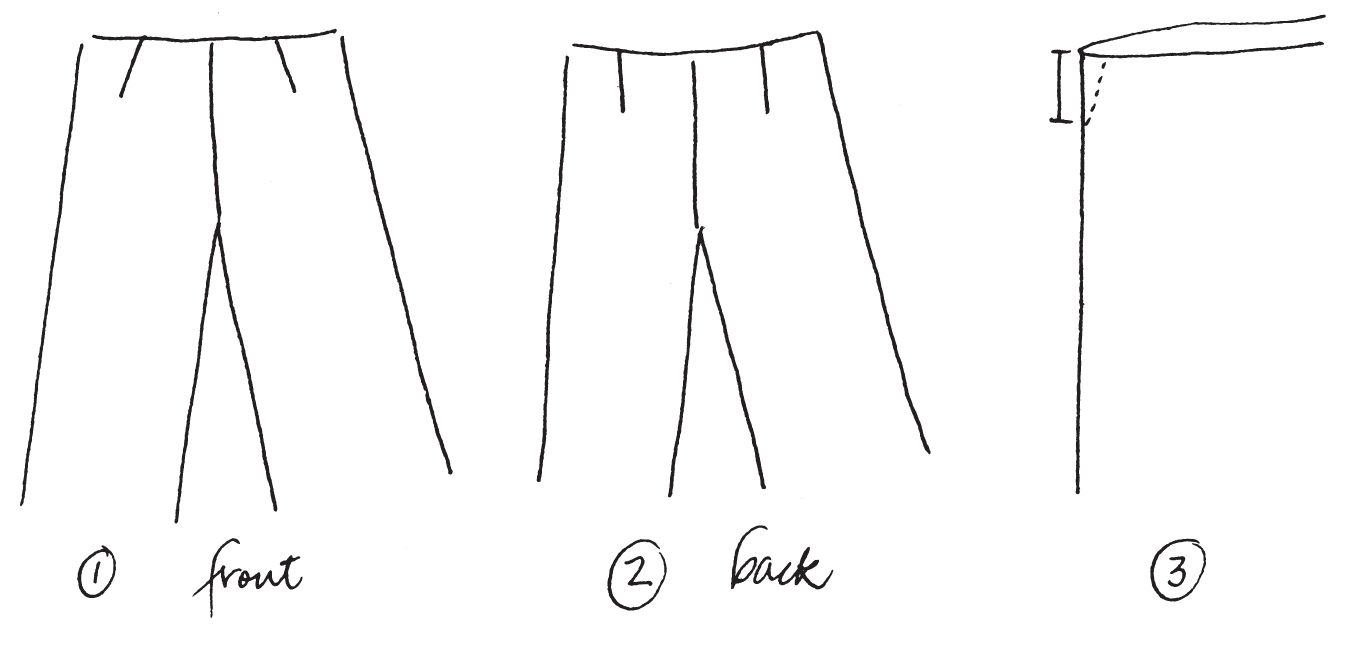
Darts: We dont use darts on tops because we dont use bras they give your clothes a funny shape. If you want to make darts, you can figure out easily enough how to add them to the tops. On some pants and skirts, though, darts are useful to make waistbands fit better. You dont have to have them, but heres how in case you want to:
1. On the front, youll want a small dart about 2 or 3 long, going from the waistband out at an angle toward the point of the hip, if youre slim, or straight down toward your belly if thats nice and round.
2. Same in back: make a dart 3 to 4 long going from the waist straight down to the part that sticks out the most. This makes things go in where you go in and go out where you go out.
Hold the front piece up to you and mark in tailors chalk where you want the dart to be. Measure carefully to make sure both darts are an equal distance from the center. Do the same with the back pieces.
3. Fold along the line, right side to right side and sew on a diagonal line, starting at top edge about from fold, down to the bottom of your measured dart. Press flat.
Elastic: Whenever you use elastic for a waistband or cuff, you can prevent it from curling and twisting if you tack it into place at the sides, front and back of your garment. After the elastic is inserted in the casing, make sure it isnt curled, adjust the gathers evenly, then tack by sewing through the elastic and the front and back of the casing, using a small stitch the way you would sew on a buttonit wont show in the folds of the fabric.
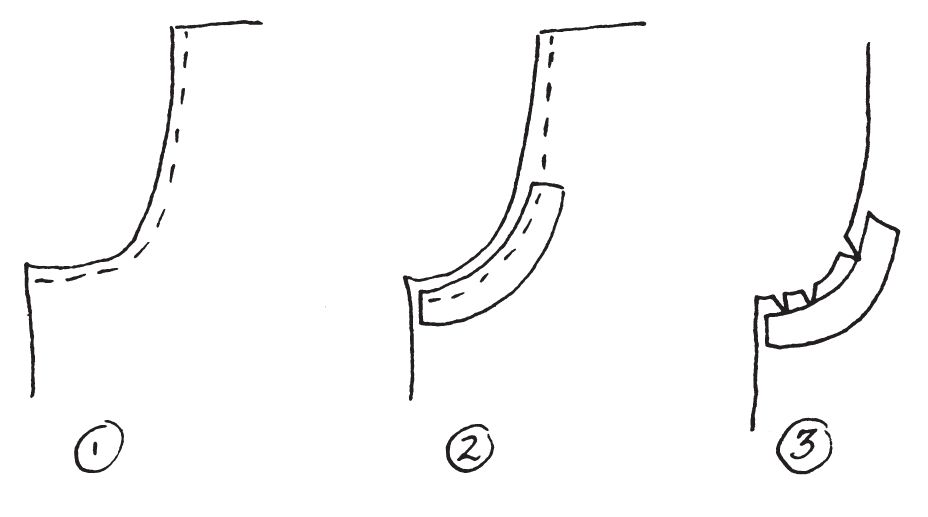
Facings: Dont be scared by the word facing. It is merely an easy way to get a smooth turned edge at garment openings like necks and armholes. The facing is a 2 or 3 piece of fabric that follows the shape of the opening. Instructions will be given with each pattern where a facing is necessary.
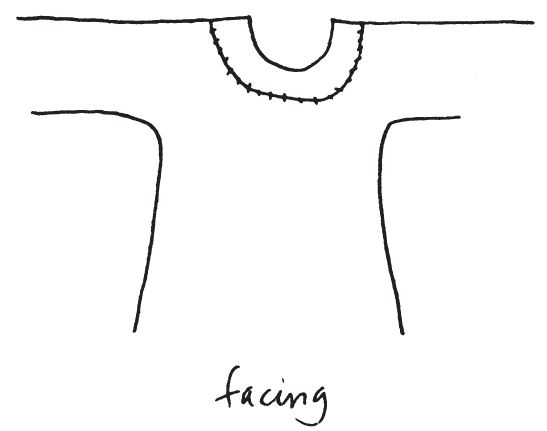
1. Sew the facing into place.
2. Press it out flat, away from the garment. Sew another seam from the first seam, taking in the seam selvage and the facing. Trim selvage. This will help it stay flat and keep it from turning to the outside.
If your fabric is stretchy and pliable, facings arent absolutely necessarythe ragged edges can be turned under neatly and sewn down. Also, whenever a facing is indicated, you can sometimes use ribbon or lace if you dont have enough extra fabric.
Hem Binding: Ribbon or lace can be used whenever you want to give a smooth, unragged look to hems. Its especially good on heavy fabric where its hard to turn the ragged edges under.
1. Sew the ribbon to the right side of your fabric so that the ribbon extends just a little beyond the ragged edge.
2. Then turn up your hem to the right length, pin and hem stitch.
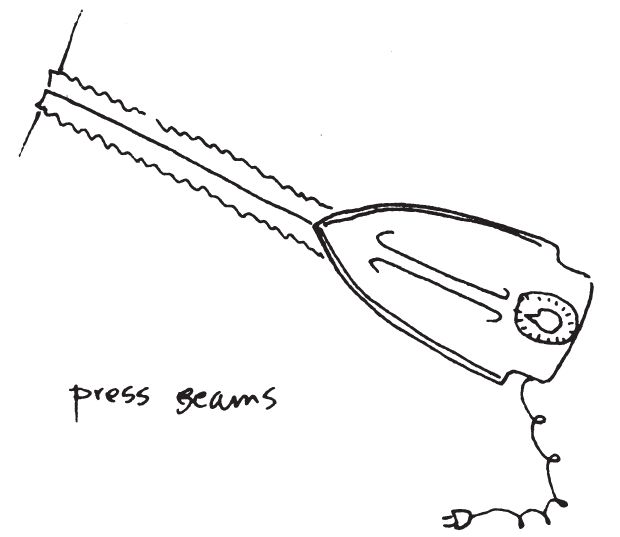
Ironing (Pressing): Its good to keep an iron hot and handy while sewing so you can press seams open and flat as you go. Youll frequently find yourself sewing over seams and pressing makes the whole process much simpler.
Reinforcing Seams: Wherever there will be strain on a seam at the crotch or underarm areas, for exampleit is helpful to reinforce this by sewing a piece of ribbon or seam binding over the seam.
1. Sew the seam as usual.
2. Pin a piece of ribbon or seam binding over the seam where you want it to be reinforced. Sew over the seam again. Remove the pins and...
3. Clip the curve if necessary, without clipping the ribbon.
Right Side of Material: This refers to that side of the material which will show when you wear it. It also refers to the opposite of wrong side, not the opposite of left side.
Font size:
Interval:
Bookmark:
Similar books «The Illustrated Hassle-Free Make Your Own Clothes Book»
Look at similar books to The Illustrated Hassle-Free Make Your Own Clothes Book. We have selected literature similar in name and meaning in the hope of providing readers with more options to find new, interesting, not yet read works.
Discussion, reviews of the book The Illustrated Hassle-Free Make Your Own Clothes Book and just readers' own opinions. Leave your comments, write what you think about the work, its meaning or the main characters. Specify what exactly you liked and what you didn't like, and why you think so.