Orriss - Craft Bookbinding
Here you can read online Orriss - Craft Bookbinding full text of the book (entire story) in english for free. Download pdf and epub, get meaning, cover and reviews about this ebook. City: New York, year: 2014, publisher: Crowood, genre: Home and family. Description of the work, (preface) as well as reviews are available. Best literature library LitArk.com created for fans of good reading and offers a wide selection of genres:
Romance novel
Science fiction
Adventure
Detective
Science
History
Home and family
Prose
Art
Politics
Computer
Non-fiction
Religion
Business
Children
Humor
Choose a favorite category and find really read worthwhile books. Enjoy immersion in the world of imagination, feel the emotions of the characters or learn something new for yourself, make an fascinating discovery.
- Book:Craft Bookbinding
- Author:
- Publisher:Crowood
- Genre:
- Year:2014
- City:New York
- Rating:5 / 5
- Favourites:Add to favourites
- Your mark:
Craft Bookbinding: summary, description and annotation
We offer to read an annotation, description, summary or preface (depends on what the author of the book "Craft Bookbinding" wrote himself). If you haven't found the necessary information about the book — write in the comments, we will try to find it.
Orriss: author's other books
Who wrote Craft Bookbinding? Find out the surname, the name of the author of the book and a list of all author's works by series.


Craft Bookbinding — read online for free the complete book (whole text) full work
Below is the text of the book, divided by pages. System saving the place of the last page read, allows you to conveniently read the book "Craft Bookbinding" online for free, without having to search again every time where you left off. Put a bookmark, and you can go to the page where you finished reading at any time.
Font size:
Interval:
Bookmark:
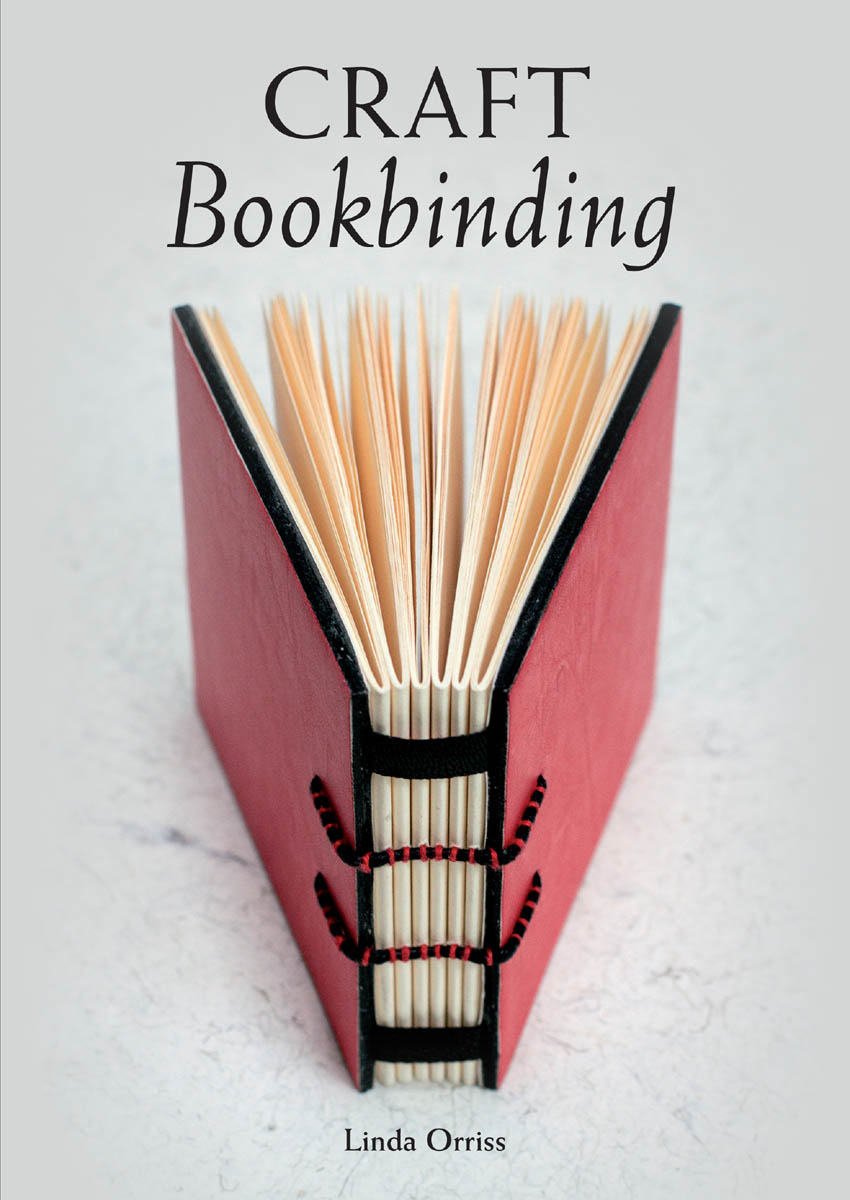
CRAFT
Bookbinding
Linda Orriss

THE CROWOOD PRESS
First published in 2014 by
The Crowood Press Ltd
Ramsbury, Marlborough
Wiltshire SN8 2HR
www.crowood.com
This e-book first published in 2014
Linda Orriss 2014
All rights reserved. No part of this publication may be reproduced or transmitted in any form or by any means, electronic or mechanical, including photocopy, recording, or any information storage and retrieval system, without permission in writing from the publishers.
British Library Cataloguing-in-Publication Data
A catalogue record for this book is available from the British Library.
ISBN 9781847977656
Photographs by MIke Butcher (http://mikebutcher.com)

CHAPTER ONE
Like all crafts, bookbinding seems to have an infinite variety of tools and helpful gadgets associated with it. I have limited my recommendations to ones which I think you will find useful for the projects in this book. They should give you a good foundation which you will be able to extend and adapt as you develop your own method of working.
HAND TOOLS
Measuring
Rulers and set squares
Standard 30cm (12in) steel rule will suffice, but a variety of metal edged rulers and set-squares are useful.
Try-square
A small 75cm (3in) one is the most useful, but a larger one can also come in handy.
Dividers
Small dividers are easiest to use as they can be held and manipulated with one hand. Get at least two sets to avoid having to reset your measurements while you are working.
Cutting
Scalpel
When book-binding, it is best to have a scalpel with a flat handle to allow you to trim pages close to the book-block. I would recommend the Swann Morton No.3 and No.4 handles. For the No.3 handle, the No.10A blade is useful for trimming edges and the No.15A blade is good for cutting out delicate designs. The No.4 handle is more robust and the blades are less likely to bend and break. The No.25 blade can be used for trimming the edges of folded sections, paring paper and card, and cutting board.
Scissors
Ideally you should buy a large pair of shears and small pair of pointed sewing or embroidery scissors, but a sharp general-purpose pair will do.
Utility knife
You will need a general purpose knife for cutting a variety of materials. A snap-off blade knife which can be bought at any DIY shop is fine.
Corner cutting guides
You can buy sets of corner cutting guides, but they are difficult to find. It is, however, very easy to make your own and well worth the trouble. You will need at least four to cover different boards ranging in thickness from about 1 to 3.5mm (132 to in). Label them clearly so that you can easily find the one you want.
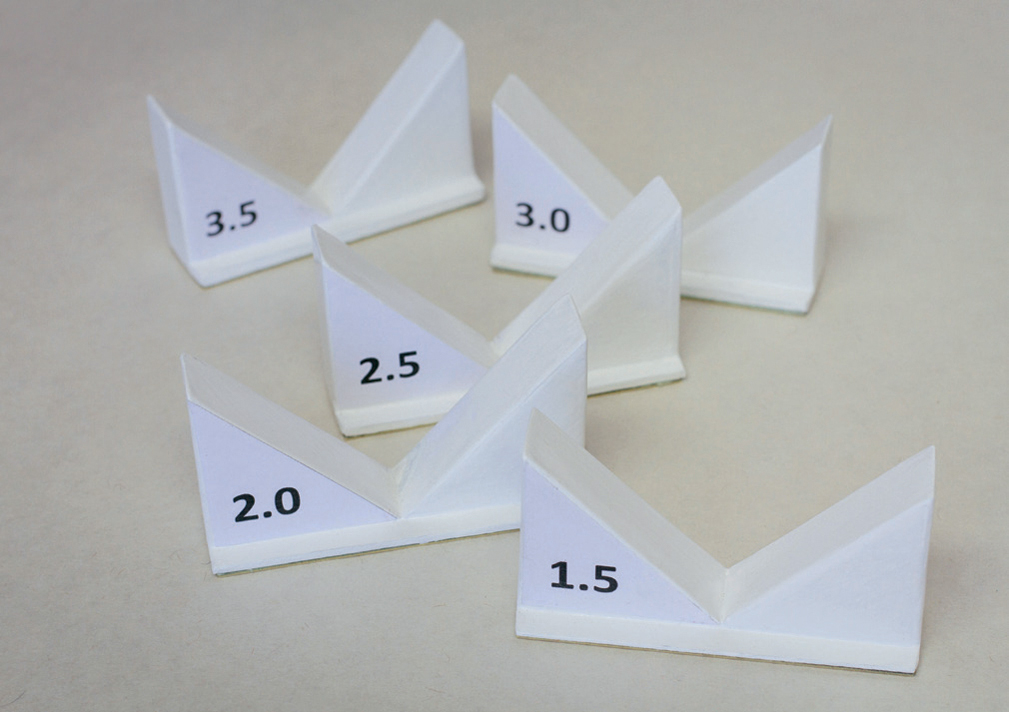
A set of corner-cutting guides will help you to cover board corners neatly and consistently.

Corner-cutting guides can be made with two pieces of wood which have been cut as identical right-angled isosceles triangles, a piece of board and a strip of brass which has been backed with some card or cloth padding. The board should be the same thickness as the board you will be covering, and the brass strip with its padding should be 11.5mm thick. Backing the brass first allows you to glue them together with wood glue. Otherwise you can use small brass screws or pins.
Cutting mat
You should buy a large mat to use on your workbench or table and a small one to use in more restricted areas or if you want to trim a page in your book. You could use a piece of greyboard, but it would need to be replaced on a regular basis.
Folding
Creasing board
A creasing board is a board with narrow rounded channels cut in it, used to help to put a crease in thick paper, card or thin board before folding it. It enables you to make a much neater fold and reduces the likelihood of cracking the surface.
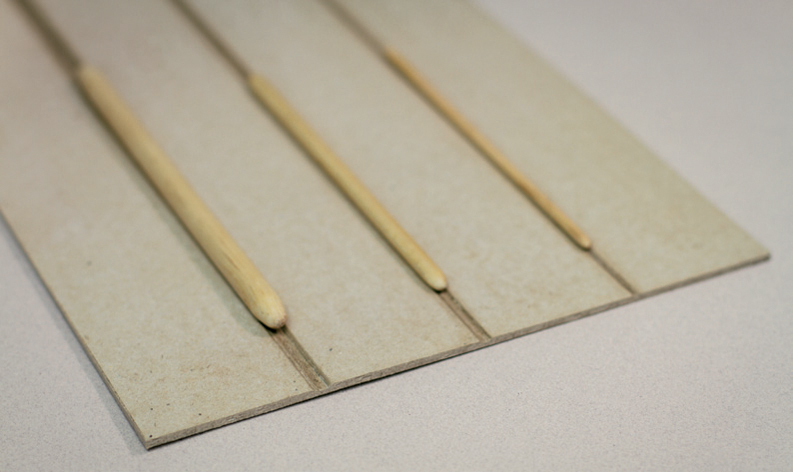
A board with narrow channels cut in it can be used to crease thick paper, card and thin board before folding it. You can make folding sticks to be used to push the paper or card into the channels by rounding the ends of appropriately-sized pieces of wooden dowelling. Use these exclusively for creasing as they will need to be kept very clean and smooth. Otherwise you can use glass rods or round ended bone or Teflon folders so long as the rounded end matches the inner rounded surface of the indented line.
MAKING A CREASING BOARD
If you are lucky enough to own a router, you could make a creasing board by routing out channels on the surface of a wooden board or a piece of MDF. Otherwise you can make one with a piece of mill board.
To make one channel, cut up to a millimetre into the surface of the board with a knife along a straight edge on either side of the channel. Then, using the knife freehand at a very shallow angle, cut down both channels so that the cuts meet in the middle and peel off the surface of the board down the channel. Sand the channel smooth and into a rounded shape with sandpaper wrapped tightly round a kebab stick or double-ended knitting needle.
You should make three or four channels about 1.55mm in width and 12mm in depth.
Finish the board by rubbing beeswax onto the surface and down the channels and then polishing it hard until it is smooth and shiny.
Folders
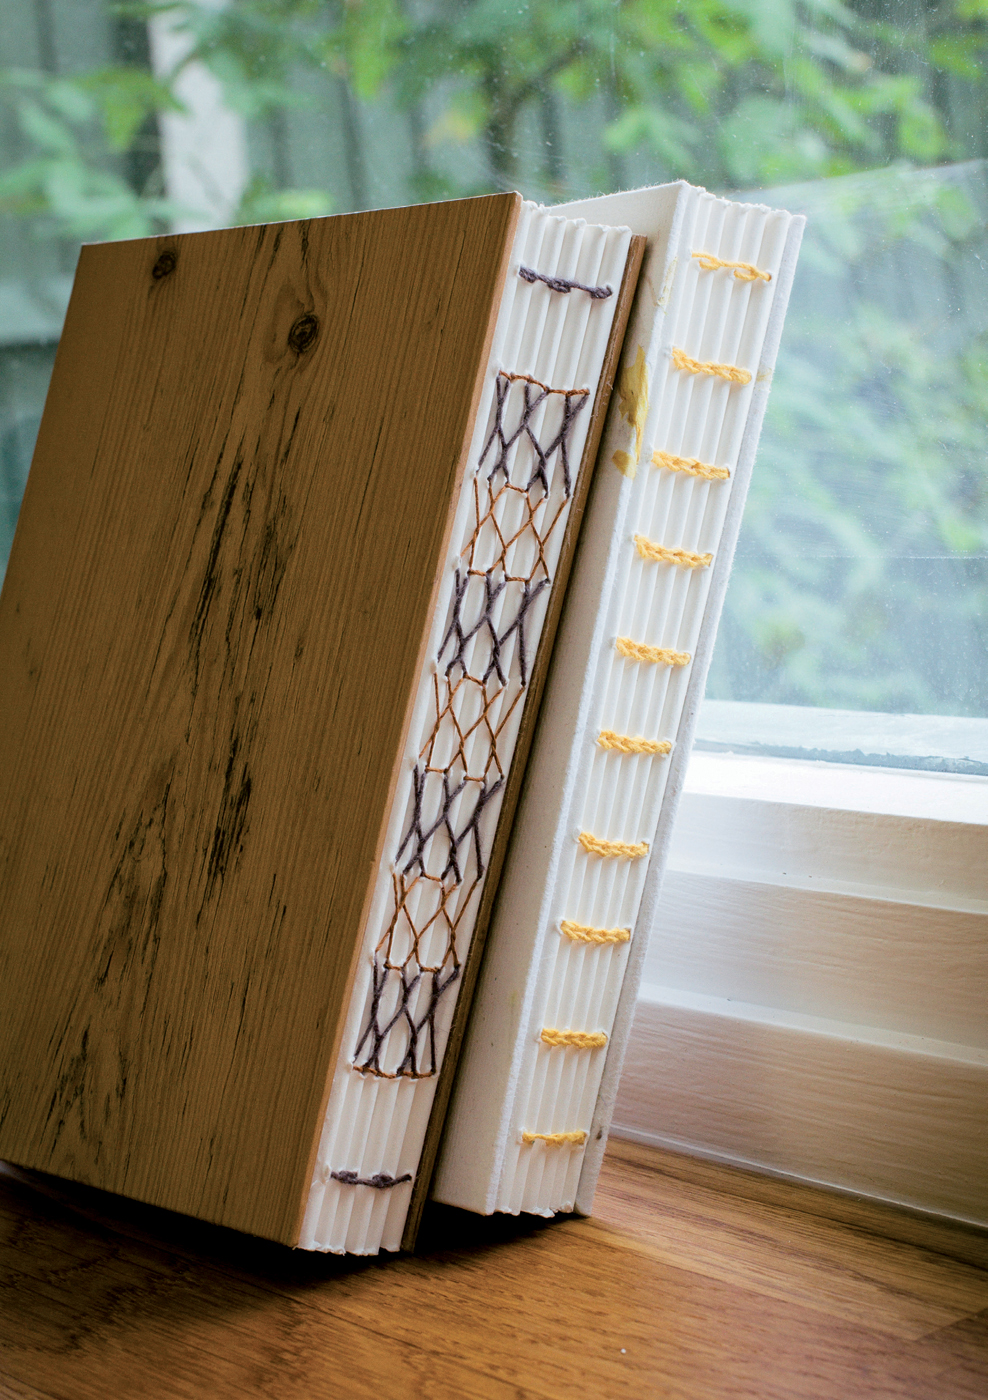
Folders are small flat implements used mainly for folding paper and rubbing down areas after they have been glued together. They are usually made of bone but they can be made from wood, bamboo or Teflon. It is useful to have a collection of different sizes and shapes, most of which you will have to create yourself. Although wooden folders are easy make and shape to your own size and preference, they are less good than the other materials as they are more likely to mark your paper and need to be kept very clean and very smooth.
Bone folders can be sawn and shaped with a hacksaw and sand paper. Always wear a mask when doing this as it creates a lot of very fine unpleasant-smelling dust which can damage your lungs. I soak mine in mineral oil for a few weeks before I start to use them as it makes them easier to handle and keep clean, but it is not essential to do this.

Folders are made from a variety of materials and come in various shapes and sizes. You will find that you have your own preferences for different tasks, so build up your collection slowly. Start with a 6-inch bone folder with one pointed end which can be purchased from any book-binding supplier.
Gluing
Brushes
You will need a large round or oval brush with a flat end and fairly stiff bristles for gluing large areas, and a few smaller hogs hair brushes for more delicate work.
Mini paint roller and tray
A roller and tray is used for gluing out large areas. I prefer the fine furred sleeves which are recommended for professional use with gloss paints. Try to get one with a lidded tray.
Next pageFont size:
Interval:
Bookmark:
Similar books «Craft Bookbinding»
Look at similar books to Craft Bookbinding. We have selected literature similar in name and meaning in the hope of providing readers with more options to find new, interesting, not yet read works.
Discussion, reviews of the book Craft Bookbinding and just readers' own opinions. Leave your comments, write what you think about the work, its meaning or the main characters. Specify what exactly you liked and what you didn't like, and why you think so.