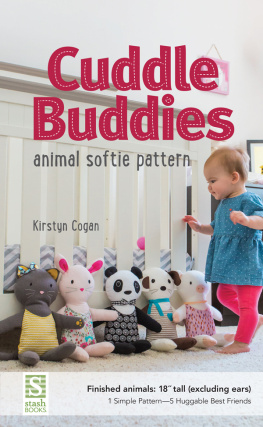
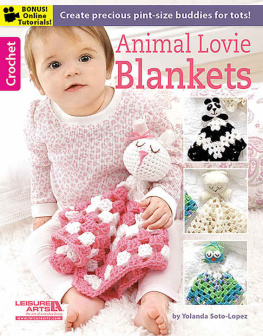
Publisher: Amy Marson Creative Director: Gailen Runge Editor: Liz Aneloski Technical Editors: Alison M. Schmidt and Gailen Runge Design Direction: Kristy Zacharias Cover Designer: April Mostek Page Layout Artist: Casey Dukes Production Coordinators: Zinnia Heinzmann and Tim Manibusan Production Editor: Alice Mace Nakanishi Illustrators: Kirstyn Cogan Photo Assistant: Sarah Frost Style photography: Page + Pixel Studio photography: Diane Pedersen Published by Stash Books, an imprint of C&T Publishing, Inc., P.O. Box 1456, Lafayette, CA 94549 Cuddle Buddies Finished size: 18 tall (excluding ears) These simple to sew, huggable, snuggable Cuddle Buddies are fun and easy to make. Whether you prefer a playful puppy, bouncing bunny, charming kitty, panda, or piggy, its easy to change the face, ears, and tail to make five lovable friends that kids cant resist! Read through the directions, pick a buddy, and youre on your way! Enjoy! 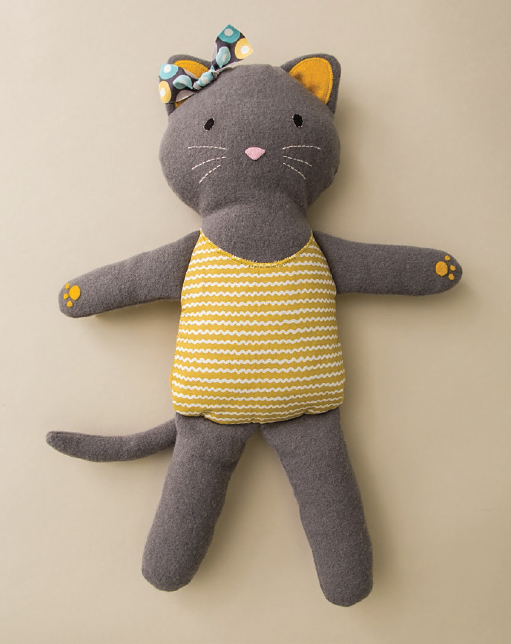
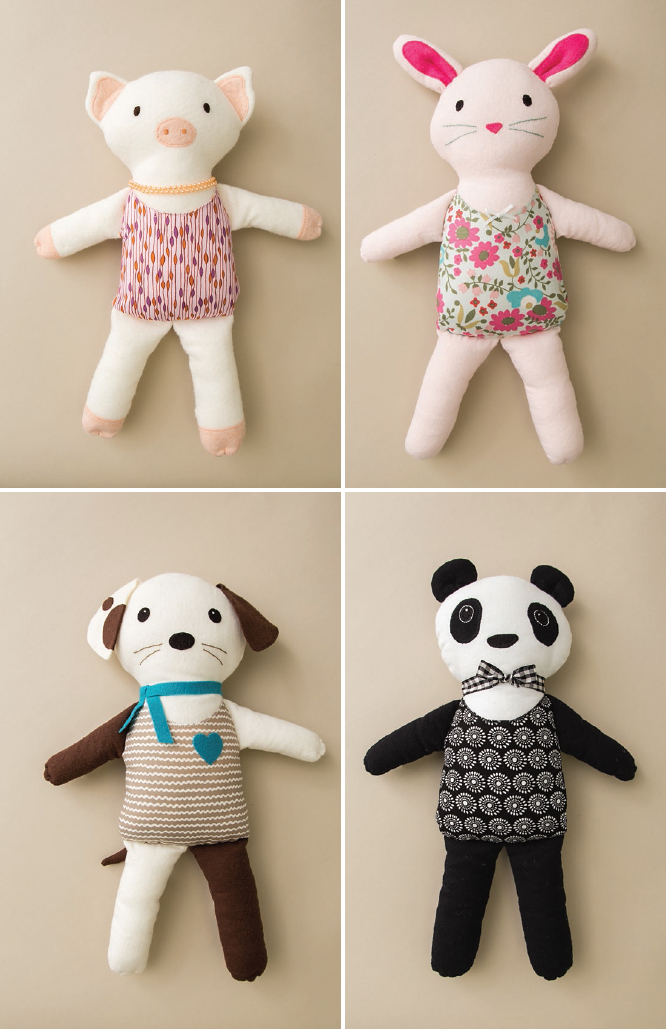 MATERIALS AND SUPPLIESYardage is based on 42-wide fabric. Before buying any supplies, be sure to read through the instructions. You can use quilting-weight cotton, lightweight wool, wool felt, or flannel. Keep in mind that felt is a little more difficult to work with for the entire body than the other materials listed because its stiffer.
Felt, however, is perfect for the eyes, nose, and pig feet! You may already have a lot of these supplies, but heres what we used for each Cuddle Buddy: Body: yard fabric ( yard each black and white fabrics for Panda) Tank top: yard or 1 fat quarter Appliqu details: fabric or felt scraps for ears, eyes, paws, nose, or bows Sewing thread: to coordinate with fabrics Coordinating embroidery thread: 1 skein for any details you wish to embroider (whiskers, eyes, or nose) Printer paper: 8 11, several sheets Fabric marking pens or tailors chalk: FriXion pens are great for light and medium-colored fabric. Chalk is better for dark colors. Fine-tip (felt) marker: such as a fine-point Sharpie, to trace patterns onto paper 1 chopstick: or other pointed object for turning the pieces right side out Glue stickMasking tapeEmbroidery #7 needleHand sewing needleStuffing materialOptional:Seam gaugeThread Heaven: thread conditioner for hand sewing to help prevent thread tangles (by Adam Beadworks) Buttons or other embellishmentsCAUTIONSmall objects, such as buttons, present a choking hazard for young children, and toys containing them are not recommended for any child under three years old. Kids should always have adult supervision when working with craft equipment and materials. Construction Seam allowance is unless otherwise noted. Trace and Cut Out the Paper Pattern Pieces Tape the printed pattern pieces for your chosen animal to a sunny window (or a lightbox). Lay a piece of blank printer paper on top of the pattern and secure it with tape. (For the head/body pattern, you will need to tape 2 pieces of paper together to make it large enough.) Using a Sharpie or your favorite marker or pen, trace the outline of each pattern piecethe outlines are your cutting lines.
For the face, trace the head outline and the eyes, nose, and whiskers. Use paper scissors to cut along the outlines you traced. Then, carefully cut out the eyes and nose. If there are whiskers, cut slits where the whiskers are. This will act as both a tracing template to mark the eyes and nose and a placement template for appliqu pieces. important ironing tip Use a pressing cloth between your iron and your project to prevent pen or pencil tracings or sticky adhesives from getting onto your iron and your project.
What is a pressing cloth? Its just a piece of fabric you put between your iron and whatever it is you are ironing. Old cotton pillowcases or sheets (preferably white) cut down to size work great. Trace and Cut Out the Fabric Pieces Tape or pin the paper patterns you just cut out onto the right side of your chosen fabrics. See Fusible Appliqu Option (at right) if you are considering fusible appliqu. Using either your fabric marking pen or tailors chalk, trace around the outer edge of each pattern piece to create a visible outline. Cut out each of the fabric pieces: 2 head/body pieces 2 tank top pieces 2 right leg pieces
(1 and 1 reversed) 2 left leg pieces
(1 and 1 reversed) 2 right arm pieces
(1 and 1 reversed) 2 left arm pieces
(1 and 1 reversed) face, ear, and tail pieces (as marked on the patterns) Optional: 1 strip of felt 15 for a scarf Lay the paper pattern on the right side of 1 head/body piece (this will be the front).
Mark the placement of the eyes, nose, and whiskers (if included). Fusible Appliqu Option If you think these Cuddle Buddies will be washed often and you are concerned about the appliqud details fraying, trace the appropriate number of appliqu patterns onto the wrong (paper) side of fusible interfacing / fusible web. For shapes that arent symmetrical, trace 1 shape as is and one reversed. Roughly cut out the fusible web and following the manufacturers instructions, fuse to the wrong side of your appliqu fabrics. Then cut out the fabric on the traced line. Finish the Face and Body Use your choice of felt or embroidered facial features, referring to Appliqu and Embroidery.
Appliqu or embroider the eyes and nose onto the marked front piece. Felt is the perfect material for appliquing the eyes and nose (and Piggys feet and hands too). For Piggy, embroider the nose holes onto the nose piece. For Panda, use lightweight black fabric for the black around the eyes, then add the felt eyes on top of that for added dimension. Embroider a white line around the felt eyes and add a French knot to give the eyes some sparkle. 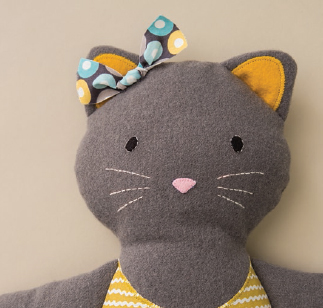 Cut out the tank top, and then place each tank top right side up on top of the body panels (also right side up).
  Cut out the tank top, and then place each tank top right side up on top of the body panels (also right side up).
Straight stitch (or zigzag) the tank top around the neckline and baste from the tanks outer edge. 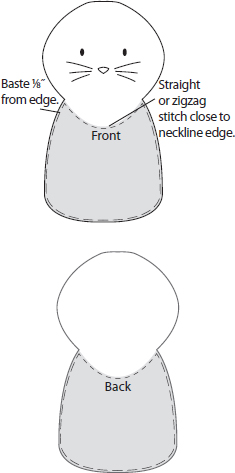 Hand or machine appliqu a little bow or a felt heart detail to the front panel if youre so inclined! Appliqu and Embroidery Appliqu Use a whipstitch to hand appliqu the felt details onto the body pieces.
 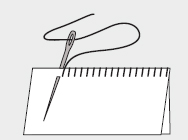 Whipstitch Embroidery Wind your embroidery thread around a bit of cardboard to prevent tangling. You can split standard 6-strand cotton embroidery thread in half (or more or less), depending on the look you want.
  Backstitch Thread the needle and tie a knot at the end, leaving about a 3 tail. Backstitch and/or satin stitch the marked areas.
Turn the piece over to the back and, using a second needle, thread the tail and run it under the stitches you just made (trim any excess tail). This will keep the thread snug and neat. 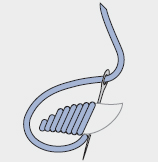
Next page


 MATERIALS AND SUPPLIESYardage is based on 42-wide fabric. Before buying any supplies, be sure to read through the instructions. You can use quilting-weight cotton, lightweight wool, wool felt, or flannel. Keep in mind that felt is a little more difficult to work with for the entire body than the other materials listed because its stiffer.
 Cut out the tank top, and then place each tank top right side up on top of the body panels (also right side up).
  Hand or machine appliqu a little bow or a felt heart detail to the front panel if youre so inclined! Appliqu and Embroidery Appliqu Use a whipstitch to hand appliqu the felt details onto the body pieces.
  Whipstitch Embroidery Wind your embroidery thread around a bit of cardboard to prevent tangling. You can split standard 6-strand cotton embroidery thread in half (or more or less), depending on the look you want.
  Backstitch Thread the needle and tie a knot at the end, leaving about a 3 tail. Backstitch and/or satin stitch the marked areas.