Sail Away with Me
Knitting Patterns for 18 inch dolls
Designs by RuthBraatz
Copyright 2017 by the FrugalKnitting Haus, Stockton, CA 95209
All Rights Reserved. No partof this book or the patterns contained may be reproduced in anyform or by any means without permission in writing from thepublisher.
Published by Frugal KnittingHaus, 2339 W. Hammer Lane, Suite C, #120, Stockton, CA95209
SmashwordsEdition
http://www.frugalhaus.com
To see our current list ofFrugal Knitting Haus publications, plus all the other books,needles, hooks, and needlework accessories, visit us online.
Sail Away with Me
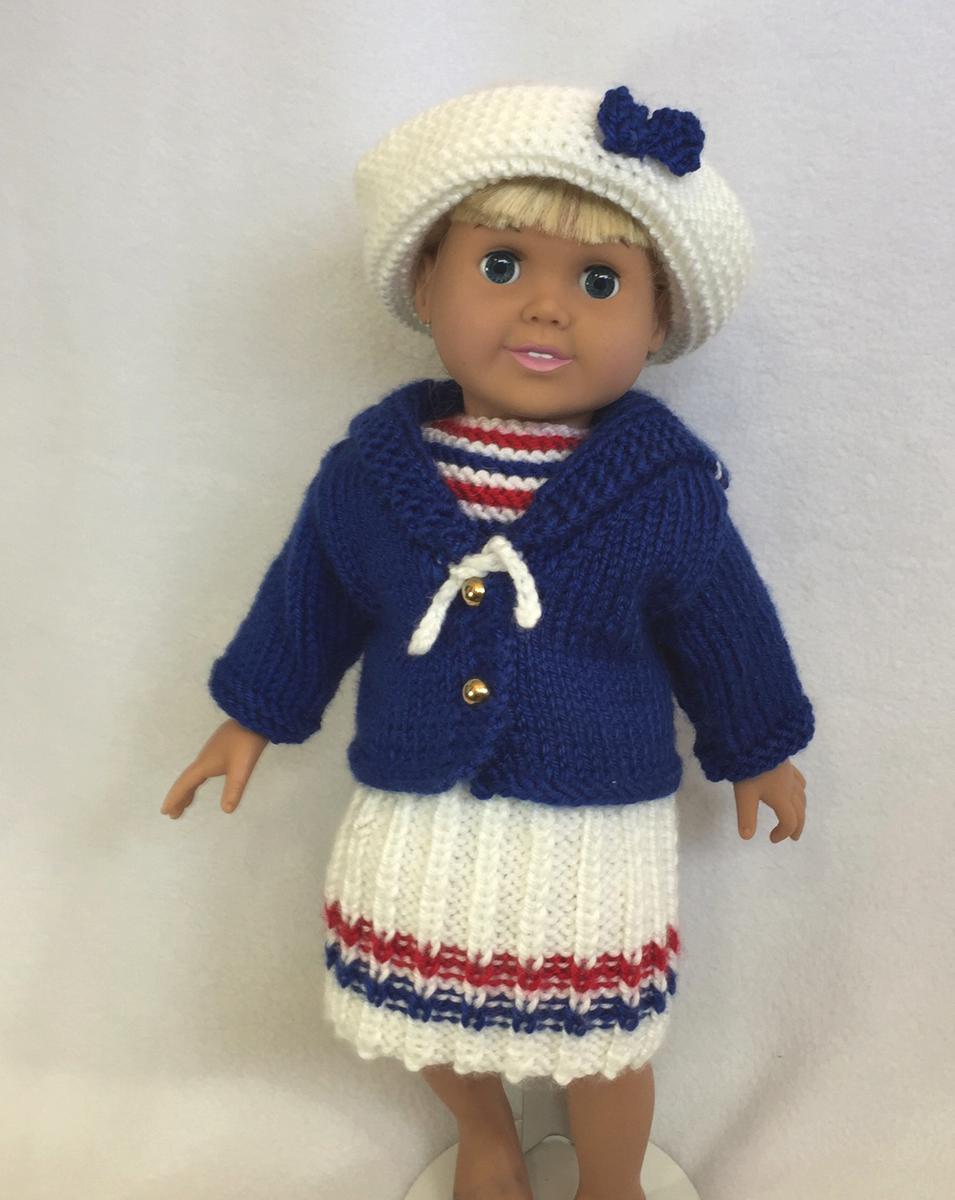
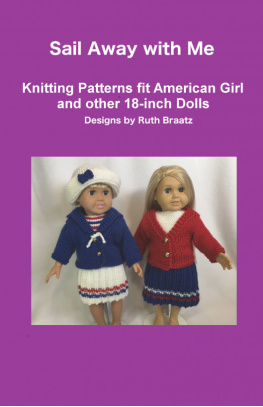
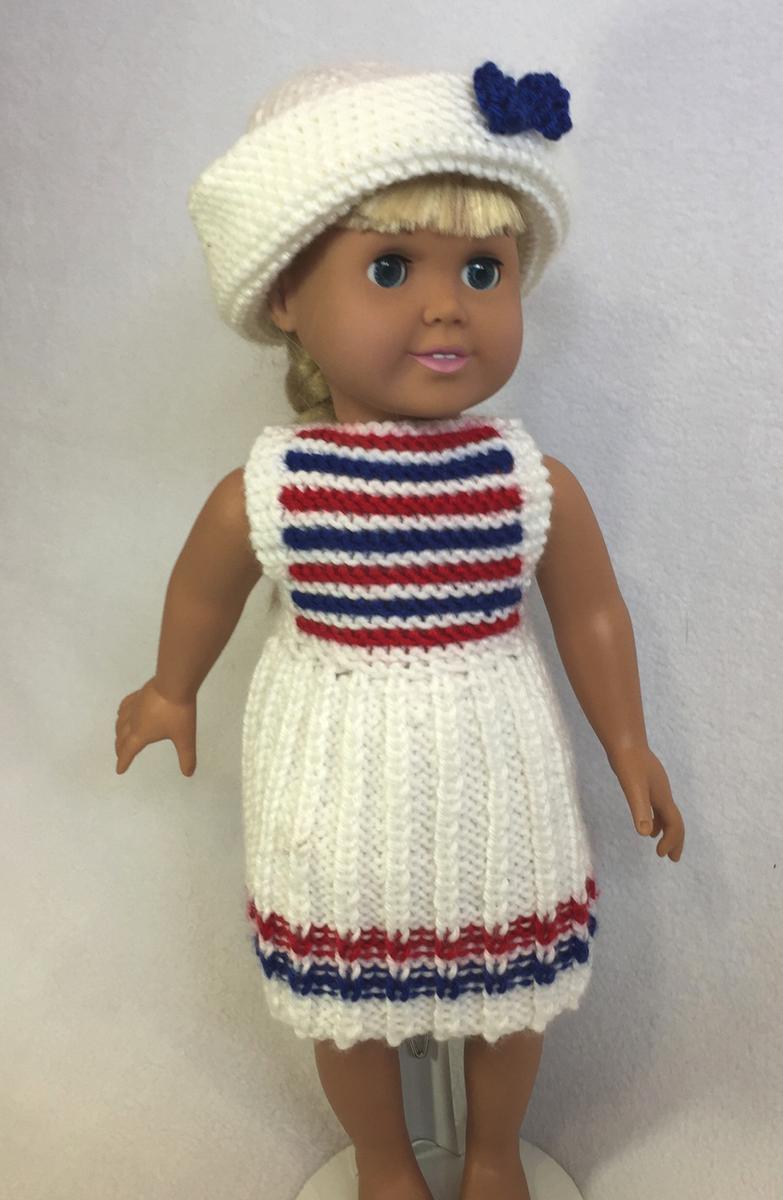
Ahoy! A cute nautical styleset to wear when going on vacation or the next boat cruise! Set of5 pieces, includes a full dress, nautical jacket that can be madeeasily with or without the collar, a skirt, an easy crop top and acute, clever sailor style hat! Great Spring and Summer outfits!Intermediate knitting, but most beginners will find this whole setfairly easy to make.
Materials: A size 4 yarn. We used Red Heart Soft, in 5 ounceskeins. Each skein is about 256 yards. Note below, the amountsneeded for each item. Note that each ounce of yarn is about 51yards.
Knitting needles, US # 8,and # 5. Yarn sewing needle and size H crochet hook for frontjacket tie. Also needed are 2 round gold buttons for front ofjacket, (We used inch diameter), plus 1 small button for back ofdress and 1 for back of top.
Dress: Uses about 2 ouncesin main color, plus small amount of colors for stripes.
Jacket: Uses about 2ounces in main color, plus small amount for stripe andtie.
Skirt: Uses about 1 ouncesin main color, plus small amounts for stripes.
Crop Top: Uses about 1ounce of main color, plus small amount for stripes.
Hat: Uses about 1 ouncesin main color, and if desired, small amount for optionalbow.
Note that the yarn used,above, isnt as thick as some worsted weight yarns. Some brands ofworsted are thicker and may give you a different gauge, such as RedHeart Super Saver. We do not recommend a thicker yarn for thispattern.
Gauge: 5 sts = 1 inch, measured over stockinette stitch to getgauge.
Dress:
With main color white (orblue), cast on 89 sts with # 8 needles. (Follow pattern stitchbelow then for stripes, work 2 rows main color, 2 rows2 nd color, 2 rows main color, 2 rows 3 rd color, then work remainderin main color)
Pattern stitch: Row 1 - K 1, * p 3,k 1 * repeat between *s across row. (This is right side ofwork).
Row 2 - P 1, * k 3, p 1 * repeat between *s across row.
Repeat these 2 rows until length from beginning is 5 inches, endingon a row 1.
Waist decrease row: * P 1, k 3 tog *repeating across row, ending p 1.
Next row, work k 1, p 1ribbing across ending k 1. Next row, k 1, k 2 tog, k across (44sts). K 2 more rows in white, main color, (or blue). Place first 11sts on a holder for back side piece, leave center 22 sts on needle,place last 11 sts on holder for opposite back side piece. Now winda small ball of white yarn (or blue to match dress), about 3 yards.Set aside.
On center section, startingon right side of work, k 3 white (main color or blue), join red.Knit across 16 red, join the small ball of white (blue), and k last3 in this color with the separate ball of yarn.
Next row, knit across in colors as already knit in row, twistingcolors on this side of work to prevent holes.
Drop red. With white (orblue), k across for 2 rows.
Knit 3 in white (or main color), join blue and k 16 blue, then withsmall ball of white (or blue), k last 3 sts.
Knit back on this row, in colors as established, twisting yarns toprevent holes. Work 2 rows across in white.
Now work as color patternas established, work 2 rows red, 2 rows white, 2 rows blue, 2 rowswhite, 2 rows red, 2 rows white, 2 rows blue, 2 row white, 2 rowsred, 1 row white, then bind off in white. Cut red and blue yarns,from front piece and tie off on back side of work.
Opposite side back: Put sts from holder onto needle, join white (maincolor, or blue) and k each row until same length as front. (This isabout 3 inches). Bind off. Repeat with opposite back side piece.Sew up back of skirt and sew upwards on two sides of back pieces,leaving the top 2 inches open at neck.
If desired, you can sew up inch each side of armhole, upwards, toclose in armhole opening a bit. Sew shoulder seams only about 1inch each side shoulder, leaving center open.
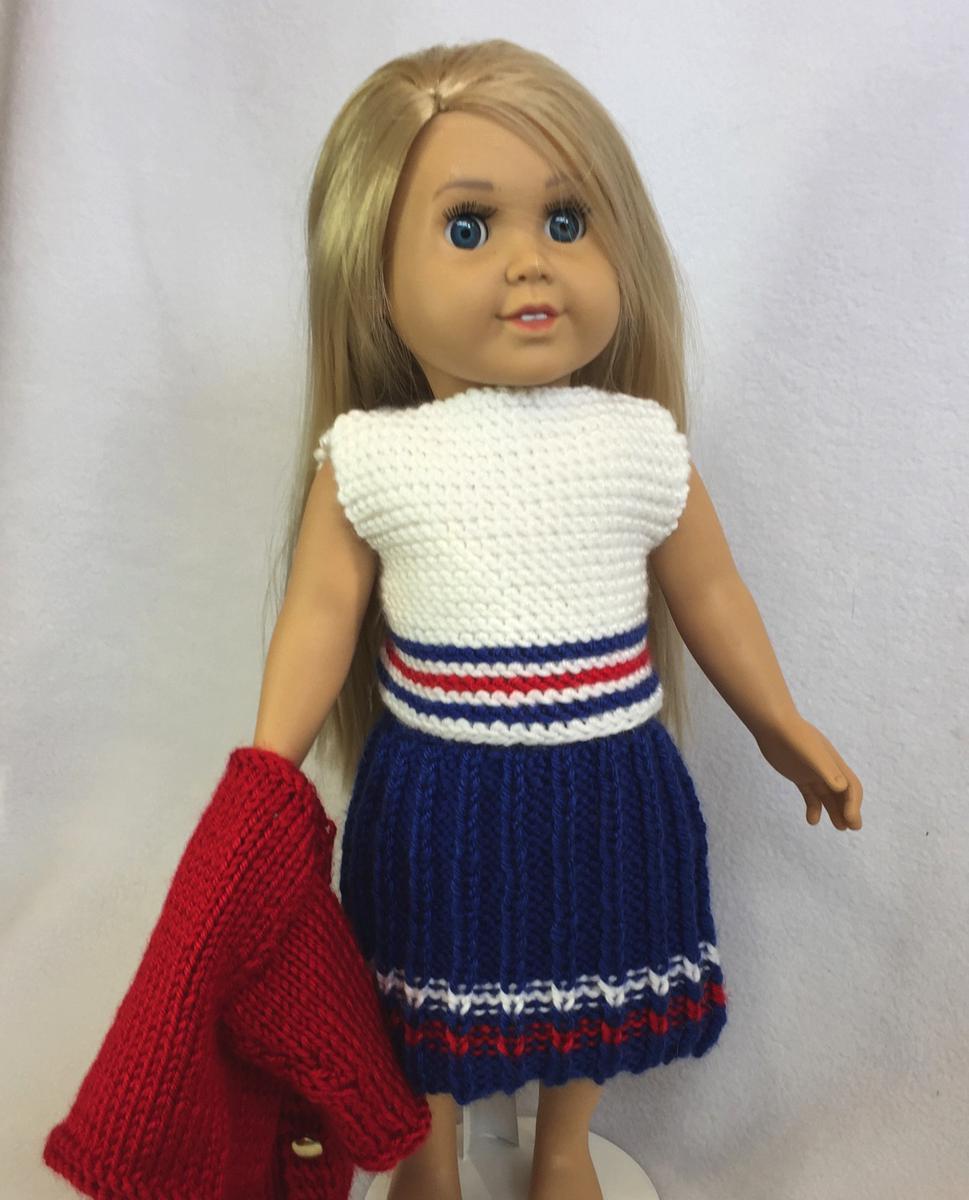
Skirt:
Make as dress, workingupwards and ending on the waist decrease row, 45 sts. Next row, k1, k 2 tog, k across to last 3 sts, k 2 tog, k 1. K 3 more rows,bind off.
Sew up back seam of skirt.
Note, depending on brand of yarn used, you may have to weaveelastic thread in and out of back side of skirt waist band to pullin a bit if it seems too loose.
Jacket:
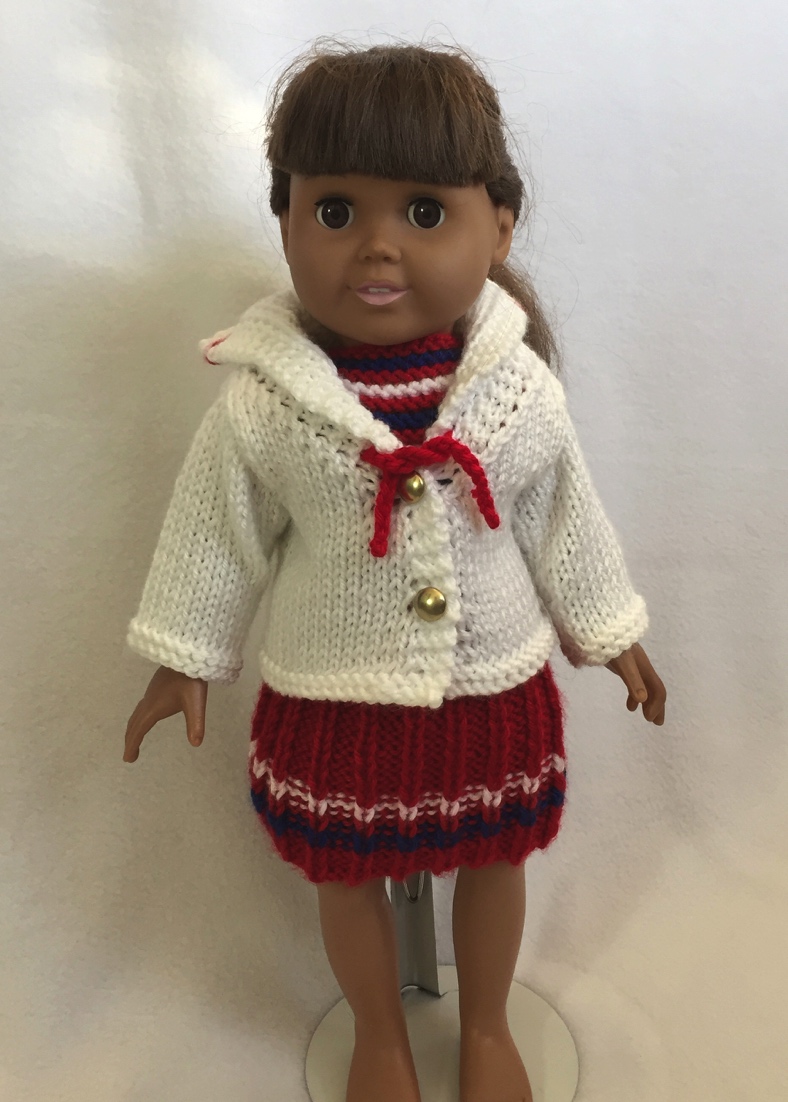
With color desired, andsize 8 needles, cast on 63 sts for front, back, and front. K 3rows. Next row, k 3, p across, k 3. Next row, k across. Repeatthese 2 rows until 1 inch from beginning of work, ending on the pside.
Buttonhole row: K 4, bind off one st, k across. Next row, k 3, pacross to opening of buttonhole, cast on 1 st over buttonhole, kremaining sts. Continue in pattern as before until length frombeginning of work is about 2 inches, ending on p side. Repeatbuttonhole row once more. Work return row of buttonhole, casting on1 st over bound off st.
Divide: Leave first 17 sts on needle, place center 29 sts on holderfor back, place last 17 sts on holder for opposite front. On frontsts left on needle, k 3, k 2 tog (starting to form the V neckshaping), k across. Next row, p across, ending k 3. Repeat these 2rows until there are 7 sts remaining. Work even in stitch patternuntil armhole opening is 3 inches. Bind off.
Place opposite front sideon needle and work in pattern st and decreases as opposite front,working decreases on p side as K 3 border band, p 2 tog finishrow.
Repeat to co-ordinate opposte side shaping and length. Bindoff.
Back: Placests on holder and on k side, k 2 tog, k across k 2 tog. P next row.Now k 1 row, p 1 row until 3 inches in length as on fronts, endingon k row. Next row, p 7, k 13, p 7. Bind off in sts asestablished.
Sleeves: Make 2. With jacket colorand # 8 needles, cast on 30 sts (note that sleeve is workeddownward). P 1 row, k 1 row, p 1 row. Next row, k 2 tog, k across,k 2 tog. P 1 row, k 1 row, p 1 row. Repeat the last decrease rowagain. Then repeat these last 4 rows until there are 22 stsremaining, work even until sleeve is 3 inches ending on k side. K 2 rowsfor cuff, bind off in k st.
Sew shoulder seams of top of jacket. Sew sleeve seams then sew topof sleeves into armhole opening with seams side down, sewing allaround armhole opening. Sew buttons opposite thebuttonholes.
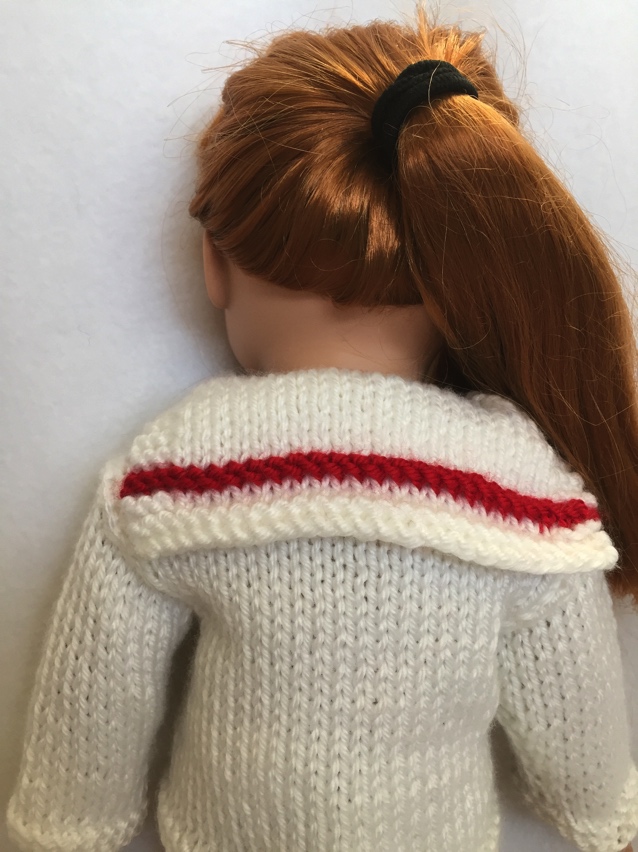
Optional Sailor Collar for Jacket: Note that jacket can be made and worn with or without thecollar added.
Next page
