9 Guides toScrapbooking Success
Published by Creating Keepsakes on Smashwords
Copyright 2012 Creative Crafts Group LLC
This eBook is licensed for your personal enjoyment only. This eBookmay not be sold or given away to other people. If you would like toshare this book with another person, please purchase an additionalcopy for each recipient. If you're reading this book and did notpurchase it, or it was not purchased for your use only, then pleasereturn to Smashwords.com and purchase your own copy. Thank you forrespecting the hard work of this author.
Discover other titles from Creating Keepsakes atSmashwords.com
Table of Contents
~~~~~~~~~~~~~
Chapter1: Quick & Easy Albums
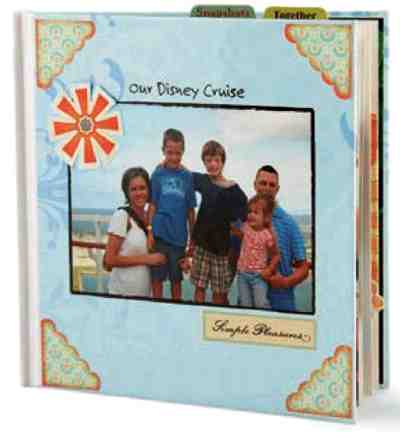

Designer: Elizabeth Dillow
Album: unknown
Mom-and-Me Memories
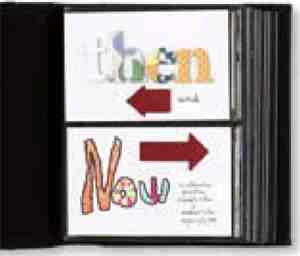
The photo-album approach to scrapbooking is especially nice foryoung children, because the 4" x 6" pockets are more approachableand manageable than a standard 12 x 12 scrapbook page. Elizabethused this project as an opportunity to spend time connecting withher young daughter. Beyond bonding over adhesive (pun intended),they selected a truly connective topic: childhood, something theyboth could recall and document. How fun for young Maddie to seephotos of her mom at the same age she is now, and what a wonderfulway for Elizabeth to share her favorite hobby with her creativegirl!
Journaling Tip
Preserve your childs currentperspective by inviting her to write down a few stories about herlife right now. This is a great way to find out what matters toher, as well as to share your passion for scrapbooking. Elizabethhelped her daughter complete this project by providing her withtopics and asking her a few questions to get her started.
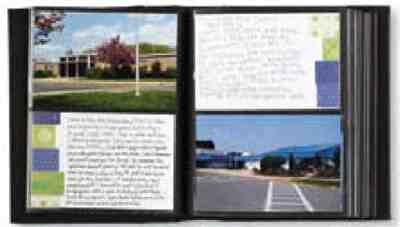
Materials: 2-up album (unknown) patterned papers (ScenicRoute, K&Company, Cosmo Cricket, Creating Keepsakes, 7gypsies,SEI, Stemma, Daisy Ds, Collage Press, Autumn Leaves, CreativeImaginations, BasicGrey) chipboard letters (Scrapworks) chipboard arrows (Making Memories) circle punch (McGill) stamppunch (Uchida) album by Elizabeth Dillow, Arlington, VA.
Design Tip
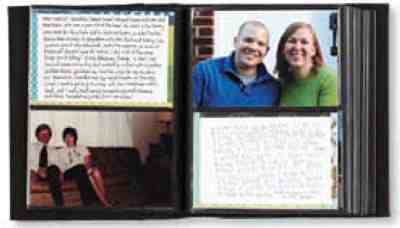
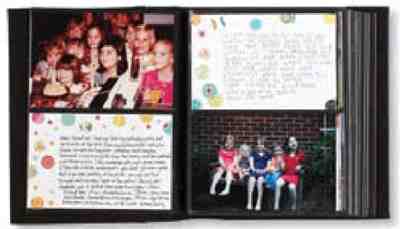
Dress up plain white journaling cards withcolorful scraps of patterned paper. This flat embellishing solutionwill prevent your album from becoming too bulky, allowing it toclose even after its completely full. For some spreads, Elizabethpulled out her small punches to create interesting designs.
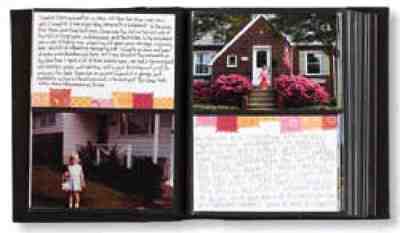
Photo Tip
Place old and new photos side by side as youmake connections between the past and the present. Once Elizabethhad a list of topics in mind and photos for Maddie picked out, shetook a walk down memory lane and flipped through her own childhoodsnapshots. For subjects that she didnt have pictures of, like thetwo elementary schools, she set aside time to snap newphotos.
Adventures in an Accordion
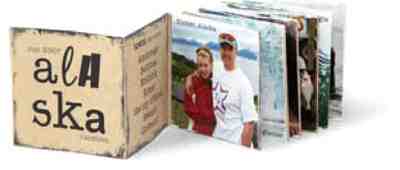
With an assortment oftravel photos and some quick journaling shortcuts, you can captureall the majesty of an Alaskan vacation (or any vacation, for thatmatter) in one small accordion album, just as Laura has done withher pocketsize project.
Designer: Laura Vanderbeek
Mini-album: Handmade
Finished size: 3" x 3"

Try this
Build your own accordion album! To start, open aword processing document and place two 3" x 3" text boxes side byside. Leave one empty, and fill the other with journaling. Repeatthis step to create your desired number of two-page spreads. Printthe spreads on cardstock, and trim each to 6" x 3". Fold thespreads in half, placing blank sides back to back. Use 1" x 3"scraps of cardstock to attach folded pages together in the correctorder.
Get ready!
To focus the direction of her design, Laura used a quiz to help herselect the topics she wanted to cover: where we visited, sights wesaw, where we ate, etc. She then chose photos that would illustratethose memories.
Get going!
Make this album in an evening with these simple shortcuts:
Try list-style journaling. Laura grouped her memories into sixgeneral categories by making lists of towns, sights, restaurants,animals, and more.
Download a digital brush. Inking can be time consuming. To get thelook without the work, Laura downloaded a few digital frames, twofor her journaling blocks and one for her photos.
Add photo captions before printing. Laura already edits and resizesher photos before printing, so adding photo captions took her justa few extra seconds. And it saved her time later on.
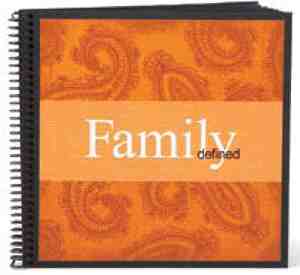
Materials: Photoshop (Adobe Systems) paisleypatterned paper by Katie Pertiet (designerdigitals.com) paperpunch by Brigid Gonzalez (3scrapateers.com) spiral binding (FedExKinkos) Arial and Times New Roman fonts 8" x 8" album byBrigid Gonzalez, Alpharetta, GA
As scrapbookers, we all document the defining events and moments inour families lives-but are we also documenting the unique traitsthat define who we are? Digital scrapbooker Brigid Gonzalezcertainly is, as demonstrated by her beautiful Family Definedalbum.
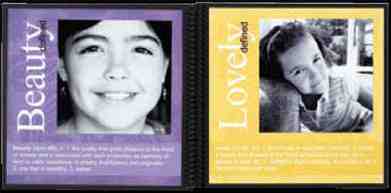
She began by gathering photos that captured each family memberspersonality, including portraits and caught-in-the-act snapshots,and took new photos when necessary. She converted each to black andwhite for consistency. Pairing each photo with a descriptive wordand its definition, she created a series of thirteen 8" x 8"digital pages that feature each family member at least once. Sheused the same background patterned paper throughout her album,coloring it a different jewel tone on each page for a unified colorpalette that truly highlights the photos.
Next page
