Publisher: Amy Marson
Creative Director: Gailen Runge
Art Director: Kristy Zacharias
Editor: Karla Menaugh
Technical Editors: Helen Frost and Amanda Siegfried
Cover/Book Designer: Kerry Graham
Production Coordinator: Zinnia Heinzmann
Production Editor: Joanna Burgarino
Illustrator: Jenny Davis
Full-Quilt Photograph courtesy of American Quilters Society, Paducah, Kentucky, Charles R. Lynch photographer; Quilt Detail Photography in Project Instructions section by Alexander Robertson; How-To Photography by Christina Carty-Francis and Diane Pedersen of C&T Publishing, Inc., unless otherwise noted
Dedication
For my mom, whose beautiful voice is an instrument of praise
INTRODUCTION
Instruments of Praise was inspired by the words of Psalm 150:
Praise Him with the sounding of the trumpet,
praise Him with the harp and lyre,
praise Him with tambourine and dancing,
praise Him with the strings and flute,
praise Him with the clash of cymbals,
praise Him with resounding cymbals.
Let everything that has breath, praise the Lord.
Praise the Lord.
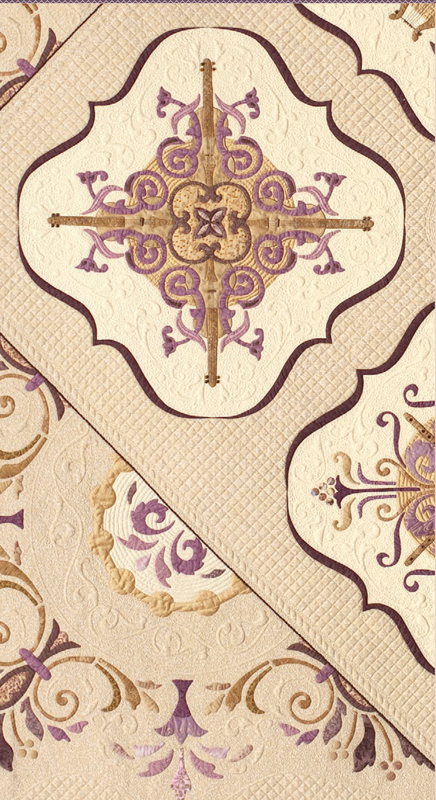
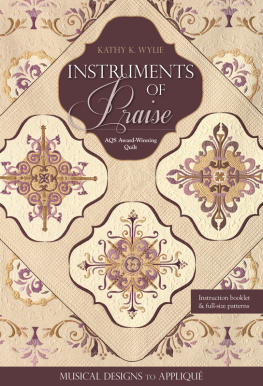
M edieval-style blocks, each featuring a musical instrument and a cymbal, are outlined with the braces that connect lines of music. The four blocks are set on point and surrounded by tambourines and ornate semicircular motifs in the corners.
There are numerous methods of appliqu, and every quilter usually has a favorite. I prefer needle-turn appliqu for its accuracy, portability, and relative ease in preparation. My approach is described in Needle-Turn Appliqu (). Use your own preferred method or try my technique, but dont be afraid of appliqu! With a little persistence and practice, you can make beautiful appliqud quilts.
This pattern pack contains all the instructions and full-size drawings you will need to make Instruments of Praise. Use it to reproduce the original quilt, or mix and match the patterns with your own unique designs. Please visit my website and blog at www.kathykwylie.com for more information about using this pattern, including helpful videos and additional project ideas. May you and your quilts be instruments of praise!
Getting Started
Choosing a Color Palette
Two background fabrics are used in this quilt. Choose one for the blocks and the tambourine underlays; choose another for the background behind the blocks and the corner triangles (I chose a cream and a light tan.)
For the appliqu elements, choose two color families. Assemble a collection of fabrics in a wide range of color values, including lights, mediums, and darks. The more choices the better! I used silk fabric for the cymbals and tambourines to add a bit of shimmer.
COLOR 1 is used for the instruments and some of the appliqu motifs. (I used gold.)
COLOR 2 is used for the majority of the appliqu motifs, the block underlays (brace design), and the binding. (I used purple.)
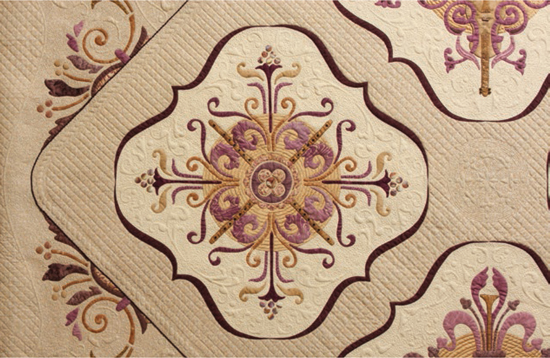
Choose two background fabrics and two color families.
Develop a Palette from a Focus Fabric
Use a focus fabric to develop your color palette. If the colors look great together in the fabric, they will work in your quilt. The focus fabric I used for my color palette is used for only one motif in the corner triangles, but it made the perfect backing fabric!
Needle-Turn Appliqu
Prewash all fabrics.
To make sure all the design elements will fit exactly into place, I mark the pattern on the background fabric and use freezer-paper templates to cut out the appliqu patches.
Marking the Background Fabric
If you can see through the background fabric, trace the appliqu design onto the background using a lightbox, a bright window, or a light under a glass-top table.
If the background fabric is too dark, mark it from the top. Place a sheet of graphite paper or other transfer paper between the design (on top) and the background fabric (on the bottom). Trace over the design lines on the top layer to transfer the design to the fabric. Make sure the markings are removable.
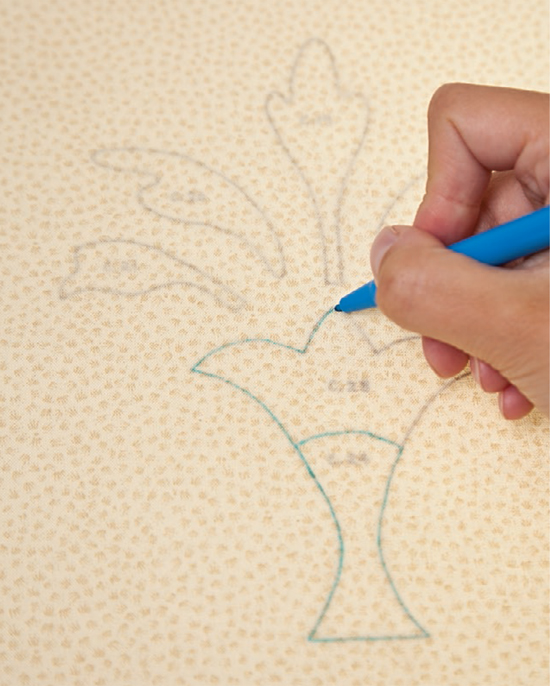
Trace the design onto the background fabric.
Underlays
An underlay is a piece of fabric that lies under some of the appliqu patches and acts as a background in that area. Mark underlays in the same way as the background fabric.
In Instruments of Praise, underlays are used frequently: as the cymbals behind the smaller design elements at the center of the on-point blocks, behind the tambourines in each corner, and even to create the braces surrounding each on-point block.
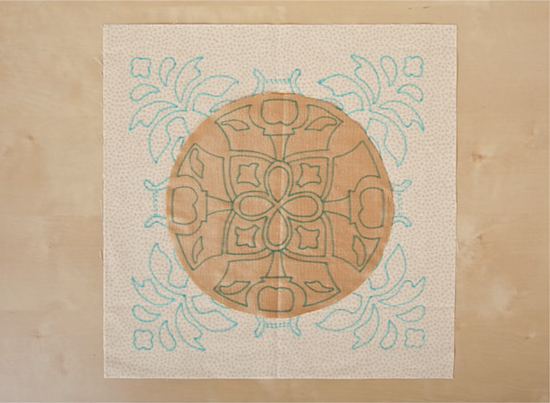
Marked underlay and background fabrics
Making Freezer-Paper Templates
The freezer paper is not used for basting, but rather as templates for marking the appliqu fabric. Freezer-paper templates can be reused, so multiple patches can be marked with a single template.
See Resources () for ordering information for Quilters Freezer Paper Sheets.
Trace each unique patch onto the dull side of freezer paper and label it. Each patch has a section designation and a number that indicates the appliqu order. For example, patch C.23 is from the corner triangles. It is number 23 in the appliqu order for that section.
Cut out the freezer-paper patches on the traced lines.
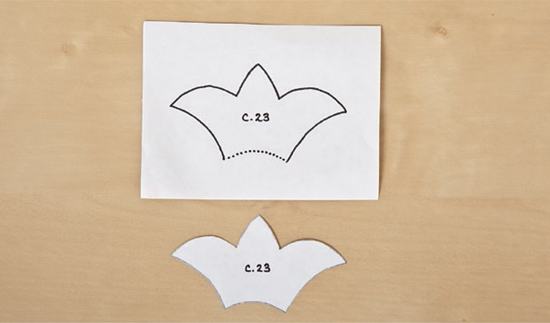
A freezer-paper template traced and cut out
Marking the Templates
Besides the patch number, it can be helpful to mark additional information on the freezer-paper templates. For example, you might want to mark where parts of a patch do not need to be appliqud because they will be covered by another patch.
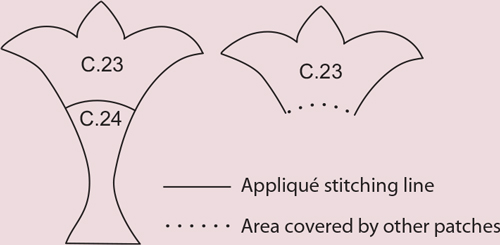
Preparing the Appliqu Patches
Iron the freezer-paper template, shiny side down, onto the right side of the appliqu fabric.
Using a removable marker, trace around the edges of the freezer paper. Transfer any notes.
Carefully remove the freezer paper.
Sandpaper Helps
Place sandpaper under the fabric to prevent shifting and pulling while you are tracing around the freezer paper. The Essential Sandboard from Piece of Cake Designs is a handy tool for this (see Resources, .)
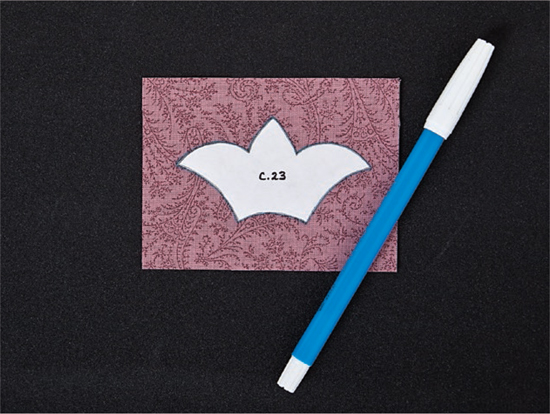
Use sandpaper while tracing the appliqu patches.
Cut out each patch, leaving a scant seam allowance.
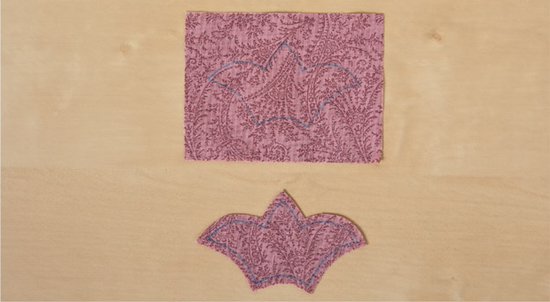
Cut out the appliqu patches with a scant seam allowance.
Clip the seam allowance along inside curves and inside points.
Circles
A little extra preparation will make it easy to appliqu perfect circles.
Next page
