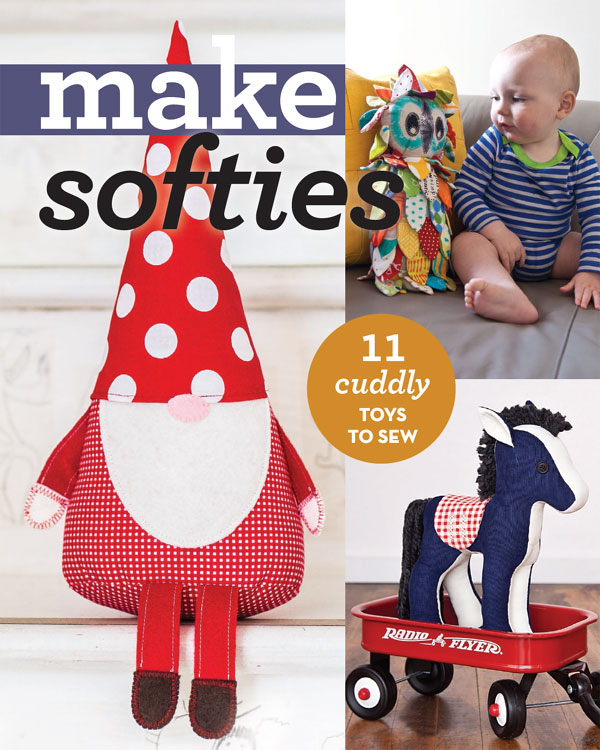
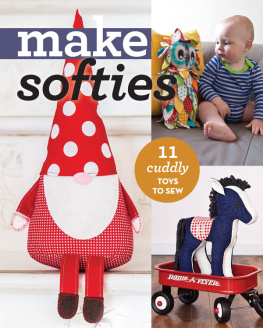
C - Make Softies: 11 Cuddly Toys to Sew
Here you can read online C - Make Softies: 11 Cuddly Toys to Sew full text of the book (entire story) in english for free. Download pdf and epub, get meaning, cover and reviews about this ebook. year: 2017, publisher: C&T Publishing, genre: Home and family. Description of the work, (preface) as well as reviews are available. Best literature library LitArk.com created for fans of good reading and offers a wide selection of genres:
Romance novel
Science fiction
Adventure
Detective
Science
History
Home and family
Prose
Art
Politics
Computer
Non-fiction
Religion
Business
Children
Humor
Choose a favorite category and find really read worthwhile books. Enjoy immersion in the world of imagination, feel the emotions of the characters or learn something new for yourself, make an fascinating discovery.
- Book:Make Softies: 11 Cuddly Toys to Sew
- Author:
- Publisher:C&T Publishing
- Genre:
- Year:2017
- Rating:3 / 5
- Favourites:Add to favourites
- Your mark:
Make Softies: 11 Cuddly Toys to Sew: summary, description and annotation
We offer to read an annotation, description, summary or preface (depends on what the author of the book "Make Softies: 11 Cuddly Toys to Sew" wrote himself). If you haven't found the necessary information about the book — write in the comments, we will try to find it.
C: author's other books
Who wrote Make Softies: 11 Cuddly Toys to Sew? Find out the surname, the name of the author of the book and a list of all author's works by series.


Make Softies: 11 Cuddly Toys to Sew — read online for free the complete book (whole text) full work
Below is the text of the book, divided by pages. System saving the place of the last page read, allows you to conveniently read the book "Make Softies: 11 Cuddly Toys to Sew" online for free, without having to search again every time where you left off. Put a bookmark, and you can go to the page where you finished reading at any time.
Font size:
Interval:
Bookmark:
Publisher: Amy Marson Creative Director: Gailen Runge Project Editor: Alice Mace Nakanishi Compiler: Lindsay Conner Cover/Book Designer: April Mostek Page Layout Artist: Casey Dukes Production Coordinator: Joe Edge Photography by Diane Pedersen, Christina Carty-Francis, and Nissa Brehmer of C&T Publishing, Inc., unless otherwise noted For further information and similar projects, see the book listed after each artists bio. Published by C&T Publishing, Inc., P.O. Box 1456, Lafayette, CA 94549 My Little Village Samantha Cotterill FINISHED SIZE: Each piece approx. 3 w 3 h 2 d 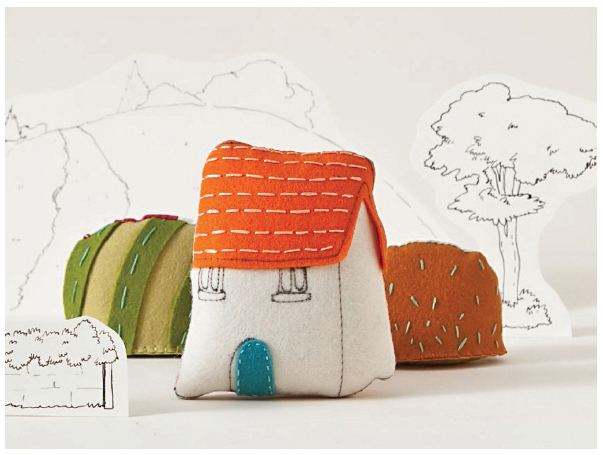 Lovely embroidered hills add a lot of delicious charm to this little village. This project is perfect for experimenting with decorative stitching and for making some of your own patterns. Fill one hill with an abundance of French knots in various colors; embroider another hill with rows and rows of split stitches.
Have fun, and dont hold back. SAMANTHA COTTERILL is a self-taught fiber artist who lives in upstate New York. Samantha began her career as a professional painter before taking time off to focus on family. Five years later, she returned to the art world with the launch of mummysam, an online shop featuring her creations.  WEBSITE: mummysam.com This project originally appeared in Fanciful Felties from mummysam by Samantha Cotterill, available from Stash Books. NOTE: STITCHES USED Straight stitch Seed stitch Backstitch Blanket stitch Whipstitch Instructions Use the My Little Village patterns. COTTAGE . COTTAGE .
Use your preferred method to transfer the cottage design to the white felt. Embroider the design. Cut along the dashed lines. ( Fig. 1 ) 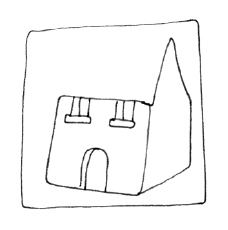 Fig. 1 .
Transfer the roof design to the orange felt, and embroider the design lines in peach. Cut along the dashed lines. ( Fig. 2 ) 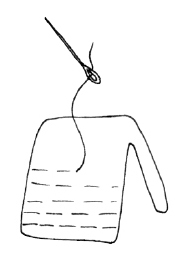 Fig. 2 . Position the roof on the embroidered white house, and pin it in place.
Use charcoal colored thread to stitch along the designated baseline of the roof. Make sure to go through both layers of felt. ( Fig. 3 ) 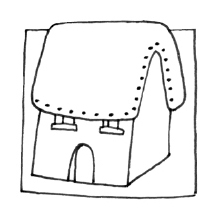 Fig. 3 . Cut out the door from the blue felt, and pin it in place.
Use light blue embroidery floss to stitch around the edges in small straight stitches. Make sure to go through both layers of felt. . Place the cottage on the cotton fabric, right sides together. Sew the cottage to the fabric, outside the edge of the design. Leave a 2 opening at the side.
Trim away any excess fabric and felt, and notch any tight curves. . Turn the cottage right side out, and fold the cotton into the cottage. Stuff. . SEEDED HILL . SEEDED HILL .
Cut out the seeded hill from the burnt orange felt. Use the seed stitch to embroider the hill in lime green embroidery floss. 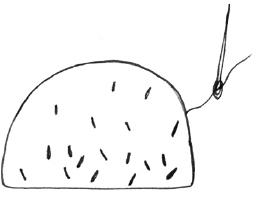 . Place the hill on the cotton fabric, right sides together, making sure to extend the cotton beyond the felt piece. Sew the hill to the fabric, using a seam allowance and leaving the bottom open.
 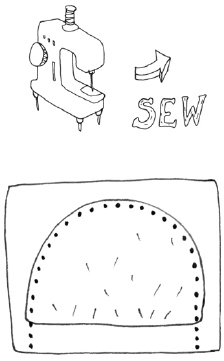 .
.
Trim the extra fabric from the sides and top. Turn the hill right side out, and fold the bottom cotton edge into the hill. Stuff. . Stand the hill on top of the piece of scrap felt for the base, and trace around the base. STRIPED HILL . STRIPED HILL .
Cut out the striped hill background from the light green felt. Cut out the hill stripes from the dark green felt. Using the pattern as a guide, pin the stripes in place on the hill. Use a straight stitch to embroider the stripes. Do not trim away any overhanging green felt yet. 4 ) 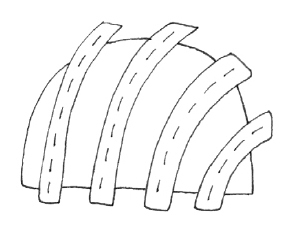 Fig. 4 . 4 .
Place the hill on the cotton fabric, right sides together, making sure to extend the cotton beyond the felt piece. Sew the hill to the fabric, using a seam allowance and leaving the bottom open. ( Fig. 5 ) 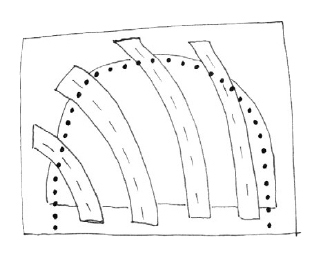 Fig. 5 . Trim away the extra fabric from the sides and top, and tuck the extra felt and bottom cotton edge into the hill.
Turn the hill right side out, and fold the fabric into the hill. Stuff. ( Fig. 6 ) 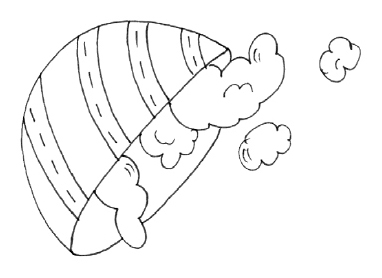 Fig. 6 . Stand the hill on top of the piece of scrap felt, and trace around the base.
Cut out the felt, and attach it with a blanket stitch in light green embroidery floss. ( Fig. 7 ) 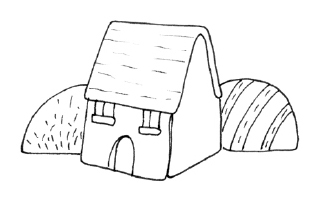 Fig. 7Bird Ornament Kajsa Wikman FINISHED SIZE: Approx. 5 (13 cm), from beak to tail
 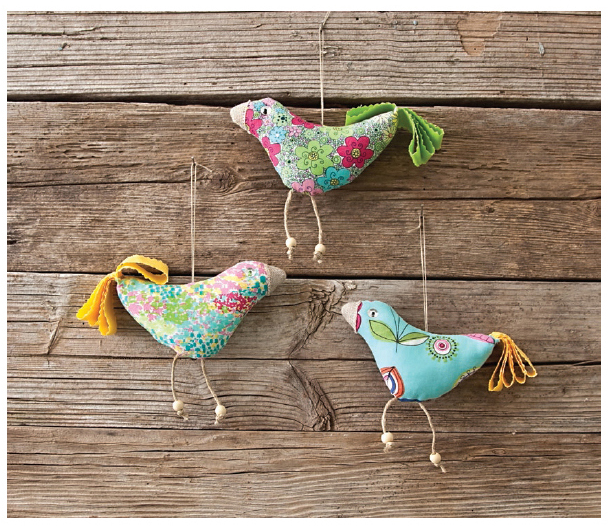 Embroidered tablecloths that no longer serve their original purpose or various pieces of scrap fabric from your stash are great material for these bird ornaments. The birds will not be washed, so it doesnt matter if the fabric is fragile and has a few small holesit only adds to the charm.
KAJSA WIKMAN is an artist, designer, and blogger. She also runs a business, Syko Design, which specializes in happy, childlike appliqu designs and printed products. Kajsa lives in Ekens, Finland.  WEBSITE: syko.fi This project originally appeared in Scandinavian Stitches by Kajsa Wikman, available from Stash Books.
  MaterialsMakes 1 bird ornament. . .
Cut 1 strip 1 18 (2.5 cm 46 cm) long from the solid fabric for the tail, using pinking shears to prevent raveling. The bird can also be made without a tail. . Cut out the bird and beak pieces using the Bird Ornament patterns. Cut 2 of each (1 and 1 reversed). .
Place the beak on the right side of the pattern piece, and stitch it to the body piece with a straight stitch, leaving a raw edge. . Make the legs by cutting 2 pieces of twine 3 (8 cm) long and tying a knot at one end of each piece. Thread the wooden beads on the twine. Stitch the legs to the edge of the body piece, referring to the marks on the pattern. .
Place the body pieces right sides together, and stitch, leaving an opening at the tail. The legs should remain on the inside. Trim the seam allowances, clip curves as necessary, and turn right side out. . Stuff the bird. Fold the tail strip in fourths, stitch to secure the folds, and place in the opening.
Next pageFont size:
Interval:
Bookmark:
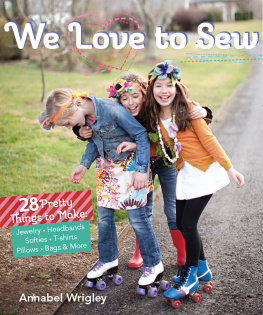
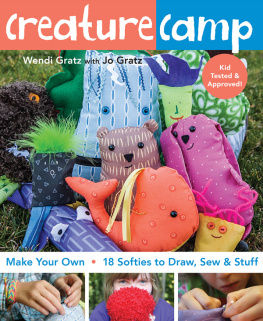
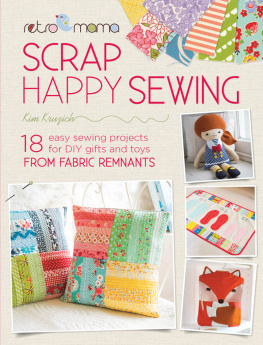
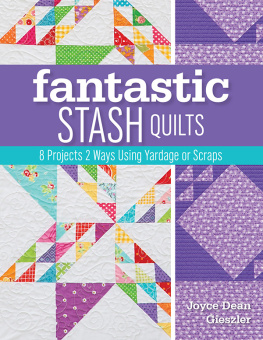
Similar books «Make Softies: 11 Cuddly Toys to Sew»
Look at similar books to Make Softies: 11 Cuddly Toys to Sew. We have selected literature similar in name and meaning in the hope of providing readers with more options to find new, interesting, not yet read works.
Discussion, reviews of the book Make Softies: 11 Cuddly Toys to Sew and just readers' own opinions. Leave your comments, write what you think about the work, its meaning or the main characters. Specify what exactly you liked and what you didn't like, and why you think so.