This chapter is where we finally get our hands dirty. If you decided to skip the introduction in your eagerness to get up and running, thats fine; you wont have missed anything critical for this chapter. However, make a note to pay the introduction a visit in the not too distant future as it gives you a lot of background on the Pi and what makes it so special.
Now, back to dirty hands! We are going to start off by unpacking the Pi and going through the list of things that you need to actually get it up and running. Once weve hooked everything up, well then need to sort out something for it to runin this case, Raspbian Linux (more on this a little later). Once we get Raspbian running, we still need to configure it and some of the options are a little technical and Linux-specific; but dont fret, we have you covered there, too. To round off the chapter, we will bask in the glow of the Raspbian desktop before heading off to to see what we can actually do with it.
Your Freshly Baked Pi Arrives
Okay, so the postman has just dropped off your long-anticipated package, and after eagerly ripping away the padded envelope youre left with a little box, ( little being the operative word). You simply cant help but look into the depths of the envelope to see if there is perhaps something lingering at the bottom. Failing to find anything with a visual inspection, youll no doubt proceed to the old faithful approach of turning the envelope upside down and giving it a bit of a shake. Although you might shake loose the packing sheet (somehow they always seem to super glue themselves to the inside), you wont find anything else.
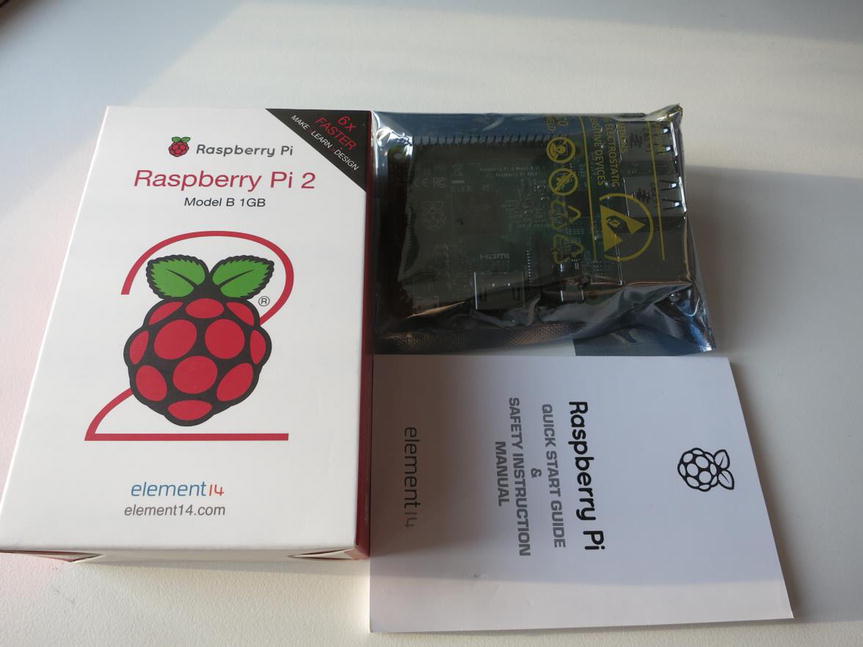
When you order a Raspberry Pi, this, dear reader, is all that youre going to get (see Figure ).
Figure 1-1.
What falls out of the envelope
WHY A PICTURE OF JUST A BOX AND SOME BITS?
The honest reason is because when this is all that turned up, our first thought was that something must have gone missing. Yes, the site tells you when you order that this is all you are going to get, and it really makes perfect sense.
We want to emphasize that this is all you get, and its not enough to get your Pi hooked up and in business. You will need other bits and pieces (some or all which you might already have), and its important to highlight it right at the beginning. In the next section, we will cover the kit you actually need to get started.
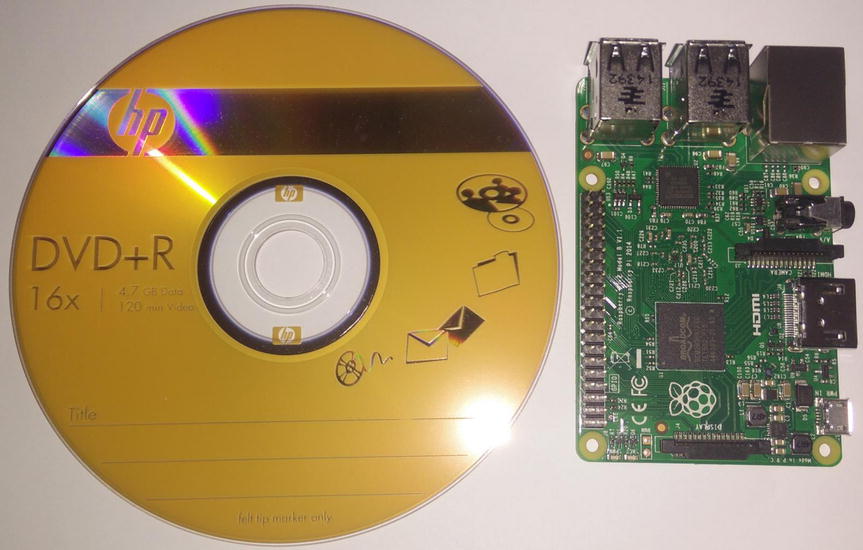
If you have yet to order a Pi (or are waiting for it to turn up in the mail), Figure shows one sitting next to a blank DVD.
Figure 1-2.
A Raspberry Pi next to a blank DVD
Even though the size of the Pi is well known and it comes in such a small box, it isnt until you actually hold it in your hands that you realize how small it truly is! After aw-ing to ourselves (and anyone else who sadly for them happened to be within earshot), we figured it was time to get the show on the road.
And thats where things came to a somewhat abrupt halt. We had the Pi, but it had only just dawned on us that we didnt have the faintest idea what we actually needed to make it go. Even though were not exactly new to all this, we had let ourselves get caught up in the moment and for whatever reason hadnt considered that the Pi would need anything special (or at least something that your average geeky type person wouldnt have hanging around the house).
If youre not equipped with a cupboard of odds and ends straight out of Dexters lab, you might need to pick up a few things. Fortunately, they are all easy to find, and you should be able to pick up everything you need at your local computer shop. If you dont fancy going on a treasure hunt, many companies are offering starter kits that come with everything you need. Because these kits are rapidly changing, the best way to find whats available is to go online and search for raspberry pi starter kit.
List of Ingredients
To bake your Pi to perfection, youre going to need the following ingredients:
Raspberry Pi
Micro USB lead (for power)
USB power adapter (also for power)
HDMI lead: Type A to Type A (to connect to your monitor or TV)
HDMI display
Micro SD card: 8 GB to 64 GB (for storage Class 10 required for Windows IoT)
Micro SD card reader
USB keyboard and mouse
Micro USB lead
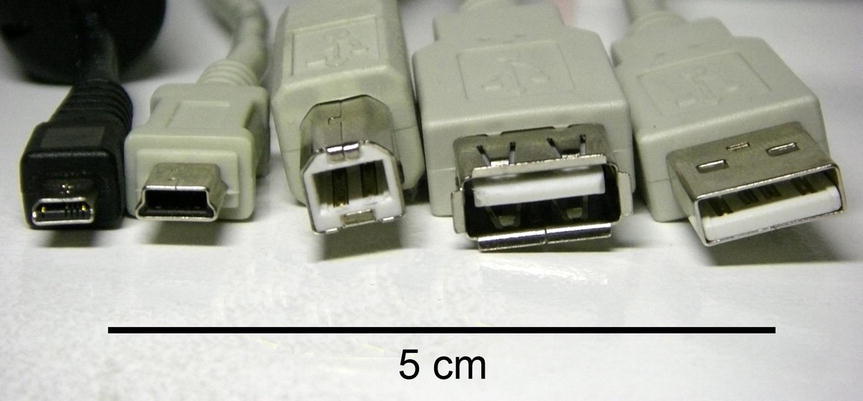
If you happen to have an Android phone or a Kindle sitting about, chances are good that youve got a lead that you can reuse to power the Pi. This lead isnt actually used for transferring data, and although you can draw power from a USB port (you can plug it into your main PC or laptop), you cant use the USB connection for anything else. The different types of USB connectors are hard to describe if you havent already seen one. Take a look at Figure for some examples.
Figure 1-3.
Different types of USB connectors
Warning
Although you could run an original Pi from a USB port with a bit of luck, the Raspberry Pi 2 draws nearly four times the power of the original and as non-negotiated USB only provides a tiny amount of current, you cannot run your new Pi from a USB port. Instead youll need a chunky power supply such as those used to charge tablets. Be warned that even if they claim to provide enough power, they might not play nice with your Pi. If your Pi crashes, has trouble connecting to the network or generally has odd behaviour, check your power supply first.
The connector youre interested in is the first one on the left, known as a micro USB . Be careful because on quick inspection, a micro USB plug can easily be mistaken for a mini USB plug (second on the left). The last thing you want to do is make a special trip to the store and then come back only to find out that you picked up the wrong one!
USB Power Adapter
As mentioned above, a normal USB port can power a Model A Pi (the one without built-in Ethernet), but for a modern Pi, youre going to need something with a lot more bite.
Fortunately, the sheer number of devices that have adopted USB as a means of charging means that you can get mains adapters really cheaply and easily. As far as which adapter to get, that really comes down to personal choice. However, as the Model B requires 800 ma without anything else plugged into it and you always want to have a bit of room for expansion, you probably should aim to get an adapter that can provide at least 1000 ma (or 1 amp) and preferably 2000ma (2 amp). From our highly scientific tests (wandering around numerous shops and squinting at packaging labels), it seems that 1000 ma is actually the most common rating. We did come across some rated at 500 ma and although thats enough for most USB devices, it isnt enough for your needs.

