Osprey Modelling 18
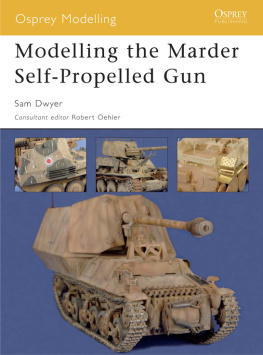
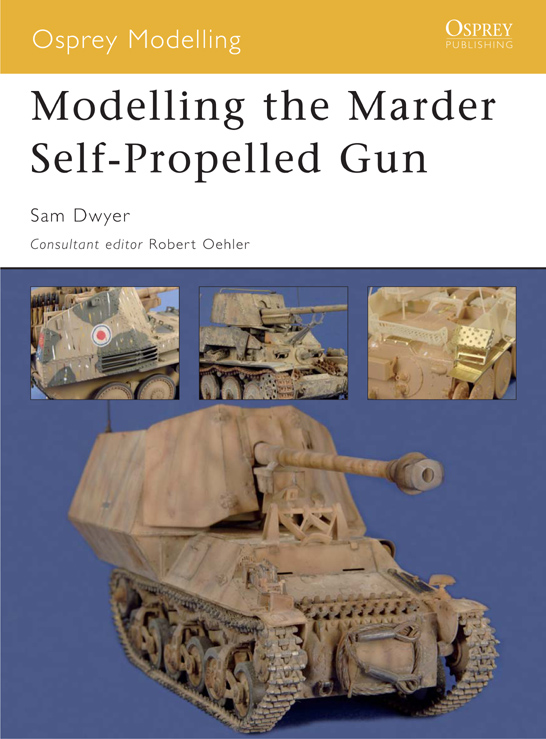
Modelling the Marder Self-Propelled Gun
Sam Dwyer
Consultant editor Robert Oehler Series editors Marcus Cowper and Nikolai Bogdanovic
Contents
Introduction
A little history
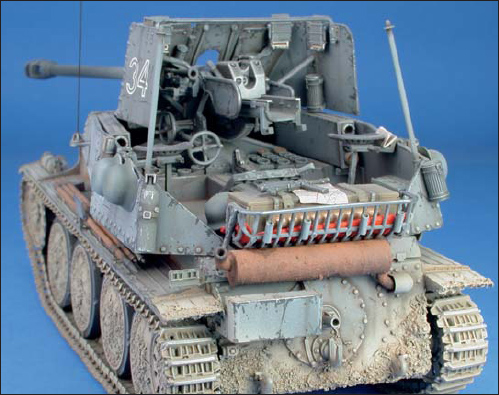
As a by-product of having conquered many European countries from 1938 to 1940, including Czechoslovakia, Germany found herself in possession of some very modern tanks and tank production facilities. Tanks produced by the CKD Werke in Czechoslovakia, the 35(t) and 38(t), were used in great numbers by the Wehrmacht during the war. When these became obsolete on the battlefield, they were converted into tank destroyers, or panzerjgers (literally tank hunters) by fitting a potent anti-tank gun to an open fighting compartment. Germany captured hundreds of Russian 7.62cm anti-tank guns, an extremely powerful weapon. They were mated to the Panzer II Ausf. D chassis, to form the Marder II Ausf. D. These were also fitted to the 38(t) chassis, to form the Panzerjger 38(t) fr 7.62cm PaK36(r) (Sd.Kfz.139). At the same time the Panzer IIc Ausf. A, B C and F were being phased out of service, the deadly PaK 40 75mm anti-tank gun was mated to this chassis to form the 7.5cm PaK40/2 auf Fahrgestell Panzer-kampfwagen II (Sf) (Sd.Kfz.131 Marder II. The German-produced PaK ( P anzer a bwehr K anone) 40 was also mated to the Czech 38(t) chassis to form both the Marder III Ausf. H (7.5cm PaK40/3 auf Panzerkampfwagen 38(t), and the Marder III Ausf. M (Panzerjger 38(t) mit PaK40/3 Ausf. M Sd.Kfz.138)
When I sat down to write this book, I was unsure what exactly to cover, Marders I, II or III? 1/72 scale or 1/35 scale? Should I concentrate on as many as possible, covering the whole family of vehicles? I was able to source an Ironside Marder I from eBay, so this was a logical inclusion and a good starter for the book. Alan Hobbies from the Ukraine popped up on the hobby radar in the late 1990s and amongst their releases was the Marder II Ausf. D. This kit is quite good, but the detail is a little heavy, and not up to the standard of releases from the likes of Tamiya. This of course makes it a perfect candidate for updating and reworking. In 2001 and 2002 Tamiya released two exquisite models, the Sd.Kfz. 138 Marder III(r) and the Sd.Kfz.138 Marder III Ausf. M. I couldnt write a book about modelling the Marder without including these fantastic kits, as they represent the pinnacle of injection moulding and ease of construction. In 1973 Italeri released a Marder III Ausf. H. This was based on their 38(t) kit. For its time it was a great model with great detail and, up until the Tamiya releases, was still deemed to be very detailed. I believe it to still be one of Italeris best releases.
This book starts off assuming the reader understands the basics of armour modelling, construction, painting, and decaling. Hence Ive not included any out of the box builds. While all the kits above can be built out of the box quite well, each subject also benefits from detail improvements. Ive also kept basic construction in progress pictures to a minimum, concentrating instead on highlighting new techniques in photographs and descriptions. Each chapter adds another skill, culminating in the final chapter where I bring everything covered previously together to produce a super-detailed diorama.
Tools and materials
I always find any discussion on tools and materials that individual modeller uses very interesting. What one modeller swears by, the next modeller may shun as a useless extravagance. There are some items in a modellers toolbox that every modeller will use:
Modelling/craft knife. Self-explanatory. Also youll need a large supply of no. 11 straight, curved, and chisel blades. I seem to break the tip off the straight blades at a phenomenal rate. Once the blades are a little dull, I just use them for applying superglue and putty.
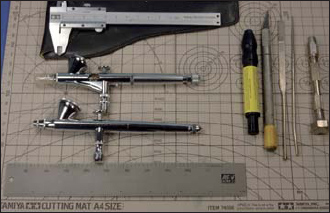
Tools of the trade. The Tamiya precision caliper is required for accurate measuring. The pin vice, X-acto knife and glass fibre stick are for drilling, cutting and sanding respectively. Probably the most expensive modelling tool youll ever buy is an airbrush, but if it is maintained well it should last a modelling lifetime.
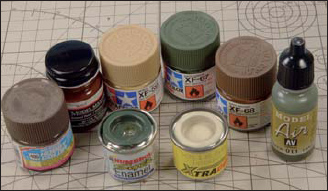
A selection of the paints used in the book. Virtually all paint manufacturers have their own take on German World War II camouflage colours. A cross-section of paints was used on each model, dispelling the myth that enamels and acrylics cant be used in conjunction on the same model.
Glue I use Tamiya super-thin liquid plastic cement and Testors liquid plastic cement.
Cyanoacrylate glue (CA) or superglue. There are a million different brands and viscosities available, though I tend to stick with Selleys Supa-glue, and Tamiya non-fogging CA.
Putty I use Tamiya grey putty, and occasionally Squadron green. I also use Miliput and Epoxie Sculpt two-part epoxy putty.
Files I picked up a pack of 10 different diamond files very cheaply at a train show many years ago, they still show no signs of wearing out or clogging.
Glass fibre sanding pen. Literally made up of thousands of fine glass fibres, perfect for sanding and smoothing hard to reach areas.
Paint an obvious inclusion, but one that stirs great emotion in many modellers. Some are die-hard enamel users (Humbrol), and a growing number use exclusively acrylics (Tamiya, Gunze, Vallejo just to name a few). I almost solely use Tamiya acrylics, but for this book I will use Gunze and Vallejo as well.
Brushes both fine point and broad. Used for applying glue, putty, paint, and pastels.
Punch and die set Historex, both round and Hex not cheap, but a one-off purchase that will last a modeller a lifetime.
Pyrogravure a soldering iron-like tool for replicating weld seams, available through Historex Agents. Once again, not cheap, but a one-off investment.
Airbrush I use two: a Tamiya Superfine HG and an Iwata Custom Micron. A good airbrush is again a one-off purchase and, treated well, will last forever.
Air compressor for running your airbrush. Self-explanatory.
Pliers and side cutters I use pliers to bend photo-etched brass. These pliers meet perfectly, and have a right angle on them. Beats paying large sums for dedicated etch benders. Side cutters are perfect for removing parts from the sprues. The ones I use are German, designed for use in electronics manufacture. These are a little expensive, but worth every penny, considering you will use these with every model.
Pin vice and drill bits for drilling tiny holes in things. Also, by chucking a pin in your pin vice, its a great tool for marking and scribing panel lines.
A dedicated model room many modellers take a dedicated space to build and paint models for granted. Up until the birth of my now two-year-old twins, I had my own model room, with built in wardrobes full of bookshelves and kit storage. For a spell I worked off the kitchen table, taking photographs of my models on a TV stand set up in the laundry. Now I have a space set aside in the garage, the spiders dont seem to mind the smell of paint and glue fumes. Along with this it pays to have as much light and ventilation in your model room as possible its meant to be a hobby, so going blind from working in the dark or choking on glue or paint fumes is something to avoid!

