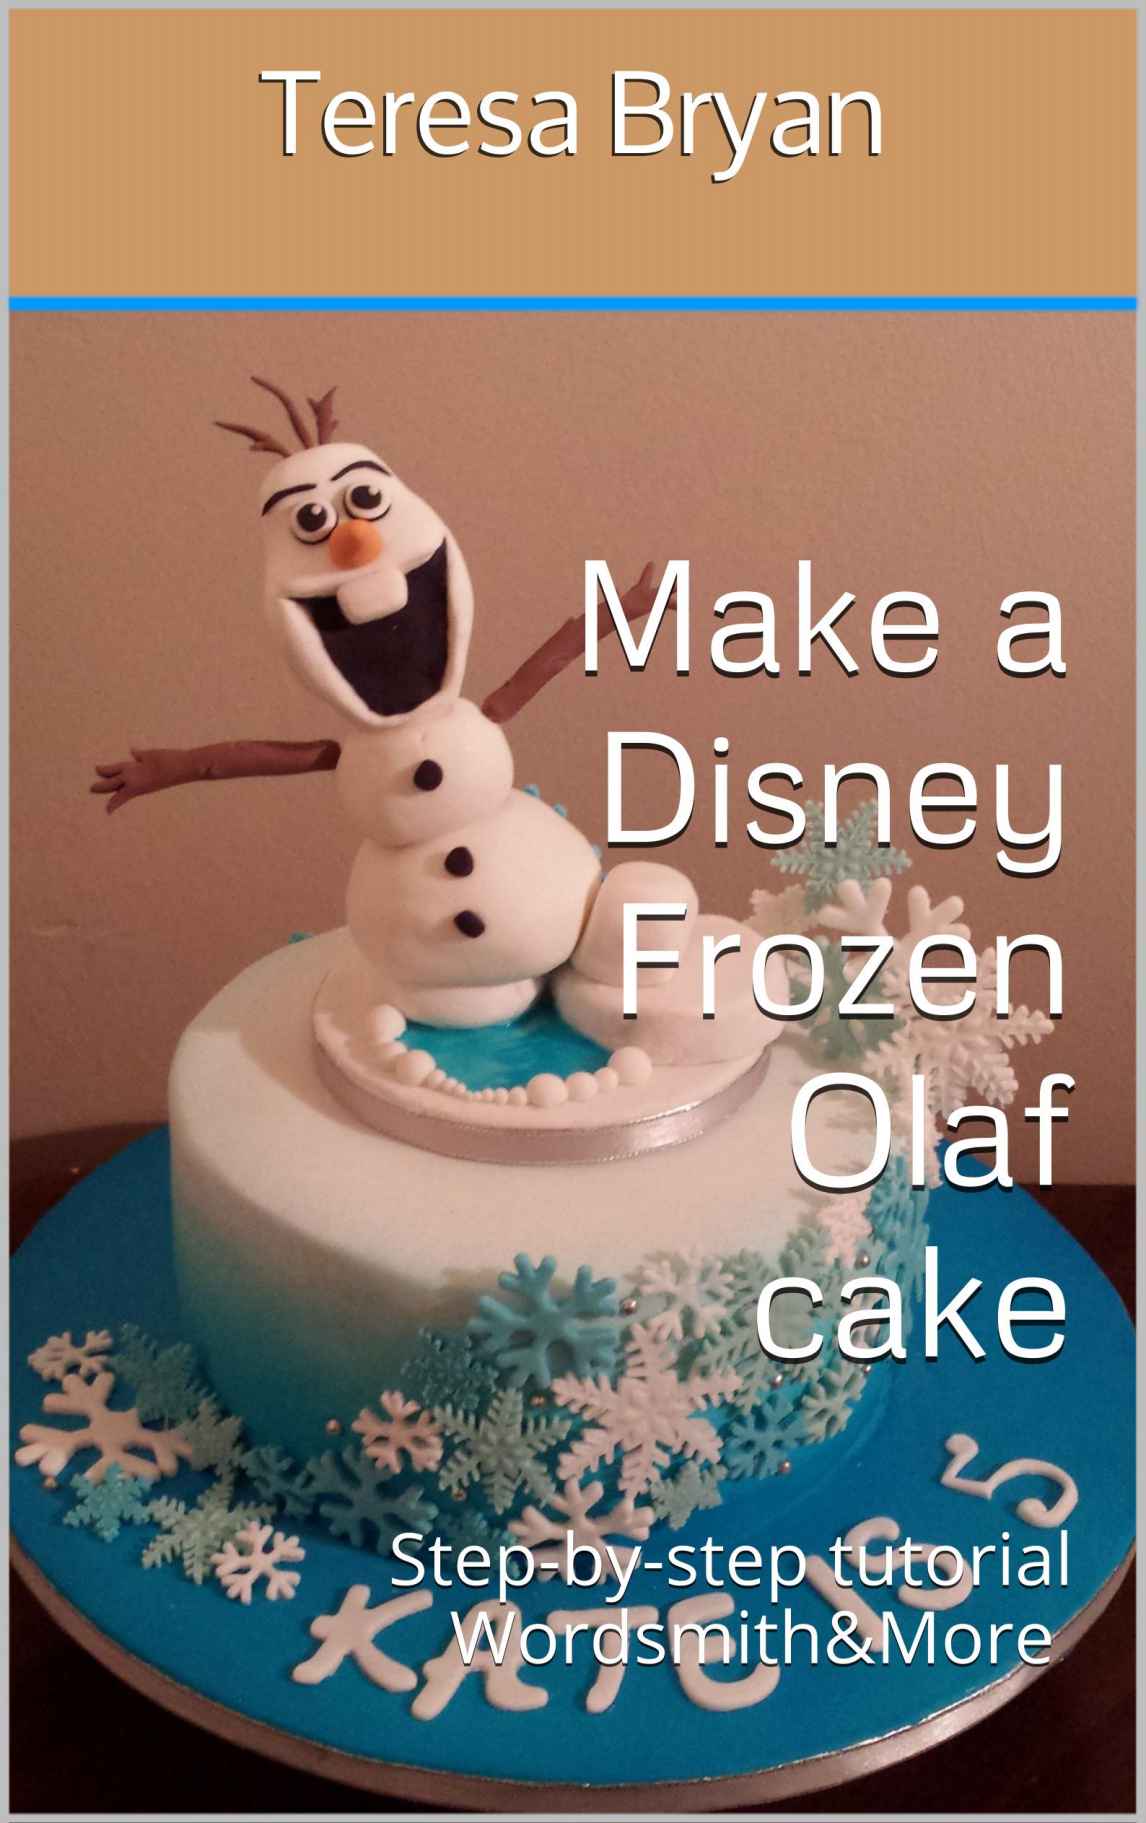
Bryan - Make a Disney Frozen Olaf cake: Step-by-step tutorial Wordsmith&More
Here you can read online Bryan - Make a Disney Frozen Olaf cake: Step-by-step tutorial Wordsmith&More full text of the book (entire story) in english for free. Download pdf and epub, get meaning, cover and reviews about this ebook. year: 2015, genre: Home and family. Description of the work, (preface) as well as reviews are available. Best literature library LitArk.com created for fans of good reading and offers a wide selection of genres:
Romance novel
Science fiction
Adventure
Detective
Science
History
Home and family
Prose
Art
Politics
Computer
Non-fiction
Religion
Business
Children
Humor
Choose a favorite category and find really read worthwhile books. Enjoy immersion in the world of imagination, feel the emotions of the characters or learn something new for yourself, make an fascinating discovery.
- Book:Make a Disney Frozen Olaf cake: Step-by-step tutorial Wordsmith&More
- Author:
- Genre:
- Year:2015
- Rating:4 / 5
- Favourites:Add to favourites
- Your mark:
Make a Disney Frozen Olaf cake: Step-by-step tutorial Wordsmith&More: summary, description and annotation
We offer to read an annotation, description, summary or preface (depends on what the author of the book "Make a Disney Frozen Olaf cake: Step-by-step tutorial Wordsmith&More" wrote himself). If you haven't found the necessary information about the book — write in the comments, we will try to find it.
Bryan: author's other books
Who wrote Make a Disney Frozen Olaf cake: Step-by-step tutorial Wordsmith&More? Find out the surname, the name of the author of the book and a list of all author's works by series.


Make a Disney Frozen Olaf cake: Step-by-step tutorial Wordsmith&More — read online for free the complete book (whole text) full work
Below is the text of the book, divided by pages. System saving the place of the last page read, allows you to conveniently read the book "Make a Disney Frozen Olaf cake: Step-by-step tutorial Wordsmith&More" online for free, without having to search again every time where you left off. Put a bookmark, and you can go to the page where you finished reading at any time.
Font size:
Interval:
Bookmark:
Copyright WORDSMITH&MORE PUBLISHING. All rights reserved.
This book is copyright protected and intended for personal use only. You may not amend, distribute, sell, use, quote, or paraphrase any part of or any content within this book without the full consent of the author, publishing company, and/or copyright owner. Making copies of these pages or any portion for any purpose other than your personal use is a violation of copyright laws.
DISCLAIMER
WORDSMITH&MORE PUBLISHING and its authors have used their best efforts in preparing these pages and their publications. Wordsmith&More and its authors make no warranty of any kind, expressed or implied, with regard to the information supplied.
LIMITS OF LIABILITY
Wordsmith&More and its authors shall not be liable in the event of incidental or consequential damages in connection with, or arising out of, the providing of the information offered here.
How to make a Disney frozen Olaf cake
Index
- Foreword
- Equipment and materials needed
- Making the cake: colours, level it and have no bellies
- Covering the cake
- The cake board
- Airbrushing
- Making the Olaf topper
- Making the snowflakes
- Putting everything together
- Foreword
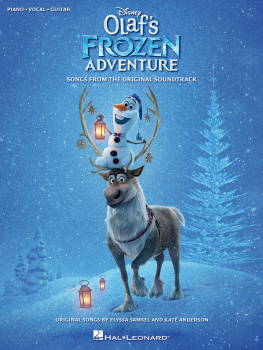
Since the release of the very popular Frozen movie from Disney, there are almost not a child alive that does not wish an Elsa or Olaf cake for one of their birthdays and the craze does not look like it is about to come to an end. I think for the foreseeable future, Frozen is very much here to stay.
Even though the colour on this cake is blue which is seen as predominantly a boys colour, you can get away with making this for boys or girls. In fact, this cake was made for 5 year old Kate who is Frozen crazy. Mostly age groups up to 10 fall in the Frozen category.
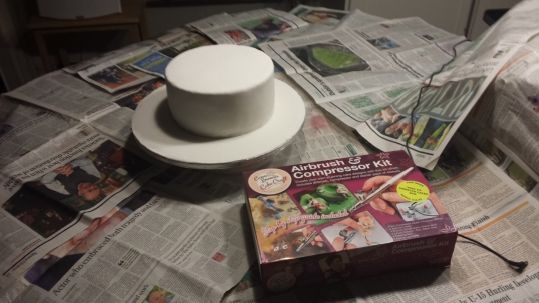
- Equipment and materials needed
Your baked cake and chosen frosting
Cake board in three sizes, l used 14, 8 and 4 inch but you dont have to go as big as 14.
Fondant in colours blue and white, a bit of brown, orange and black
Piping gel
Florist wire, kebab stick
Rolling pin, smoother, craft knife
Paint brush
Ribbon
Tylose powder
Blue food colour
- Making the cake
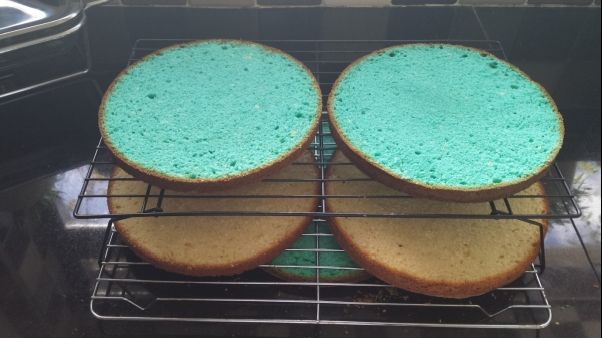
Ive made vanilla sponge and coloured the one half blue. This adds to the surprise of the cake not only looking good on the outside, but when you cut into it you get the second bit of surprise. You can also do ombre, but as this is for a 5 year old child l wanted to create playfulness so l just done blue and white and when l stacked it, l stacked blue-white-blue-white.
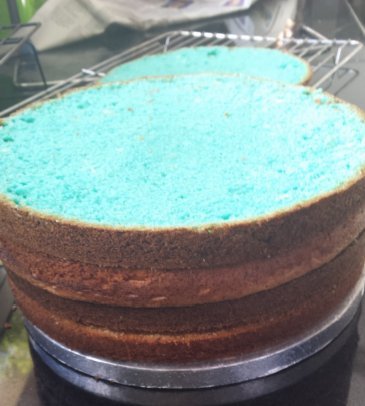
It is not necessary and it does add a few bob to the cost layout, but l find it makes it a lot easier to handle and also gives a bit more height to your cake if you put your cake on a cake board of the same size. I baked an 8 inch and so here I am using an 8 inch board. It also helps when you start levelling your cake.
Make sure your layers are equally high and level. You cant have a good finished product if you dont start off right.
- Covering the cake
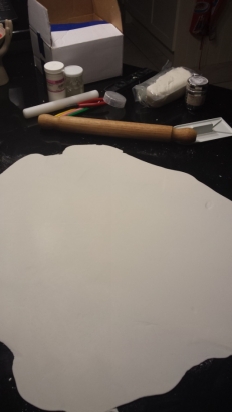
I used white fondant. You can also use blue if you wish.Roll it out nice and thin, too thick tastes yuc k
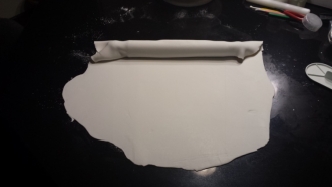
Roll the fondant around your roller up to about half way. Then push your cake down to where the roller is. Lift the cake roller and fold the fondant over the cake.
Now start with your craft knife cutting off the excess
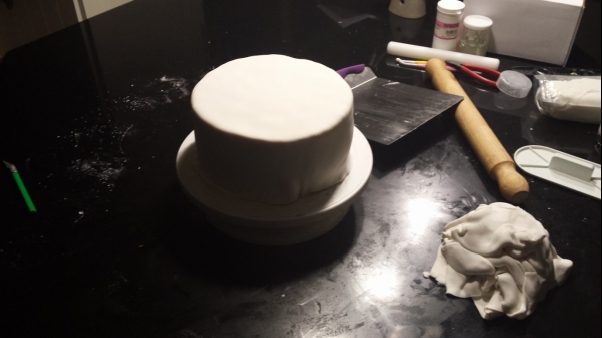
Starts using your smoother to get as smooth a finish as you can. Careful not to tear your fondant.
- The cake board
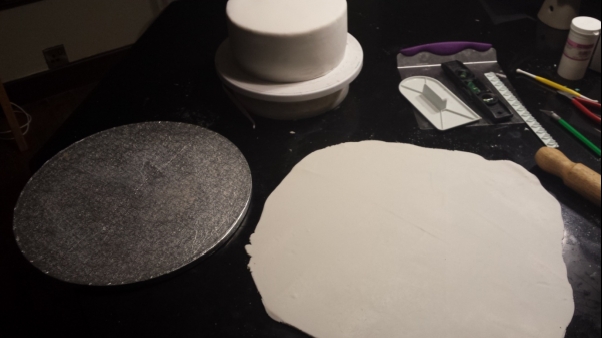
Here is my cake covered smoothly in fondant. You will see the little level in the picture. I robbed it out of the garage. It is perfect size for cakes. Put it on top of your cake to make sure it is as level as you can get it.
They say we eat with our eyesyour cake board is a very important part of the presentation. A cake presented on a plain silver cake board just does not look rounded off. If you put as much effort into the cake board as with the rest of your cake, the effort will show off. I like to use as big a board as l can.
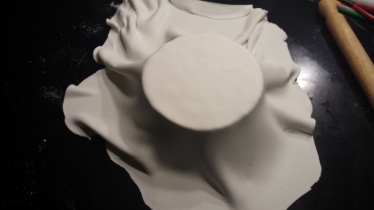
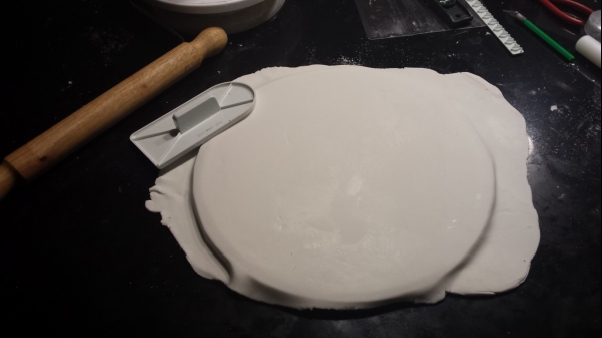 Roll out some white fondant again and using the same technique, cover your board.
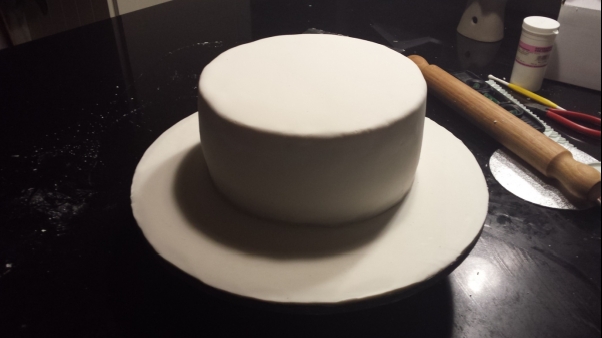
Lift your cake onto the covered cake board. I centred it a bit to the back to give me more space in the front for my decorations and writing.
- Airbrushing
I love how the airbrush gives a subtle effect to designs. There are no hard contrast lines. If you dont have an airbrush you could use a paintbrush but the effect will not be as subtle. You could also use blue fondant and just drape a piece of white over the top. Lets airbrush away!
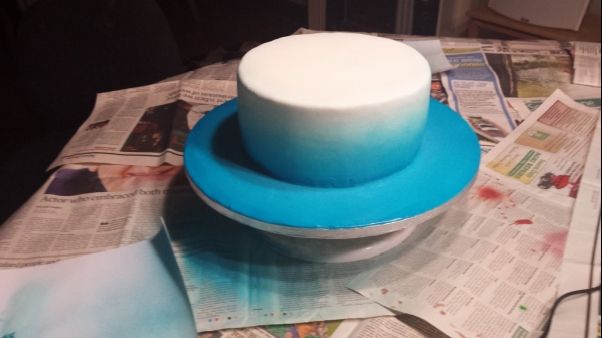
First and foremost you want to cover any surface. Here I used a mix of blue and white. 5 drops of white to 10 drops of blue. Start on the board and work your way up. Lastly use neat blue and go around the edges of the cake board. Leave to dry overnight!
- Making the Olaf topper
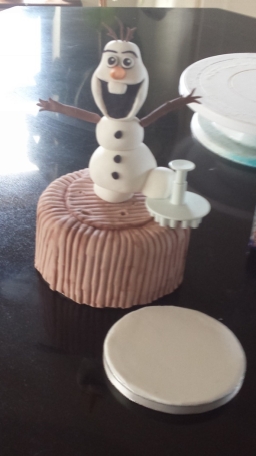
I first made a carrot from orange fondant and put it aside. Dont forget to put the little lines into the carrot. Use the wooden skewer and stick it into an old dummy.
Mix tylose powder into your fondant to give it more strength. Form two legs, body, torso and head. The one leg does not go onto the skewer. Use either florist wire or another piece of skewer to attach the leg to the body. I used a spare snowflake cutter to give the leg the lift until it is dry.
For the arms and hair l used florist wire and covered it in the brown. Carve little bits out of it to make it look like branches.
I used a 4 inch cake board, and covered it in fondant the same way we done with the big cake board.
If you can, make any toppers at least a week in advance to give them enough time to dry out.
Next pageFont size:
Interval:
Bookmark:
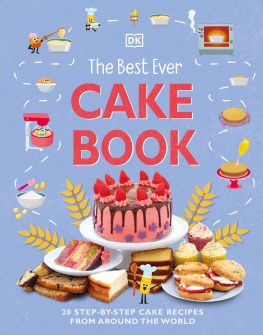
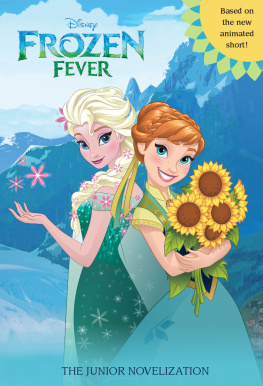
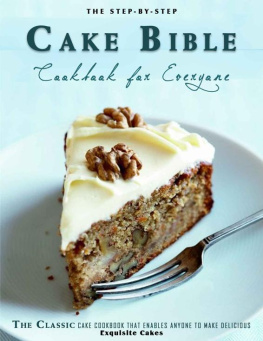
Similar books «Make a Disney Frozen Olaf cake: Step-by-step tutorial Wordsmith&More»
Look at similar books to Make a Disney Frozen Olaf cake: Step-by-step tutorial Wordsmith&More. We have selected literature similar in name and meaning in the hope of providing readers with more options to find new, interesting, not yet read works.
Discussion, reviews of the book Make a Disney Frozen Olaf cake: Step-by-step tutorial Wordsmith&More and just readers' own opinions. Leave your comments, write what you think about the work, its meaning or the main characters. Specify what exactly you liked and what you didn't like, and why you think so.