A PAPER-FOLDING PALOOZA
W elcome to an origami extravaganza! Get ready to celebrate the Japanese art of paper folding with this remarkable collection of traditional and original origami models. Simple animals, such as the chick and the pig, will help you practice your folding skills. More complex models, such as the palanquin and the dragon, will amaze your friends and family. From turtles to teacups to lazy Susans, youll discover that just about anything can be made from a single square of paper. What are you waiting for? Gather some paper and lets start folding. A paper-folding palooza awaits!
MATERIALS
Origami is an affordable hobby because it doesnt require many materials to get started. In fact, youll only need a square sheet of paper for most of the models in this book. A few models may require some extra materials, but you can easily find most of these items around the house:
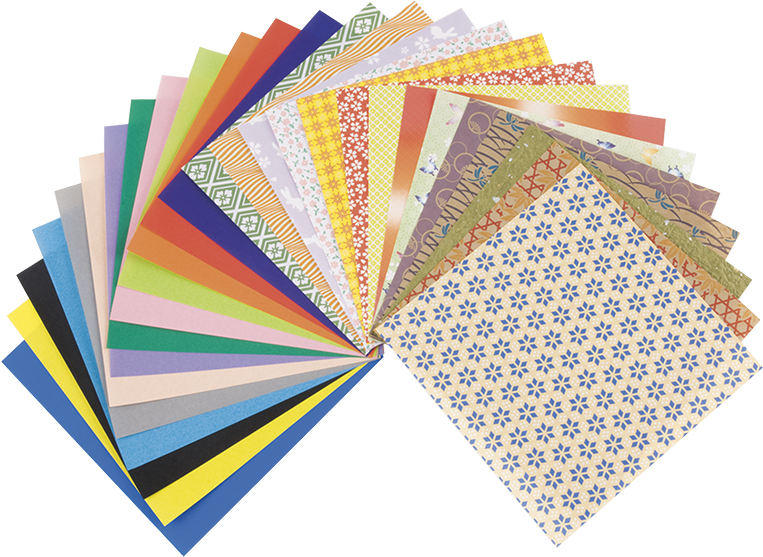
Paper: While you can fold with just about any paper, authentic origami paper often works best. It is perfectly square, easy to fold, and has a crispness that holds its creases well. Youll find packets of origami paper with many fun colors, patterns, and sizes at most craft stores.
Scissors: Sometimes a model needs a snip here or there to pull off a key detail. You wont need it often, but keep a pair of scissors handy.
Ruler: Some models use measurements to complete. A ruler will help you measure.
Paper Trimmer: A good quality paper trimmer will come in handy when you want to cut paper to a custom size. Rotary blade paper trimmers are a good choice for precise, clean cutting. A variety of paper trimmers can be found at any craft store.
Pencil: Use a pencil when you need to mark a spot with the ruler.
Craft Supplies: Markers and other craft supplies will help you decorate your finished models.
FOLDING SYMBOLS
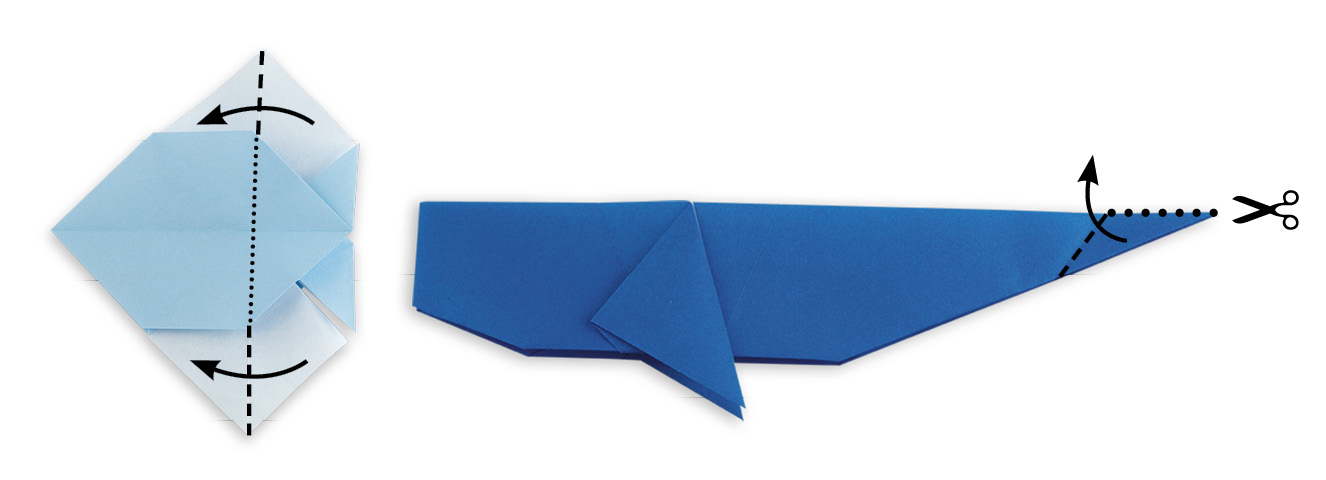
Dotted Line
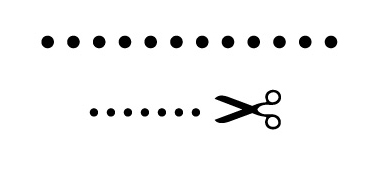
A fold or edge hidden under another layer of paper; also used to show where to make a cut with a scissors. Example:
Single-Pointed Arrow
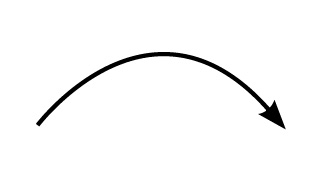
Fold the paper in the direction of the arrow. Example:
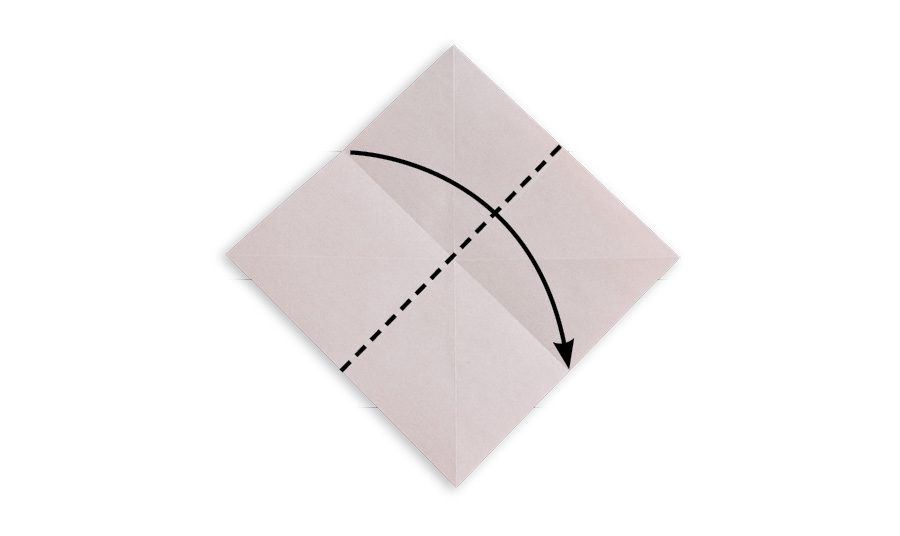
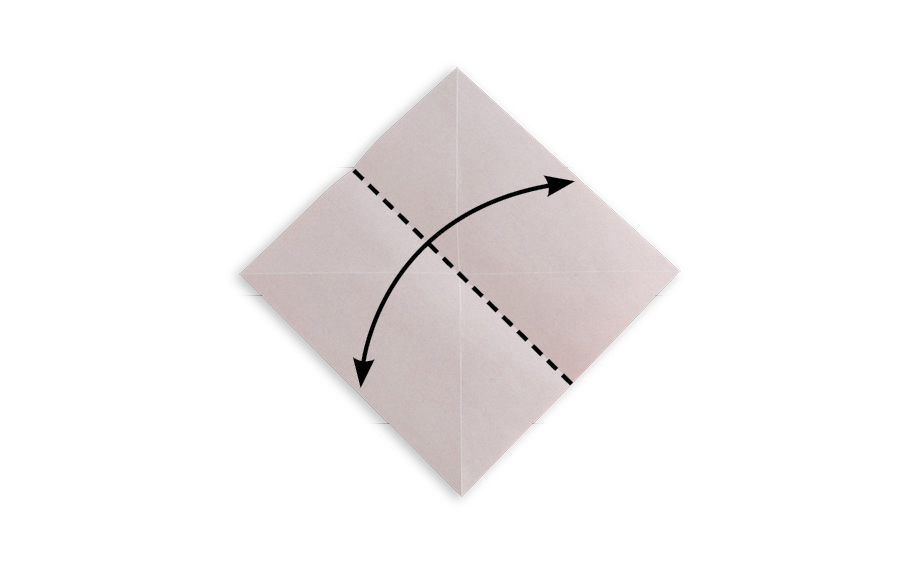
Double-Pointed Arrow
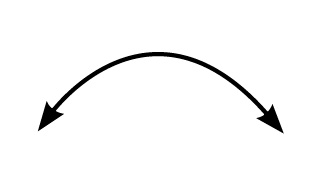
Fold the paper and then unfold it. Example:
Half-Pointed Arrow
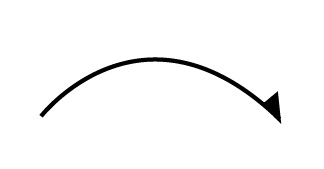
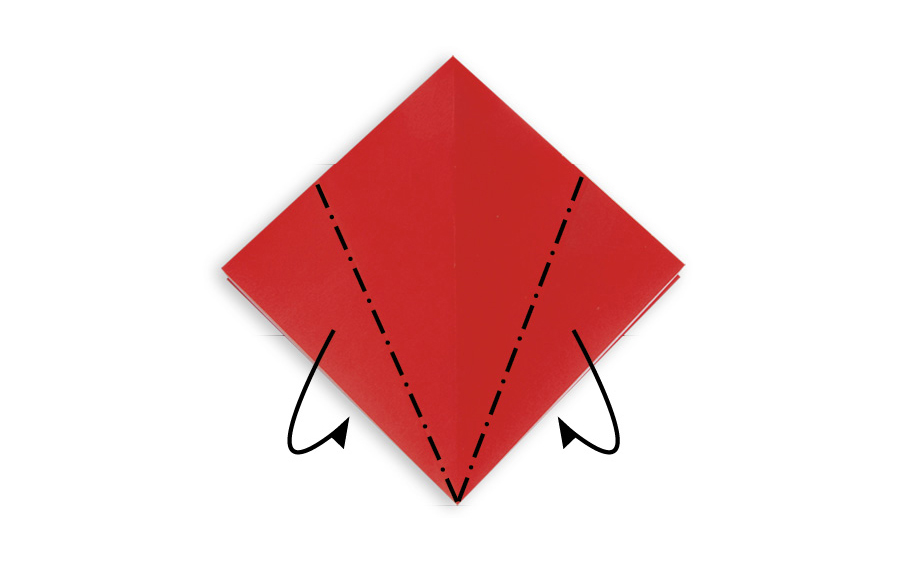
Fold the paper behind. Example:
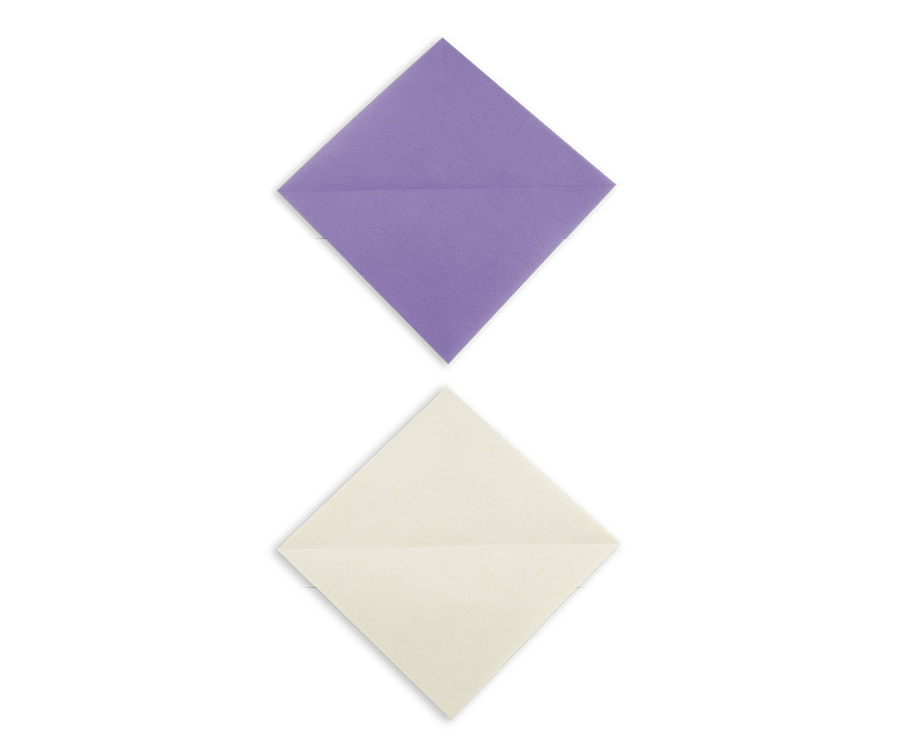
Looping Arrow
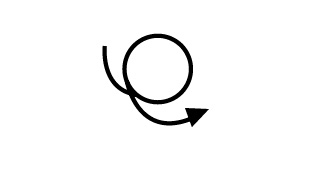
Turn the paper over, or rotate the paper. Example:
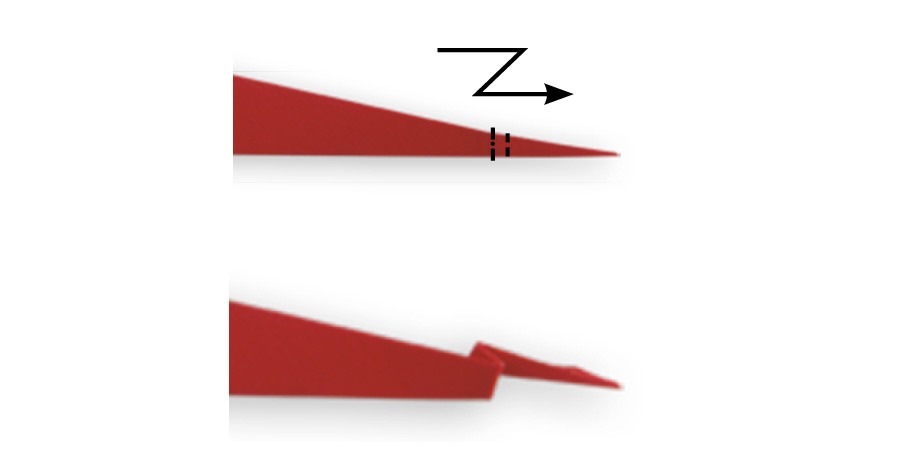
Zigzagging Arrow
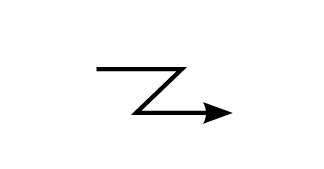
Pleat the paper by reverse folding twice. Example:
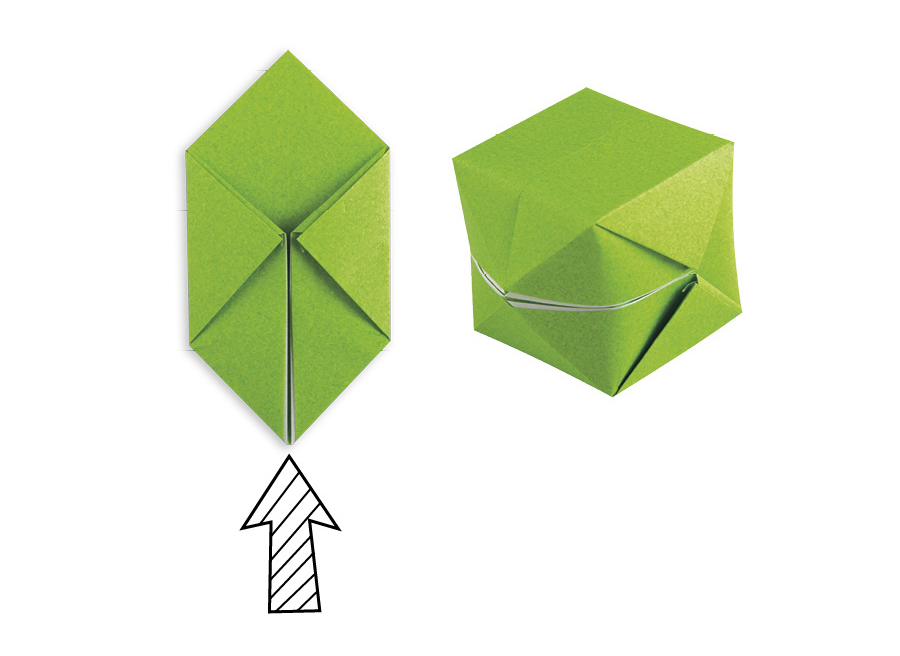
Striped Arrow
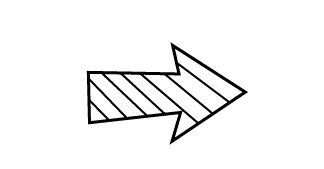
Inflate the model by blowing air into it. Example:
TERMS AND TECHNIQUES
Folding paper is easier when you understand basic origami folding terms and symbols. Practice the folds below before trying the models in this book. Bookmark these pages so you can refer back to them if you get stuck on a tricky step.
Valley folds are represented by a dashed line. One side of the paper is folded against the other like a book.
Mountain folds are represented by a dashed and dotted line. The paper is folded sharply behind the model.
Squash folds are formed by lifting one edge of a pocket. The pocket gets folded again so the spine gets flattened. The existing fold lines become new edges.
Inside reverse folds are made by opening a pocket slightly. Then you fold the model inside itself along the fold lines or existing creases.
Outside reverse folds are made by opening a pocket slightly. Then you fold the model outside itself along the fold lines or existing creases.
Rabbit ear folds are formed by bringing two edges of a point together using existing fold lines. The new point is folded to one side.


![Marcia Joy Miller - Origami for Busy People: 27 Original On-The-Go Projects [Origami Book, 48 Papers, 27 Projects]](/uploads/posts/book/151502/thumbs/marcia-joy-miller-origami-for-busy-people-27.jpg)

