Publisher: Amy Marson Creative Director: Gailen Runge Art Director / Book Designer: Kristy Zacharias Editor: Lynn Koolish Technical Editors: Susan Nelsen and Susan Hendrickson Production Coordinator: Jenny Davis Production Editor: Katie Van Amburg Illustrator: Valyrie Gillum Photo Assistant: Mary Peyton Peppo Styled photos by Nissa Brehmer, unless otherwise noted; Instructional photos by Diane Pedersen, unless otherwise noted Published by FunStitch Studio, an imprint of C&T Publishing, Inc., P.O. Box 1456, Lafayette, CA 94549 Dedication This book is lovingly dedicated to my three gorgeous boys. Riley, Jacob, and Elijah: You are my greatest achievements, and I am so thankful to be your mumma. 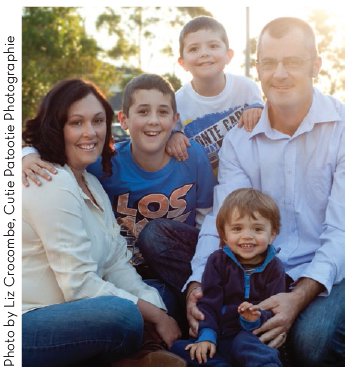 Acknowledgments I would like to thank my wonderful husband, Matt: You have always encouraged me to follow my dreams, no matter what. Your support during this season has meant the world to me. Thank you for understanding when I had to meet deadlines, and getting takeout on your way home.
To my beautiful friend Jody: Thank you just doesnt seem enough. You have always been my biggest supporteryour love and encouragement have made me believe anything is possible if I work hard enough. To the wonderful team at C&T Publishing, particularly my editor, Lynn Koolish: Thank you for making my dream become a reality. I have been so blessed to work with an amazing team. Let Me Introduce Myself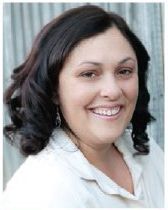 Hi! Im Ally. I live in Australia and I teach kids how to sew.
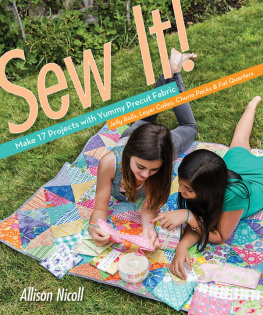
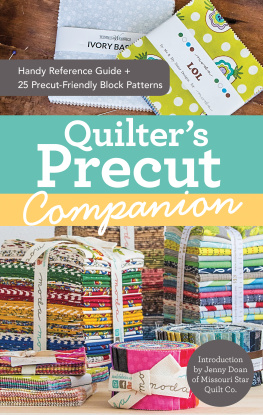
I wrote this book to share my love of stitching with the worldit has seventeen projects that are perfect for kids who want to learn to sew. Be sure you read the instructions and also the information in the basics sectionsdoing this will make your end results fantastic. Then have a look through the book, pick out your favorite projects, and get sewing! If you have any questions or want to share pics of your finished projects, Id love to hear from youyou can email me at . I hope this book inspires a love of stitching that will last a lifetime! Happy stitching! Ally 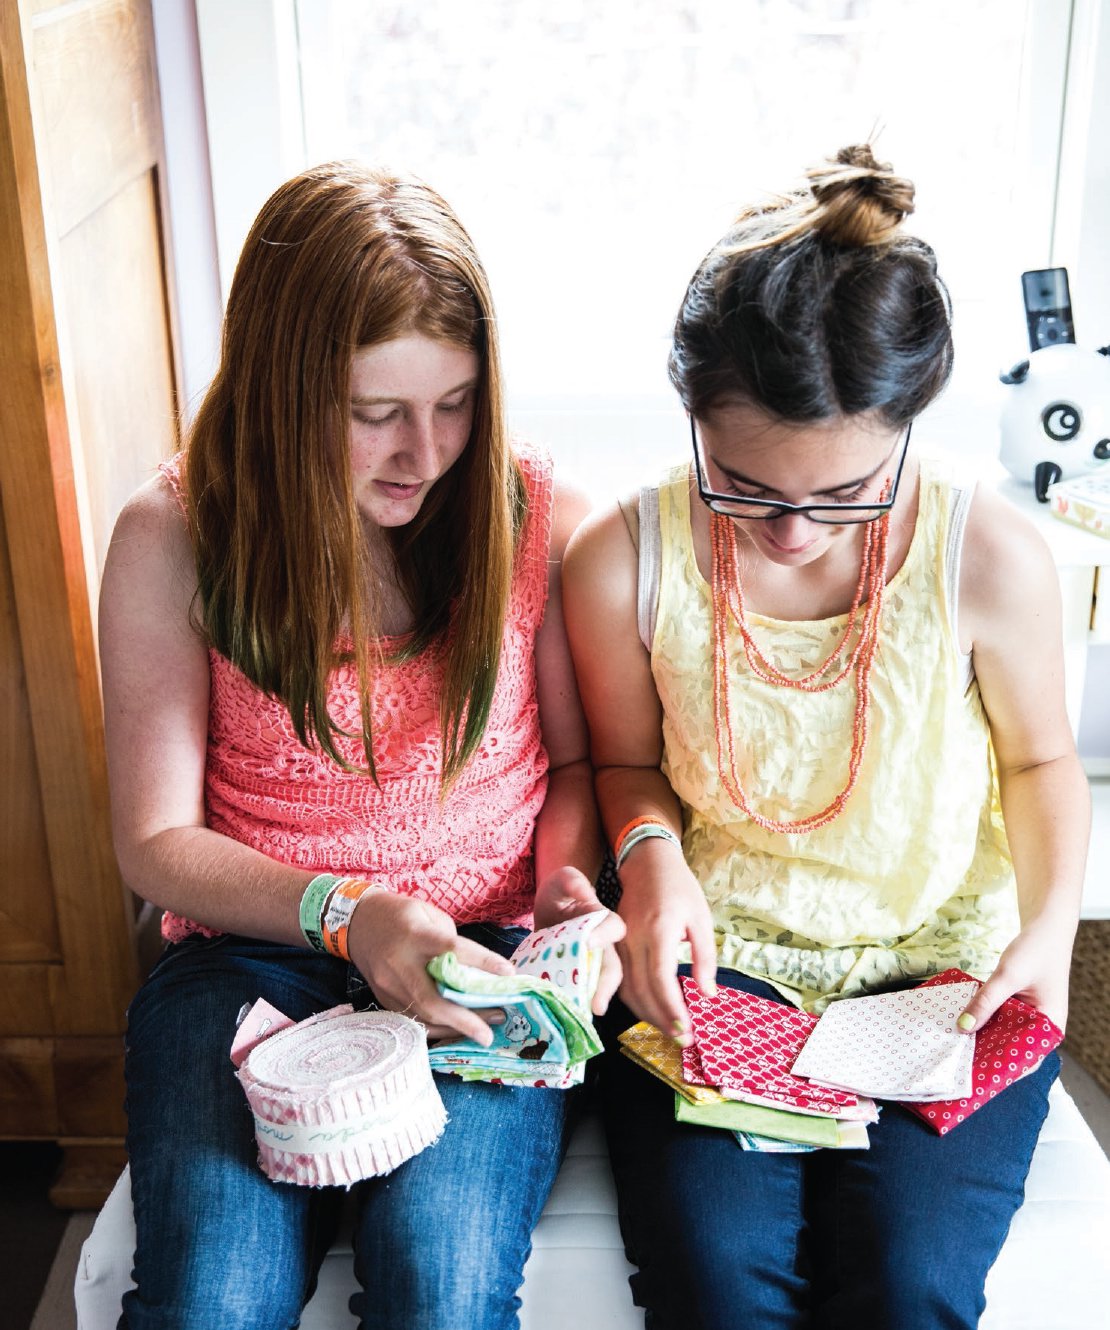 Sewing with PrecutsWhat Are Precuts? As the name suggests, precuts are fabrics that have been cut to specific sizes and are then sold in bundles. The projects in this book are made mostly from precut fabrics so you can get to the sewing without a lot of cutting.
 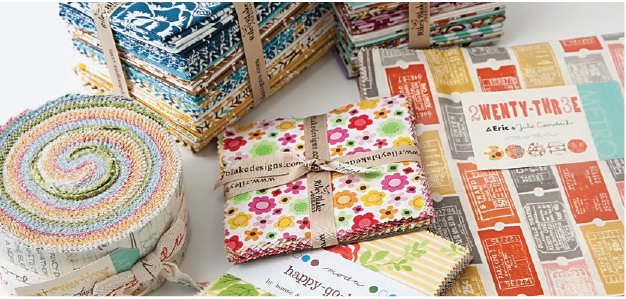 2-Wide Strips Strips that are 2 wide and about 40 long can be used for many projects.
  2-Wide Strips Strips that are 2 wide and about 40 long can be used for many projects.
About 40 of them are often rolled together. Some of the names for these precut bundles are Jelly Rolls, Rolie Polies, and Bali Pops. 5 5 Squares Precut 5 5 squares are also known as charm squares. When about 40 or 42 squares are bundled together, they are sometimes called Charm Packs or 5 Stackers. 10 10 Squares Precut 10 10 squares are stacked and tied together, with about 40 or 42 squares per stack. Some of the names for these precut bundles are Layer Cakes and 10 Stackers.
Fat Quarters A fat quarter is a piece of fabric that is 18 22. Fat quarters are often sold in bundles, but you can also buy them individually from any good quilting or craft store. 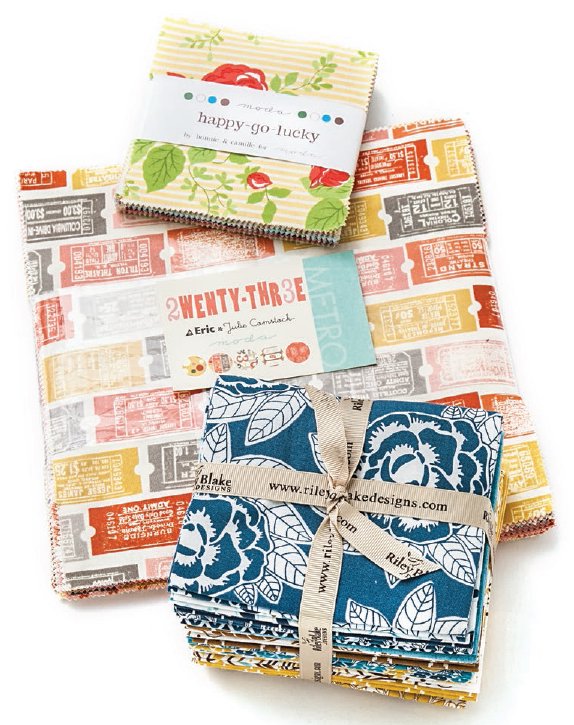 Why Use Precuts? Save moneyYou can usually find precuts at a good price, and there is very little waste at the end of your project. Get a variety of fabricsPrecut packs include lots of different fabrics that are designed to go with each other. You dont have to worry about picking individual fabrics. Save timeBecause precuts are already cut into strips or squares, you spend less time cutting before you begin your project.
As youll see, precuts can be used in so many sewing projects, from quilts to bags and everything in between! I love them because they can be used in many ways and are a fantastic value for the money. Besides, who can resist a beautifully wrapped bundle of fabric? Not me. How to Use This Book The book is divided into sections by type of precut. Within the sections are projects for every skill level:  Perfect for when you are just starting out. Make these projects first.
  After youve done some sewing and quilting, take on these projects.
  After youve done some sewing and quilting, take on these projects.
If you are new to sewing or quilting, dont worry. This book was written with you in mind. Everything you need to know is included in this book: Getting started: tools and supplies Basic skills Turning a quilt top into a quilt Just be sure to read through all the notes and instructions before starting each project and check with an adult if there is anything you are unsure about. Dont worry about making everything perfectthis is about learning and having fun. So, what are you waiting for?
 Setting Up Your Sewing Area When you sew and quilt, its important to have things set up so you are comfortable and have everything you need handy. Put the sewing machine on a sturdy table that is the right height for you.
If the machine is too high, youll be uncomfortable and wont be able to do your best work. Its best if the machine is set into a sewing table or has an extension table that gives you a flat surface for sewing and quilting. Make sure there is good light so you can see what you are doing. Have a wastebasket nearby for scraps of fabric and thread so you can keep your sewing area neat. Organize all your sewing and quilting tools so you can reach them when you need them. 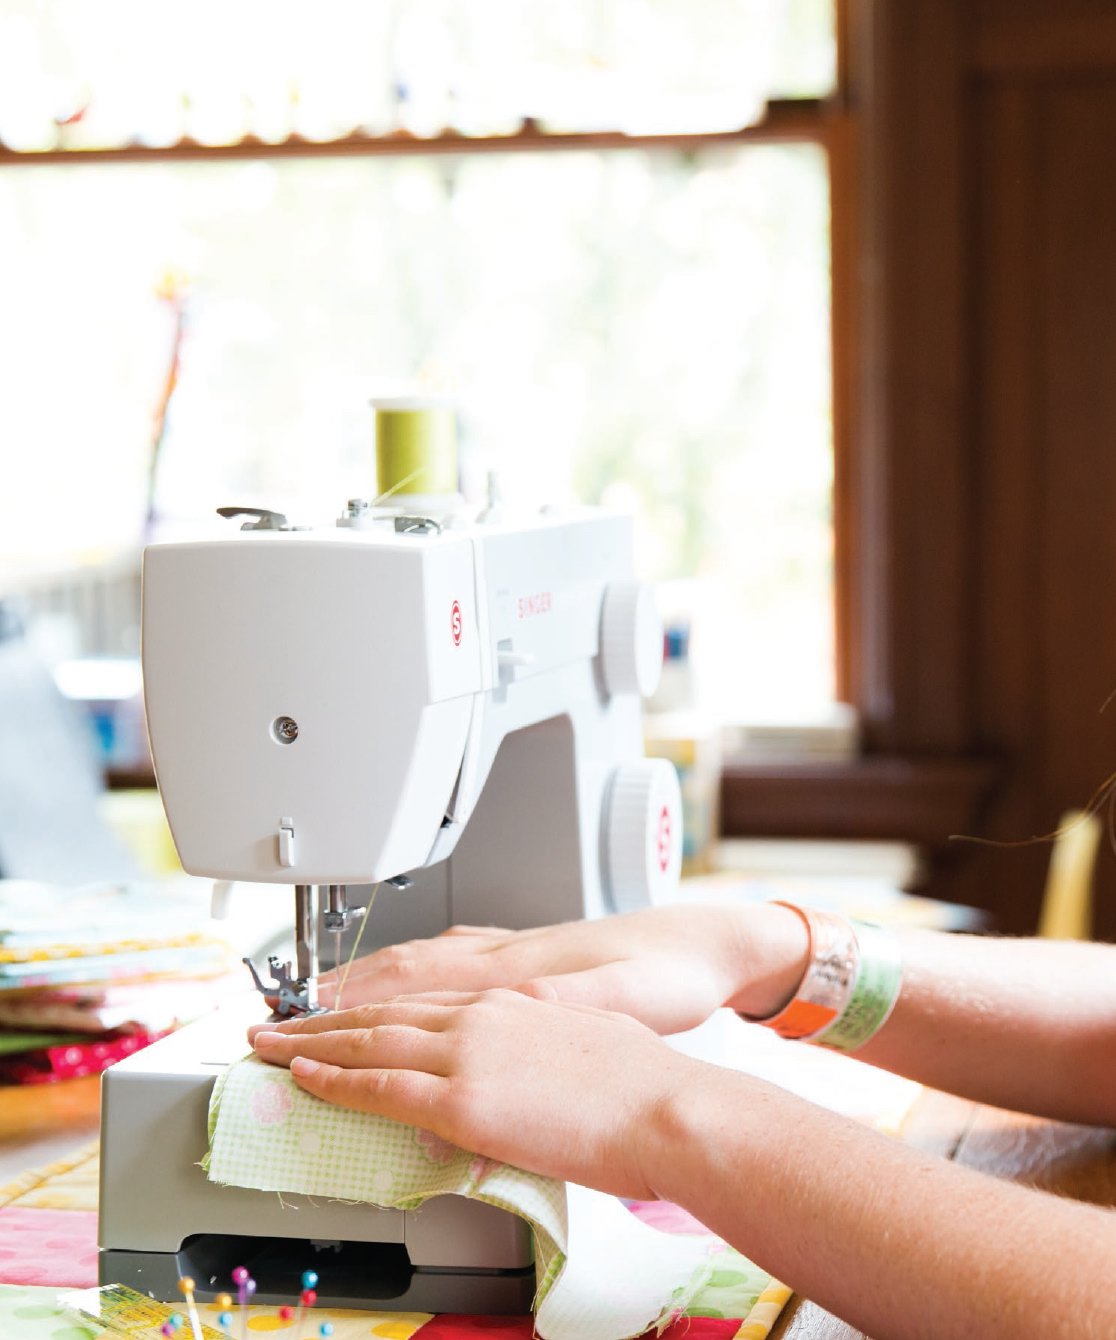 Sewing Machine The first thing you need is a sewing machine.
It doesnt matter if you are sewing on a brand-new shiny sewing machine or on an old machine that your grandmother used. As long as the machine runs smoothly, you can use it to make the projects in this book. If the machine hasnt been used in a while, youll probably want to take it to a sewing machine store to have it cleaned and serviced. If youve never used a sewing machine before or dont know how to use the machine that you have, find someone who can show you how to use it. Keep the sewing machine manual handy because if you dont know how something on the machine works, youll want to look it up in the manual. 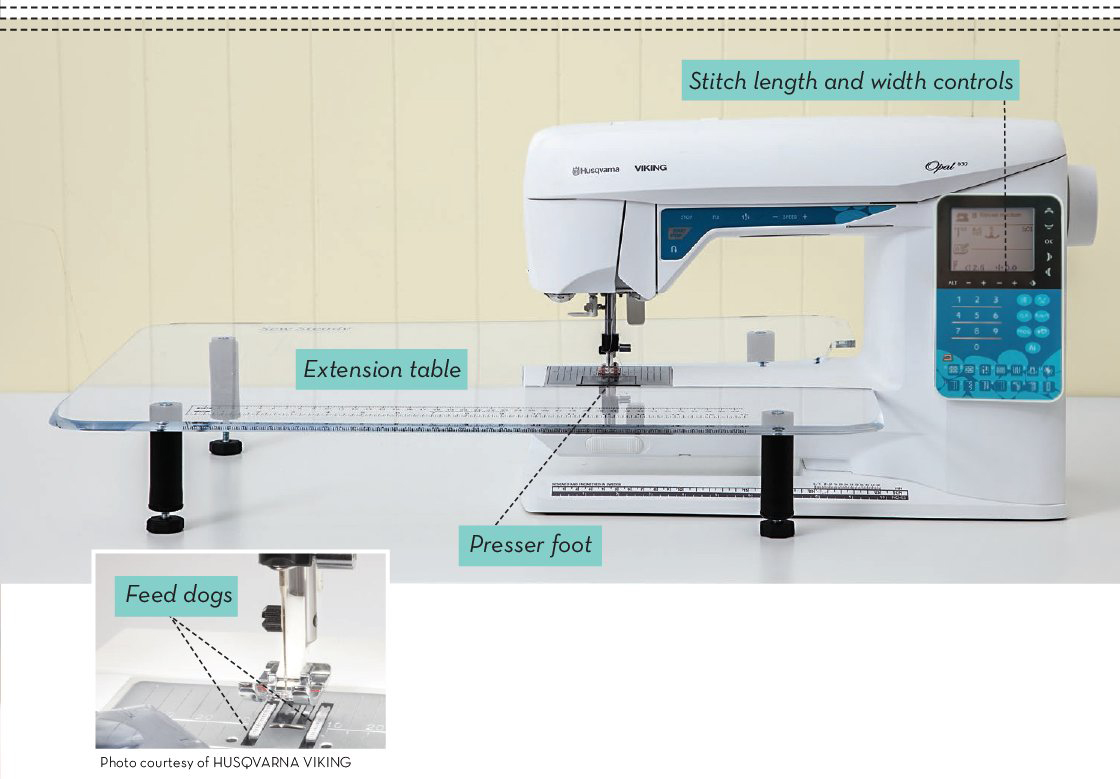
Next page


 Acknowledgments I would like to thank my wonderful husband, Matt: You have always encouraged me to follow my dreams, no matter what. Your support during this season has meant the world to me. Thank you for understanding when I had to meet deadlines, and getting takeout on your way home.
 Hi! Im Ally. I live in Australia and I teach kids how to sew.
 Sewing with PrecutsWhat Are Precuts? As the name suggests, precuts are fabrics that have been cut to specific sizes and are then sold in bundles. The projects in this book are made mostly from precut fabrics so you can get to the sewing without a lot of cutting.
  2-Wide Strips Strips that are 2 wide and about 40 long can be used for many projects.
  Why Use Precuts? Save moneyYou can usually find precuts at a good price, and there is very little waste at the end of your project. Get a variety of fabricsPrecut packs include lots of different fabrics that are designed to go with each other. You dont have to worry about picking individual fabrics. Save timeBecause precuts are already cut into strips or squares, you spend less time cutting before you begin your project.
 Perfect for when you are just starting out. Make these projects first.
  After youve done some sewing and quilting, take on these projects.
 Setting Up Your Sewing Area When you sew and quilt, its important to have things set up so you are comfortable and have everything you need handy. Put the sewing machine on a sturdy table that is the right height for you.
 Sewing Machine The first thing you need is a sewing machine.