Making Everything Easier!
Microsoft Excel 2019 for Beginners
Tips and Tricks in easy steps
Learn to:
1. Getting started with Excel 2019
2. Working with Data and Excel Tables
3. Working with worksheets
4. Formatting the cells
5. Formatting the worksheet
6. Using formulas and functions
7. Creating Charts and Graphics
8. Printing
9. Keyboard Shortcuts
By Hoang Phuong INTRODUCTION
Microsoft Excel 2019 is a tool that can be applied to many business tasks, including statistics, finance, data management, forecasting, analysis, inventory, billing, business, even word processing and graphic design. And Excel is also one of the worlds most popular programs for keeping all kinds of business and personal lists, from professional contacts to family addresses to home inventories.
In addition, Microsoft Excel 2019 for Beginners: Tips and Tricks in easy steps is designed for readers who have some experience with Excel and are pretty comfortable finding their way around the program.
Therearealotof greatfeaturestolearnabout,soletsgetstarted! Contents
CONTENTS
CHAPTER 1
GETTING STARTED WITH EXCEL 2019
STARTING EXCEL
After you install Excel on your computer, you can start it from the Start button in Windows , which opens the program with a new, blank workbook.Youcanalsostart Excel in Windows bypinningittothetaskbar and clicking it when viewing your computer in Desktop mode.
Click the Start button > Excel 2019 icon.
Ifnecessary, scroll to the Start screen to displaythe Excel 2019 icon.
Click or tap the Excel 2019 icon.
Tip:
If necessary, hold down Ctrl+Esc to displaythe Start screen.
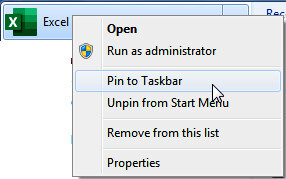
PIN EXCEL 2019 TO THE TASKBAR
Right-click the Excel 2019 icon.
Click Pin to Taskbar .
Tip:
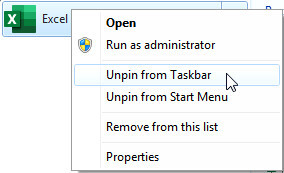
You can also click on the Unpin from Taskbar to unpin Excel 2019 icon.
STARTING EXCEL 2019 IN WINDOWS
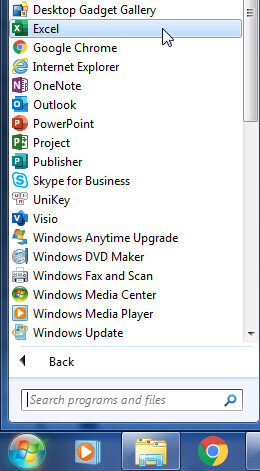
If your computer uses the Microsoft Windows operating system, you can run Excel 2019 by opening the Start menu, displaying the Microsoft Office 2019 programs, and clicking Excel 2019 icon. You can display the Start menu by clicking the Start button or by pressing Ctrl+Esc , whichever is faster for you.
Click the Start button on the taskbar.

Click All Programs .
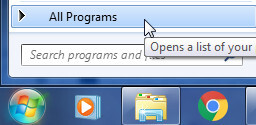
Click Microsoft Office 2019 .
Click Excel 2019 icon.
OPEN A WORKBOOK
After you create an Excel workbook, you will probably want to open it again, whether to verify the contents, add or update data, or copy data from one workbook to another. If you know where in your file system your workbook is stored, you can use the Open dialog box within Excel to locate and open your file.
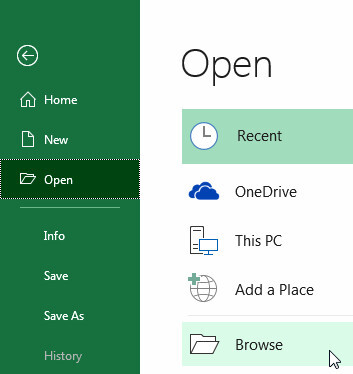
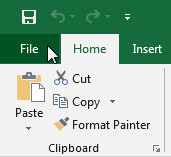
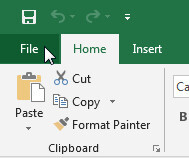
Click the File tab.
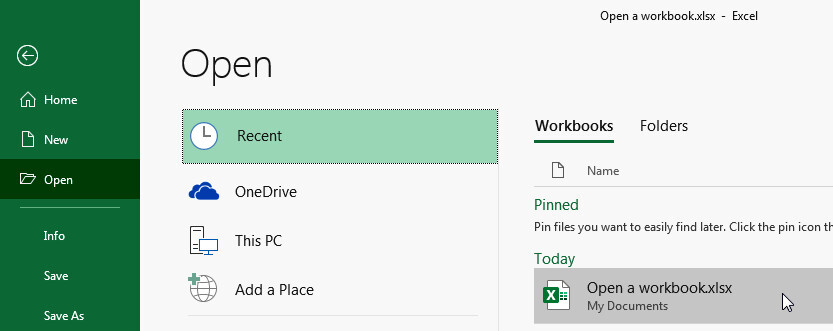
Click Open .
Click This PC .
Click Browse .
The Open dialog box will display.
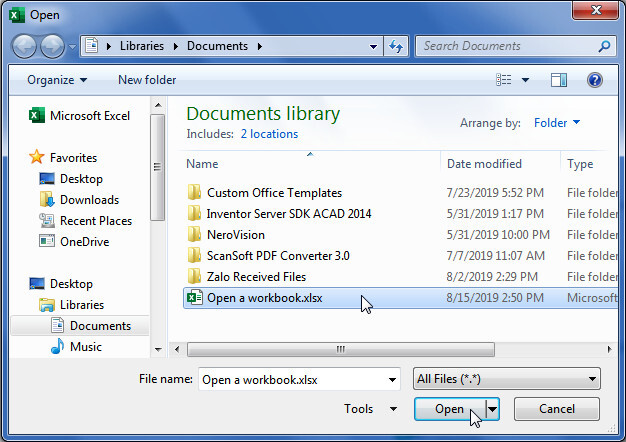
Navigate to the folder that contains the workbook that you want to open.
Click the workbook.
Click Open .
Tip: You can alsohold down Ctrl + O to openthe Open dialogbox.
OPEN A RECENTLY USED WORKBOOK
If you worked with your file recently, you can probably also find it in the Recent Workbooks list in the Backstage view that you display by clicking the File tab.
Click the File tab.
Click Open .
Click Recent > Workbooks .
Click the workbook that you want to open.
CREATING A NEW WORKBOOK
You can should create a new workbook any time that you need a place to store data on a new subject. For example, you might track companys sales in one workbook, and your employees personal information and salaries in another.
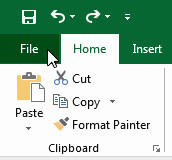
Click the File tab.
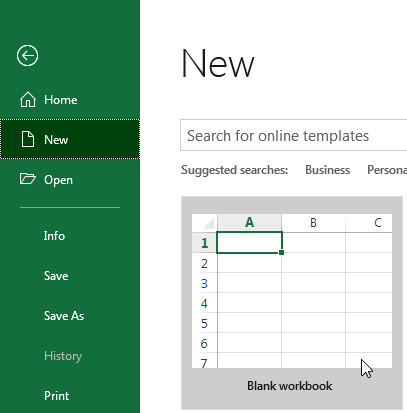
Click New .
Click Blank workbook .
Tip:
You can also create a new blank workbook by hold down Ctrl+N at any time that when you are not in Backstage view.
WORKING WITH MULTIPLE WORKBOOKS
When you create an Excel workbook for each subject, you sometimes need to look at data from more than one workbook. In this cases, you can switch between workbooks by choosing the workbooks name from the list displayed when you click the Switch Windows button on the View tab. You can also choose one of several arrangements so that you can work with workbooks effectively.
Switch between open workbooks
1. Click the View tab.
Click Switch Windows .
Click the name of the workbook that you want to display.
Show more than one workbook
1. Click the View tab.
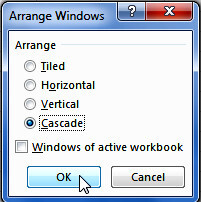
Click Arrange All .

Select the arrangement that you want.
Click OK .
SIZING AND VIEWING WINDOWS
When you work with windows in the Excel program, you can make a workbooks window as large. If have more than one workbook open at a time, you can choose from several display arrangements to order the windows most effectively.
Click the Maximize button to make the window take up the entire screen.
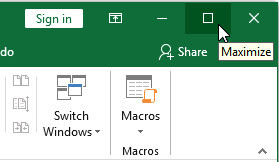
Click the Minimize button to represent the window as a button on the taskbar.
Click the Restore Down button to return the window to its previous size.




 Tip:
Tip: Tip:
Tip: You can also click on the Unpin from Taskbar to unpin Excel 2019 icon.
 Click All Programs .
 Click Microsoft Office 2019 .
 The Open dialog box will display.
 Navigate to the folder that contains the workbook that you want to open.
 Click New .
 Tip:
Tip:
 Select the arrangement that you want.
