Like most elements (such as typography, color, layout and content), photography is a crucial component on interfaces and for websites. This is one of the reasons why new tools are created by heavy users of Photoshop. This eBook Mastering Photoshop, Vol. 3 offers hints for recent techniques, such as using brush tools, anti-aliasing typography, layer and grid settings, unveiling masks and perfecting pixels.
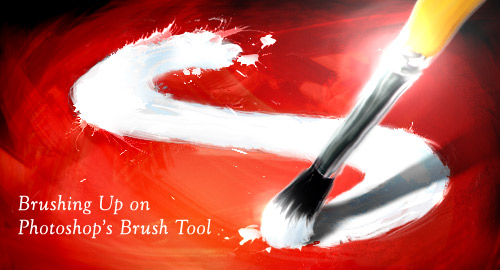
Brushing Up On Photoshops Brush Tool
By Tom Giannattasio
When laid by a learned hand, brush strokes can convey a sense of energy, tactility and humanness. These qualities speak to your audiences subconscious, whispering ideas that words alone cant convey. In the digital realm, a website with beautiful brushwork is a welcome break from the stark precision of most corporate websites.
Mastering the digital brush is by no means easy. It carries the same difficulties as the sable brush hidden at the bottom of your art bin. In fact, the difficulty is multiplied by the disconnect between the hand and monitor. Developing Photoshop brush skills takes time, but it is well worth the effort. This chapter outlines the plethora of options that Photoshop affords, so that you can efficiently create and use brushes like the Old Masters.

Basic Settings
Along the brushs options bar are some simple yet powerful settings that determine the strength and shape of your brush. These settings have a large impact on how the brush applies paint, so theyre definitely important to understand.

The brushs most essential settings are found in the options bar.
Brush
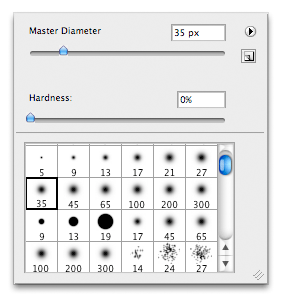
The brush menu, which is accessible by clicking the drop-down menu next to the brush preview or by right-clicking within the canvas, presents three options to control the shape of your brush: Master Diameter, Hardness and Brush Shape.
The Master Diameter setting sets the overall width and height of your brush in pixels. Its hard to notice on a standard round brush, but making a brush larger than its original size can cause it to become blurry. So, if you want to maintain clean edges, keep an eye on the brushs original diameter. This setting is easily controlled using a couple of shortcuts. You can use [ and ] to modify the diameter in increments of 10 pixels, or you can use the on-canvas drag method: with your mouse cursor inside the canvas, hold down Option + Control + Shift and drag the mouse left or right. The brush will change in size as you scrub back and forth. This is great for when you need a precise size on the fly.

The brush menu is easily accessible by right-clicking on the canvas.
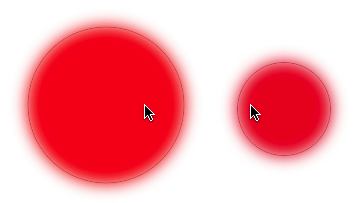
The hardness setting is available only for Photoshops round brushes. Setting the hardness as a percentage from 0 to 100 will feather the edges of the brush; 100% is a crisp edge, and 0% is a completely feathered edge from the center of the brush to the circumference. For broad alterations to this setting, use the keyboard shortcuts Shift + ] and Shift + [ to change the values in 25% increments, or you can hold Command + Option + Control and drag inside the canvas to change the values and see them take effect as you do it.

The on-canvas drag shortcuts make diameter and hardness adjustments simple and intuitive.
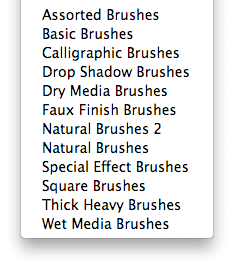
At the bottom of the panel is an assortment of brush presets, which gives you quick access to the brushes you use most. Some of the defaults are just simple shapes and textures, but others have been customized with advanced settings in the Brushes palette (F5). Photoshop has a number of brush libraries that can be added to the list using the panels fly-out menu, but you can also load and create custom brushes (see Managing Presets below).

Photoshop provides a dozen additional brush libraries, which can be found in the brush menu's fly-out.
Mode
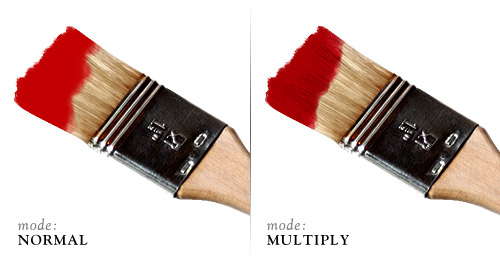
The brushs mode sets how painted pixels affect those already on the current layer. These modes work in the same way that Blend Modes work on the layers palette, except that theyre converted to absolute values when the stroke is finished. This is an important distinction to make: once youve painted using a blending mode, that mode cannot be altered after the fact as you would using blending modes on the layers palette.

Setting the mode changes how the paint affects the layers current pixels.
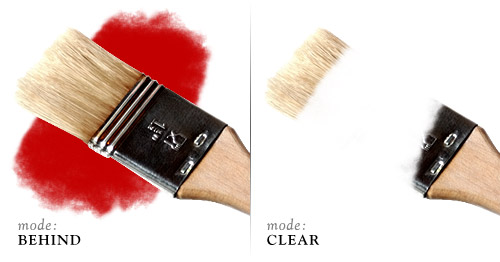
The brush tool also introduces two blending modes not found in the layers palette: Behind and Clear. The Behind setting allows you to paint only in the areas of the layer that are transparent; this can be helpful if you need to paint behind a subject and leave filled pixels intact. The Clear setting essentially turns the brush into an eraser; instead of adding paint to the layer, it removes it.

The Behind mode allows you to paint strictly in transparent areas. Clear mode essentially turns your brush into an eraser.
Opacity, Flow and Airbrush
These three settings work in unison to determine the amount of paint laid on the canvas. The opacity setting is the master control; it sets the maximum amount that can be painted with each stroke, mouse down to mouse up, regardless of any other setting.
Flow, on the other hand, sets the amount of paint applied to an area every time the brush moves. So, if your Flow setting is set to 20%, and you click one area of the layer, only 20% will be painted. However, if you move the mouse back and forth over an area with the same setting, the paint will build up incrementally by 20%.
Finally, the Airbrush setting allows you to build up paint based on time instead of movement; by simply holding the mouse down in one area, you can multiply the brushs effect. You can quickly set the Opacity of a brush using the number keys (5 is 50%, 65 is 65%). By holding

