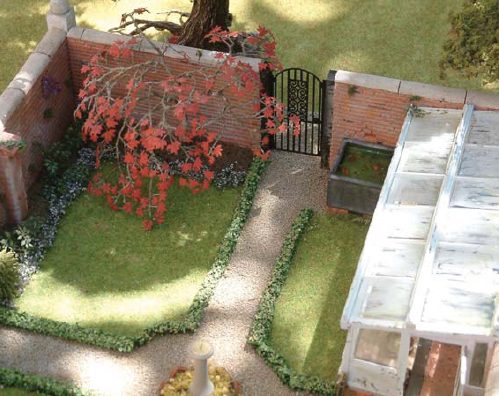
OSPREY MASTERCLASS
Advanced Terrain Modelling
Richard Windrow
Series editors Marcus Cowper and Nikolai Bogdanovic
CONTENTS
FOREWORD
A bout five years ago I wrote a book called Terrain Modelling for the Osprey Masterclass series; to my surprise and pleasure, it was well received by many modellers, and Osprey Publishing have now asked me to produce a second volume. My first thought was that once youve written a book on how to make 1/35th-scale mud, youve pretty much said all there is to say on the subject; but on further thought I realized that in the intervening time new products had come on to the market and, indeed, I had learnt one or two new wrinkles about how to achieve different effects in my groundwork. However, I still felt that there needed to be a definite difference between this book and the first there are few things more irritating than buying a book but finding that its only the cover that has changed. In view of this I decided to add some more man-made objects to the scenes, rather than just serving up more scale model dirt.
In Advanced Terrain Modelling I have tried to cover the creation of some different basic terrains, and this time Ive added a few field fortifications and buildings, as well as photographing the results complete with figures for scale (though I hope readers will not look too closely at the latter I am well aware that I need quite a bit more practice before I reach the standards of a dedicated figure painter). Once again, I hope to make life easier for those of you who find it a bit of a struggle to create realistic-looking groundwork to fittingly complement all the skill and patience that you have put into the main subjects of your models. I usually try to add enough details to the scene to ensure that everything is not always obvious at first glance. My approach is rather like those wonderful Giles cartoons that older readers may remember from the Daily Express back in the 1940s and 1950s you never saw everything all at once.
I naturally cannot assume that everyone who buys this book has read the first volume, so I hope that those of you who have will excuse a bit of repetition where I think it necessary for new readers. The most obvious instance of my repeating some of the original work is in the chapter of advice on materials and tools. In the intervening years I have come across some excellent new products that I now use in place of some I mentioned originally. The other repetition is over the question of how to make model trees. The first book covered this in rather greater detail than I do here, but to omit basic advice on this subject would leave a fairly important gap, so Ive returned to it in the logical place, in .
While most of the models in this book are built to 1/35th scale, the materials and techniques I discuss can be used in almost any scale, and for models depicting any sort of scene from any period of history. All you need do to make them appropriate to your own subject is to study reference pictures carefully, and plan your groundwork accordingly. I also repeat the most basic piece of advice from Terrain Modelling: get out into the open air and use your eyes the real thing is the best reference of all.
As any honest author will admit, very few books can be written without help from a number of other people. Space does not allow me to list everyone who has contributed to my modelling over the years, but I do want to mention just a few who have helped me in different ways: Charles Davis, for providing and painting the figures in the Walled Garden model; the Perry twins, for generously donating the figures for the Motte-and-Bailey (again, my apologies for the paint job); Lynn Sangster and his crew at Historex; Bob Wyatt of Scale Link; Tim at the 4D Model Shop; my son Stephen for his beautiful photos of nature in all its glory; and lastly to that small, select group The Saturday Breakfast Club, for their continuous support and constructive heckling. My sincere thanks to you all, whether your name is here or not.
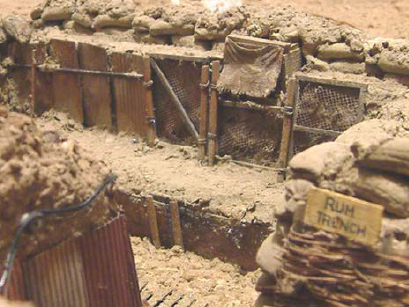
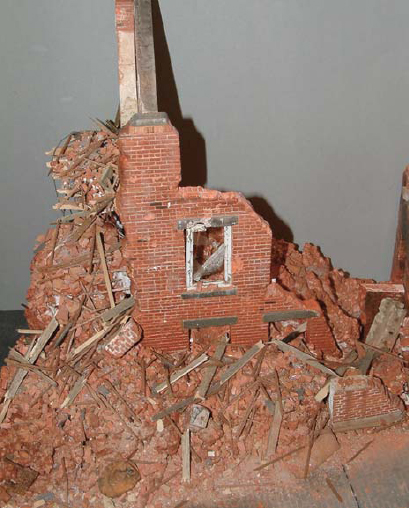
One final word on the illustrations in this book. When it comes to photography, Im completely lost when the conversation turns to such arcana as f-stops and depth of field, so no one was happier than I when I finally got a digital camera. All the photographs were taken with a Fuji S602Z, with the selector firmly set on automatic. Unless otherwise stated, all the pictures are the authors.
So, here we go again; I do hope that some of you out there will find something in here that will help you create that special diorama.
Richard Windrow
Kent
September 2006
MATERIALS, TOOLS AND TIPS
All the contact details for the outlets named below can be found in the chapter on at the end of this book.
A s I am sure most of you have done, over the years I have collected a number of tools and materials without which I dont think I could function as a modeller. Although I covered many of these in Terrain Modelling, for the benefit of those brave souls just starting out on the modelling trail I think it helpful to repeat brief details of the ones that I use most often when building a diorama or vignette. The list does not include items necessary to complete the actual model that you are placing in the diorama: firstly, there are any number of good books out there by master modellers that will give you all the help you need on that subject, and secondly, I dont count myself in that class. What follows is an idea of the basics needed for making your groundwork.
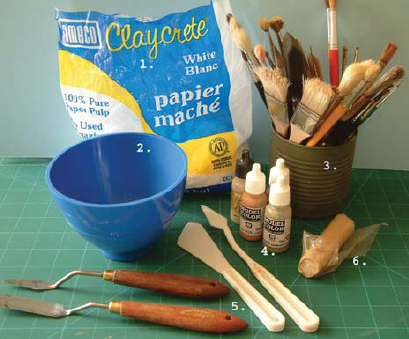
(1) Claycrete papier mach is the basic groundwork material that I usually use on any diorama baseboard.
(2) A rubber mixing bowl is ideal for both this material and for plaster; if you flex the bowl most of the dried residue will just fall out without scraping.

