THE MICROBIT USER GUIDE
CODING & CRAFT WITH THE BBC MICROBIT
FOR BEGINNERS
STEVE JONES
Copyright 2021 Steve Jones
All rights reserved. This book is copyright and no part of it may be reproduced, distributed, or transmitted in any form or by any means, including photocopying, recording, or other electronic or mechanical methods, without the prior written permission of the publisher, except in the case of brief quotations embodied in critical reviews and certain other noncommercial uses permitted by copyright law.
Printed in the United States of America Copyright 2021 Steve Jones
Contents
Chapter One
Introduction
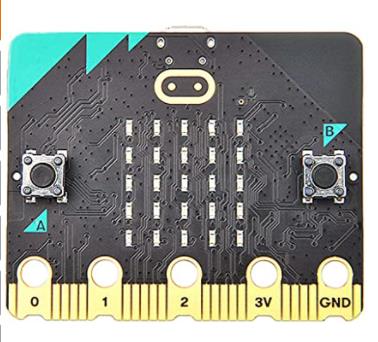
This Microbit user manual for dummies is a summarized version. It does not contain every information concerning the subject at hand, but it has the essentials that you need to get your work done. Even though the approach with which we laid down the points in this manual is direct, we actually ensured that the points are carefully explained.
The objectives of this guide are knowing how to set the microbit, writing some programs, and executing them on the same platform.
As we highlighted above, there are more topics to look into than what this guide elaborates. However, going through this manual will give you a sound knowledge of the basics, which can help you with further learning. Without further elongation, let's get into it.
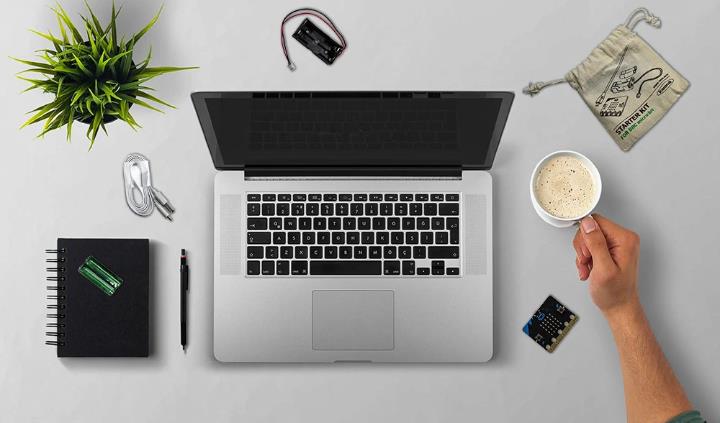
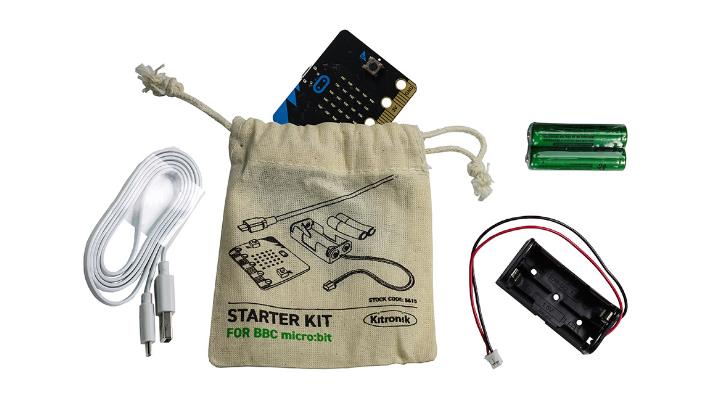
First and foremost, you must have the following tools: a microbit and USB lead if you do not have a starter kit. If you have a starter kit which contains a microbit, USB lead, batteries, and a battery pack, then all you need is an Internet enabled computer.
Chapter Two
Powering the Microbit
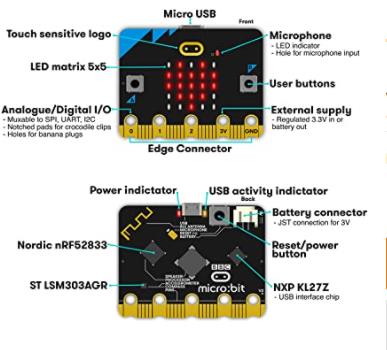
Before you can do anything, you must supply power to the microbit which can be done in several ways. Since we intend to keep things short and simple, we will highlight two of these methods. You can give it power by connecting it to your PC through a USB cord. The second method is to use an external power source like a battery box in the starter kit. Let's look at these methods in detail.
The first method
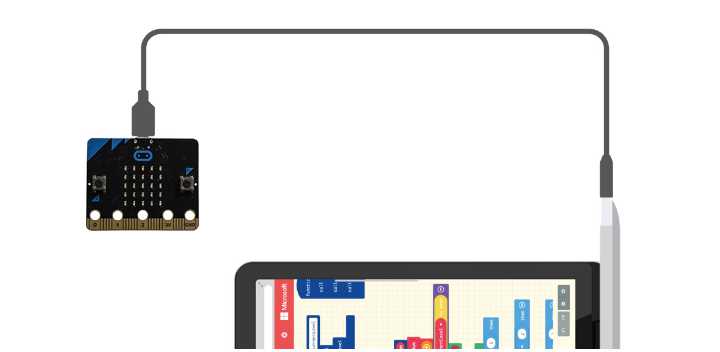
If you have a PC with a USB port, you're in luck. The port is all the power source you need to use the microbit.
However, the microbit must not be connected to another device if you wish to use this method. Another downside is that this method does not allow mobility.
The second method
Now, if you bought the starter kit, there should be a battery pack and some battery set inside. The battery cage can connect seamlessly with the microbit and give it power. This method doesn't require a PC and it allows mobility.
Chapter Three
How To Connect The Microbit To Your PC
It's simple. You need a PC with a free USB port. Get a USB
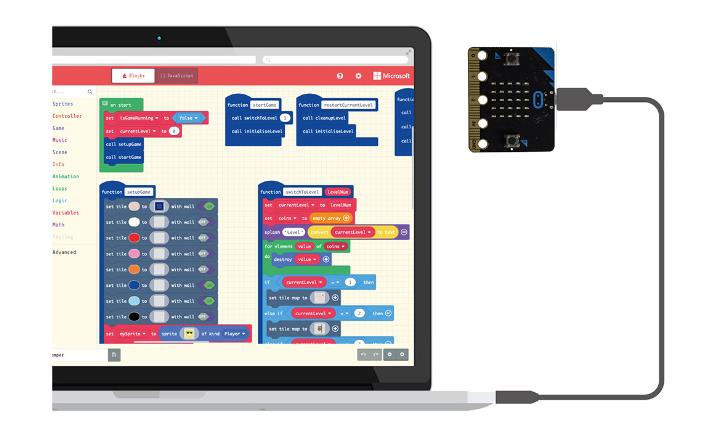
cable and plug one end to the PC and the other compatible end to the Microbit. When you've successfully plugged in the device, you'll get a prompt showing that the microbit is like a removable drive.
The meaning of this is that you can open the microbit in your file explorer and paste files into it. However, you can't remove a file from it unlike other removable drives that permits you to do this. When you load a new program on 5
the device, the last program before the new one gets deleted and overwritten automatically.
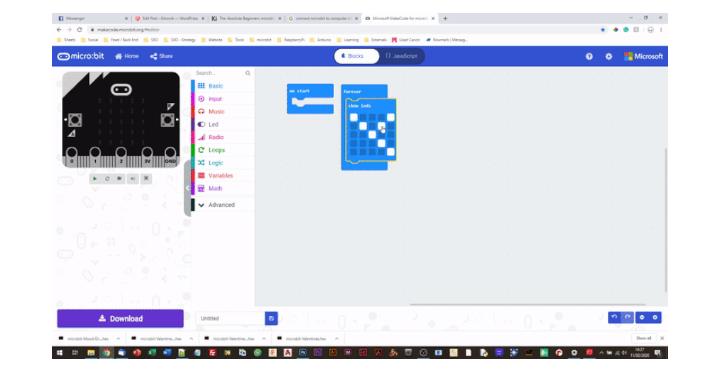
How to use makecode to write codes for microbit The whole point surrounding writing codes for microbit is about getting a required block in the menu and moving it to an empty workspace. All the various blocks will come together to give a program. Your program will be successfully created as soon as you join all the blocks that are required together. Let's make some illustrations.
First of all, launch the makecode in any browser. After a successful launch, you'll see a tile named " new project".
Click on it. Click on the basic menu and move any block to the on start or forever block to start your project.
If you're very observant, you'll notice that the blocks on the menus are shaped in distinct ways. The wisdom behind this is to assist the user in joining the blocks together properly. Now, try dragging some blocks into the workspace and attempt joining them.
A very essential point to note is that some blocks must be placed in specific containers like the forever block.
Dragging blocks like this into the workspace without placing them in the proper container will render them inactive. In fact, they'll be colored grey meaning that they won't run if you try to execute the program.
How to write a simple program
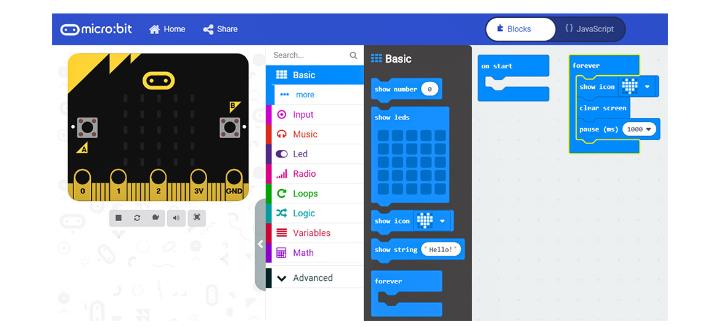
The next thing is to learn how to write a simple program that we'll run on the microbit. The picture above depicts the code that we intend to create. The goal is to show a beating heart on the device's LED matrix.
All we need to pull this off is in the basic menu of the makecode editor. Follow these steps:
Launch the makecode editor in any browser on your PC.
Start a new project by clicking on the "new project"
tile.
Navigate to the basic menu and find the show icon block.
Put the show icon block in the forever block
The next step is to find the pause (ms) block.
When you see it, put it under the show icon block in the forever block.
Change the pause value by clicking on it and input 1000. ( When you've successfully created the beating heart at the end of these steps, you can change and experiment with this pause value by selecting a choice from the drop down list or by simply typing a custom value)
Click on the basic menu
Click on more menu that is just under the basic menu
Find the clear screen block and put it in between the show icon block and pause (ms) block.
If you followed the steps sequentially, you should have a beating heart shown on the simulated microbit in the makecode editor.
Chapter Four
How To Load A Program On Microbit
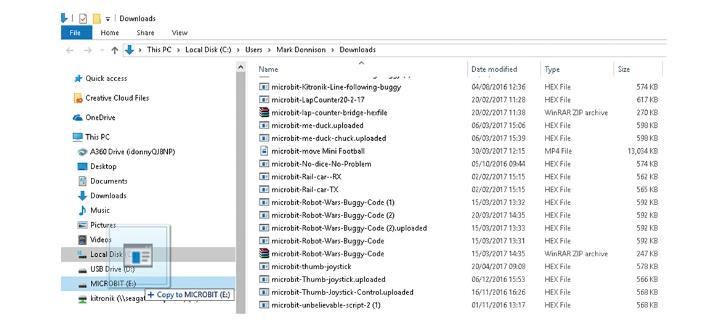
You can load an external program onto the microbit by connecting the device to a PC, get the program on your PC, and then drag the file on the microbit through your file explorer. These are the sequential steps:
Get a PC with a free USB port
Connect your microbit to the PC using a USB cable.
Next page
