Cottage Tea Cosy
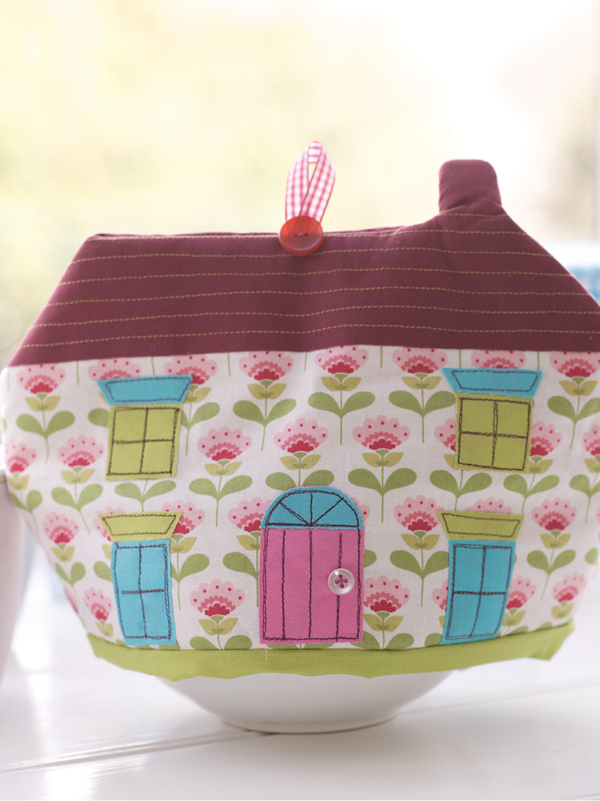
This charming tea cosy is easy to create with fusible web appliqu.
You Will Need
Fabric for tea cosy front, back and lining:
One piece 14in 10in (35.5cm 25.5cm) for the roof
One piece 14in 12in (35.5cm 30.5cm) for the house
One piece 14in 12in (35.5cm 30.5cm) for the lining
Scraps of fabric for appliqu
Other Materials
Fusible web
Wadding (batting)
Black and cream sewing thread
Ribbon and two buttons
Directions
1 Trace and transfer the tea cosy templates on to your chosen fabrics and cut out the front (roof and house), back (roof and house) and linings.
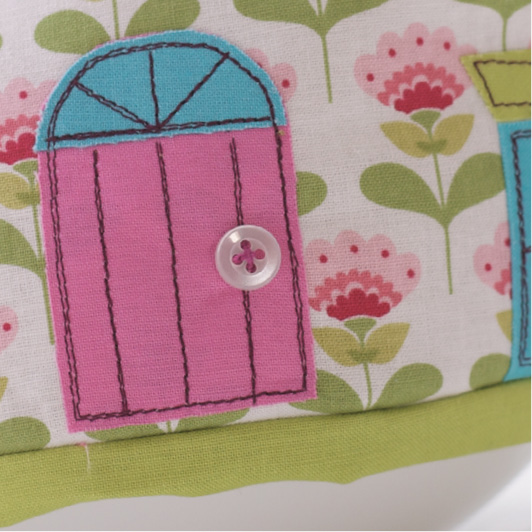
2 Using the templates, trace the roof, windows and door shapes on the paper side of the fusible web and cut out roughly. Iron the pieces onto the back of your chosen fabrics and cut out neatly. Remove the backing paper and position the motifs, glue side down, onto the cosy front. Iron in place. Machine stitch around the motifs using a medium-length stitch and contrasting thread.
3 Sew crosses on the windows to represent panes of glass. Sew lines across the roof for tiles, and down the door for panels.
4 Pin the cosy front and the cosy back to the wadding; cut out and machine stitch using a in (1cm) seam allowance. Pin the front and back together, right sides facing. Insert and pin a loop of ribbon between the top seams, facing inwards. Machine stitch together, using a in (1cm) seam allowance, leaving the bottom open. Trim the seams and turn through.
5 Pin the lining front and back together and machine stitch around the sides using a in (1cm) seam allowance. Leaving the lining wrong side out, pull it over the cosy and then pin, matching side seams and lower raw edges.
6 Machine stitch around the lower edge of the cosy, leaving a 4in (10cm) gap at the back. Turn through to the right side and slip stitch the gap closed. Sew a button to the door for a handle and to the base of the ribbon loop.
Quilted Coasters
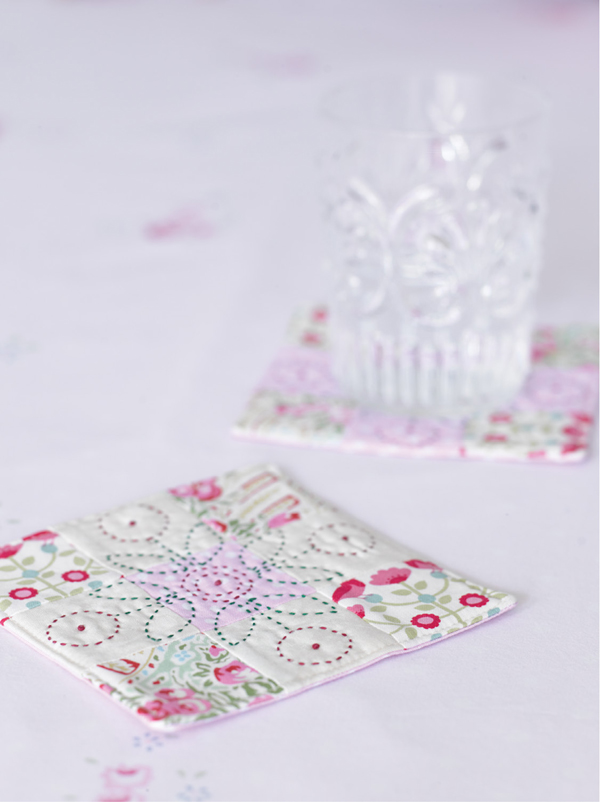
This coaster pattern is so easy to create and quilt that youll find making a set of six or more no trouble at all.
You Will Need
Fabrics for coaster top:
From white four 2in (5.7cm) squares
From a print two 2in (5.7cm) squares
From another print two 2in (5.7cm) squares
From polka dot one 2in (5.7cm) square
Fabric for coaster back:
One 6in (15.2cm) square
Other Materials
Wadding (batting)
Dark pink and green stranded cotton (floss)
Directions
1 Take the four polka dot squares, the four print squares and the white square and arrange as shown in the photograph. Using in (6mm) seams, sew the nine squares together. Press the seams.
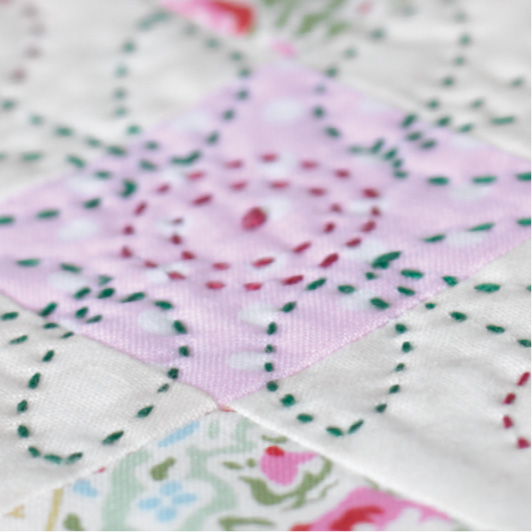
2 Copy the quilting pattern template and tape it to a window. Tape the patchwork on top, right side up, so the pattern shows through in the middle of the patchwork. Use a pencil to lightly trace the quilting pattern onto the fabric.
3 Take the 6in (15.2cm) square of wadding and safety pin on the back of the patchwork. Hand quilt using three strands of stranded cotton. Start with a dark pink French knot in the flower centre, then quilt the traced pattern, stitching through both layers, working the flowers in dark pink and leaves in green.
4 Place the patchwork right side up. Put the square of backing fabric right side down on top of the patchwork and pin together.
5 Trim the wadding and backing to the same size as the patchwork. Machine stitch together all the way around the edge leaving a gap of about 2in (5cm) in one side. Trim the corners a little, turn through to the right side and press.
6 Turn the edges of the gap inwards neatly and hand sew together with little stitches and matching thread. Machine sew all around the edge of the mat for a neat, firm edge.
Mini Squares Cushion
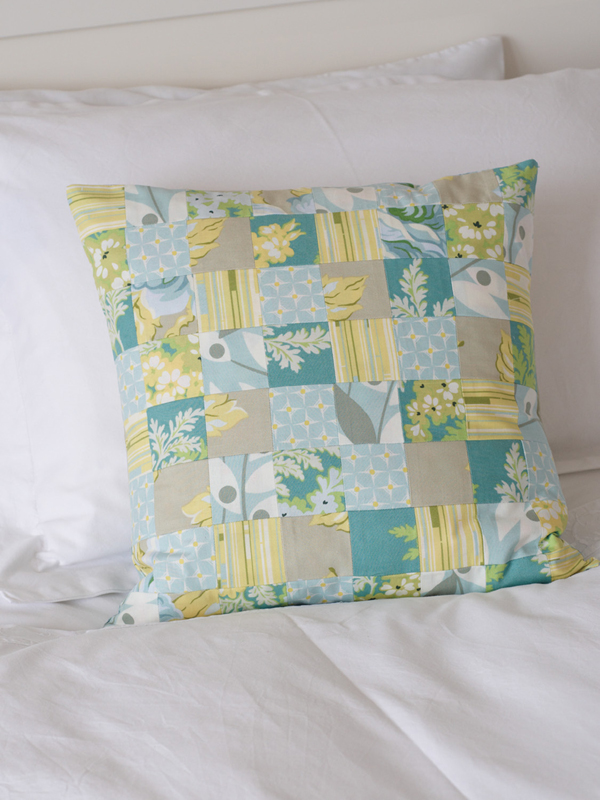
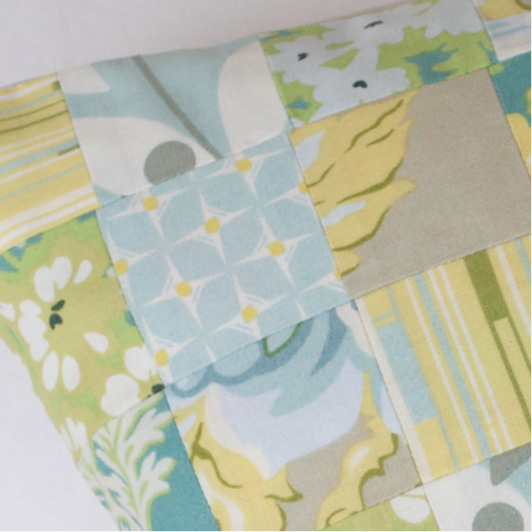
This smart cushion uses simple patchwork and modern fabrics for a lovely fresh look.
You Will Need
Fat quarter fabric pack:
About five or six different prints for the cushion front, backing and back
Other Materials
White sewing thread
Directions
1 For the patchwork on the cushion front, make a card template measuring 2in (5cm) square.
2 From the different prints cut a total of sixty-four squares of fabric, using the template (or use rotary cutting equipment instead if you have it). Pin the squares together along one edge, with right sides facing, to make a strip of eight patches. Machine stitch together, using a in (1cm) seam allowance. Repeat to make seven more strips of eight patches. Press open the seams.
3 Pin two strips together along one long edge, right sides facing and matching seam lines exactly. Machine stitch together. Repeat to join the rest of the strips together, to form a square of eight rows of eight patches. This is the cushion front.
4 Cut a piece of backing fabric the same size as the cushion front. Machine stitch the pieced front to the backing fabric, using a in (1cm) seam allowance.
5 For an envelope back, cut two pieces of fabric to the same height and two-thirds of the width of the cushion front. Press under a double in (1.3cm) hem down one long side of each; machine stitch in place.
6 Pin the backs to the cushion front with right sides facing overlapping the hemmed edges to fit. Machine stitch all the way around with a in (1.3cm) seam allowance. Trim corners and turn through.
Lavender Heart
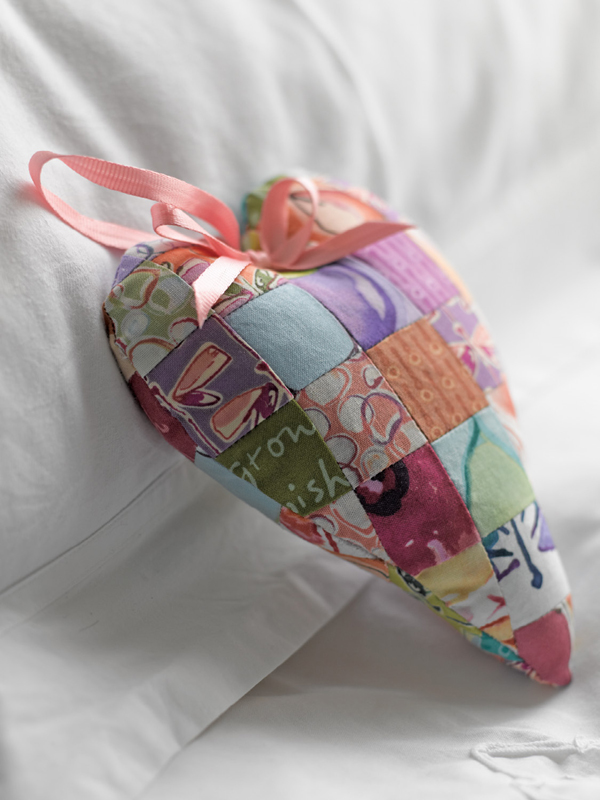
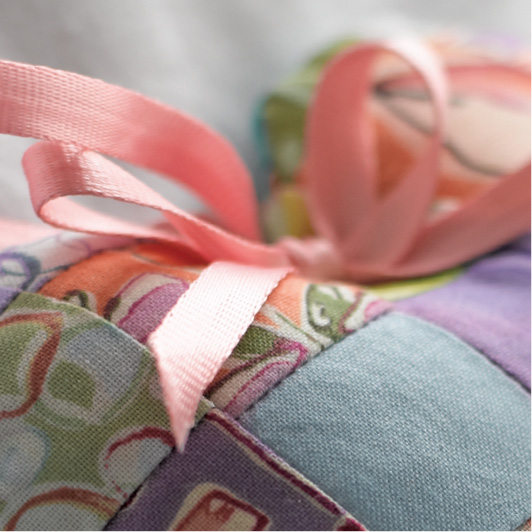
A heart-shaped sachet filled with sweet-smelling lavender makes a lovely gift.
You Will Need
Charm square pack or a fabric design roll
Other Materials
White sewing thread
Pink ribbon
Dried lavender and toy filling
Directions
1 Make a card template measuring 1in (3.5cm) square, and use to cut out seventy squares in various fabrics (or use rotary cutting equipment instead if you have it). Lay out the squares in your preferred order to form a rectangle ten squares wide seven squares tall.

