Kawaii
Resin & Clay Workshop
* Crafting Super-Cute Charms, Miniatures, Figures & More *
Alex Lee, Creator of Polymomo Tea

Introduction
Sculpting is a form of art that involves the creation of a three-dimensional piece. Some sculptors work with pottery, some work with stone, but I like to work with polymer clay and resin. Sometimes, working with one type of material restricts the details the piece can portray. For me, working with clay meant sacrificing translucence. I always liked the clear crispness of glasswork. I am no glass-blower, so I incorporated resin, which is much easier to handle than glass.
Crafting has always been a hobby for me. Inexpensive and engaging, it also relieved my stress. Theres a kind of euphoria when you look at a finished product after hours of worka sense of accomplishment. To be honest, I dont need a reason to craft. I just like working with my hands and letting my imagination come into the 3D world.
I didnt start with mixed media. My crafting journey started with making miniature sculptures and keychains out of polymer clay. A few years later, I experimented with making large pieces out of two-part resin, but making a finished piece took a long time: I had to place a base layer; wait until it was tacky; place in a sticker, which was the trend back in the day; then place glitter; wait a day for the first layer to cure; then pour a second layer of resin for the background. It was a two-day process. Then my friend introduced me to UV resin, my preferred resin. I started incorporating resin into my clay pieces, first using it as a glaze and then making my own silicone molds to create pieces with a translucent look, and I continued on from there.
One thing I would like to emphasize before we start is to not focus on trying to make your sculptures exactly like the photos you see in this book. Sculpting is a form of art and creation, and by sculpting in good earnest fun, you are already adding your own creative spin on it. The more it differs from my version, the more it will reflect your own art style. Also, if you dont like the way it looks, you can remake it. I have been sculpting for over a decade, and I often cringe when I look at my early work. But I also love seeing the progress from where I was then to where I am now. I sometimes think the rougherlooking, cringe-inducing pieces I made in the past show more artistic flare and creativity than those I make now.
People often ask about my sources of inspiration. I am inspired by everyday life. I use basic, everyday objectsanimals and things I see in the environmentand think of a way to make them into cute little figures using clay and resin. My art style can be classified as kawaii, which is the Japanese term for cute. My interpretation of kawaii is an adorable caricature of an animal, object, or place. I always start with a resin or clay base and build up from there.
Before we get started, Id like to thank everyone who took the time to pick up this book in a store or online. In these pages, there are twenty-five unique tutorials that I have created with my favorite mixture of crafting: resin, clay, and cuteness.
I promise you: If you like working with your hands, experimenting with your creativity, and combining different art mediums, this is the book and hobby for you.
Essential Supplies & Techniques
Basic Tools & Materials
This hobby requires an initial investment in supplies, but they can last for a long time. Im still trying to use up the clay I bought years ago.
POLYMER CLAY (A) is an oven-bake clay, meaning that when its baked according to the manufacturers instructions it will cure and harden. Brands I particularly like to use are Sculpey, Sculpey Premo!, and Fimo.
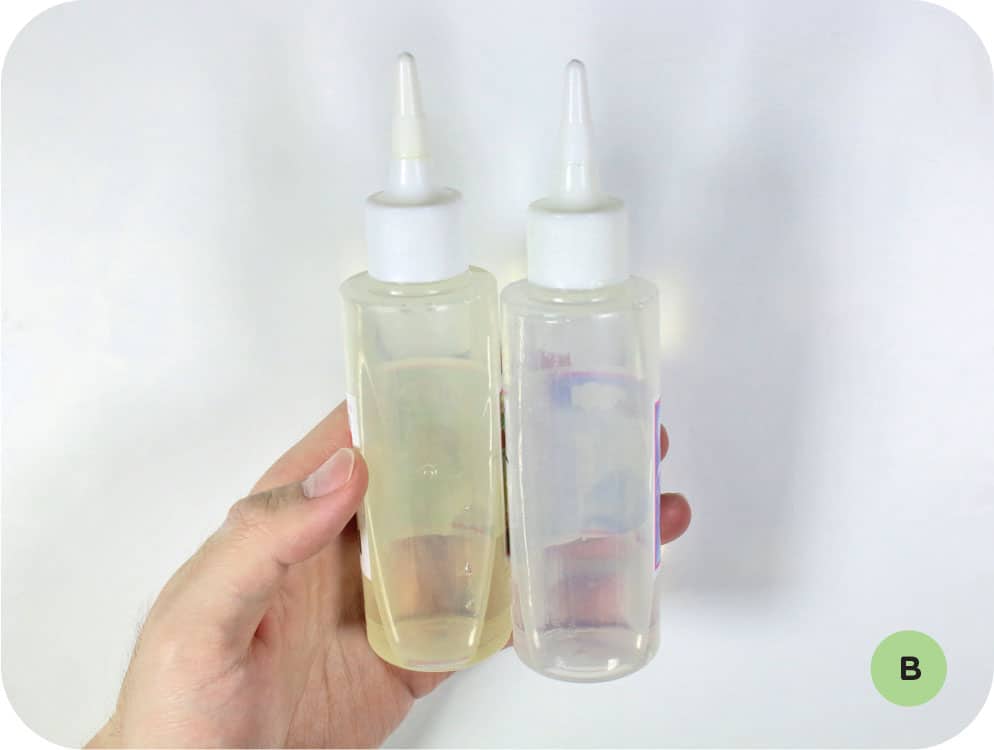
As its name implies, TWO-PART RESIN (B) comes in two parts that you mix together, typically at a 1:1, 1:2, or 1:3 ratio. This is probably the most common type of resin.
Unlike UV resin, two-part resin cures over timefrom six to forty-eight hours, depending on the brand. If this is the resin you choose, you can pour it, neglect it for a day, and continue to craft some more. Two-part resin is great for bigger projects, and its less expensive per volume than UV resin.
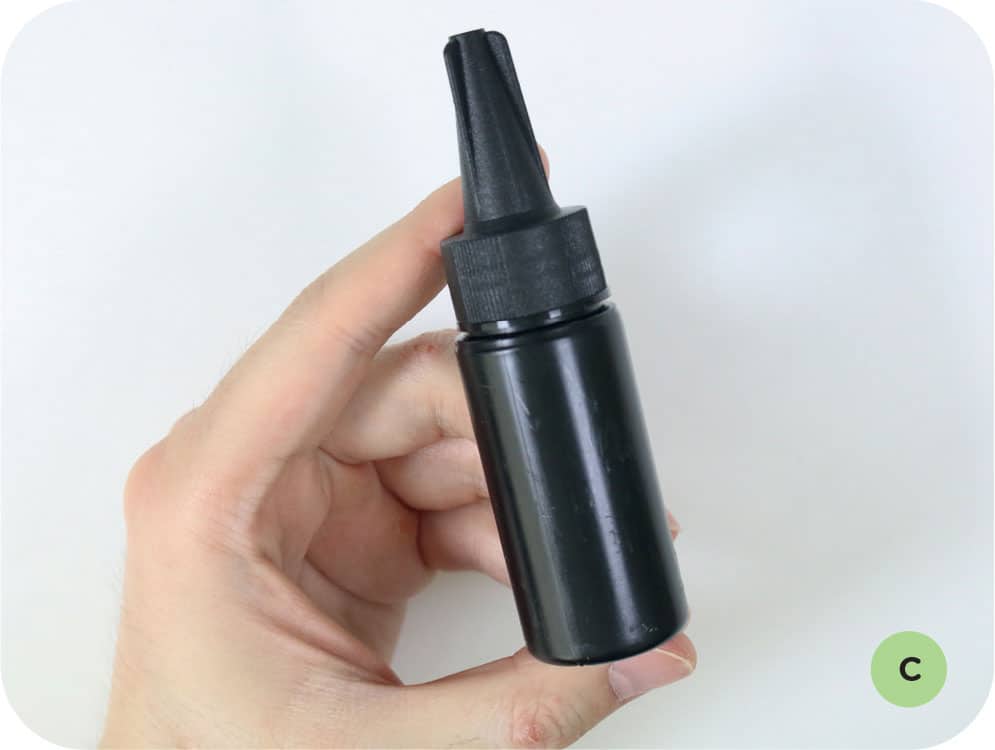
UV RESIN (C) cures when its exposed to UV light. Unlike two-part resin, UV resin doesnt have to be mixed. I use a UV nail lamp to cure my UV resin.
While working with or storing UV resin, keep it out of direct sunlight or strong lighting systems, which could cause it to harden or cure prematurely. UV resin can be used in several ways: to add details to a piece, to create a nice glossy layer of glaze, and even as a glue.
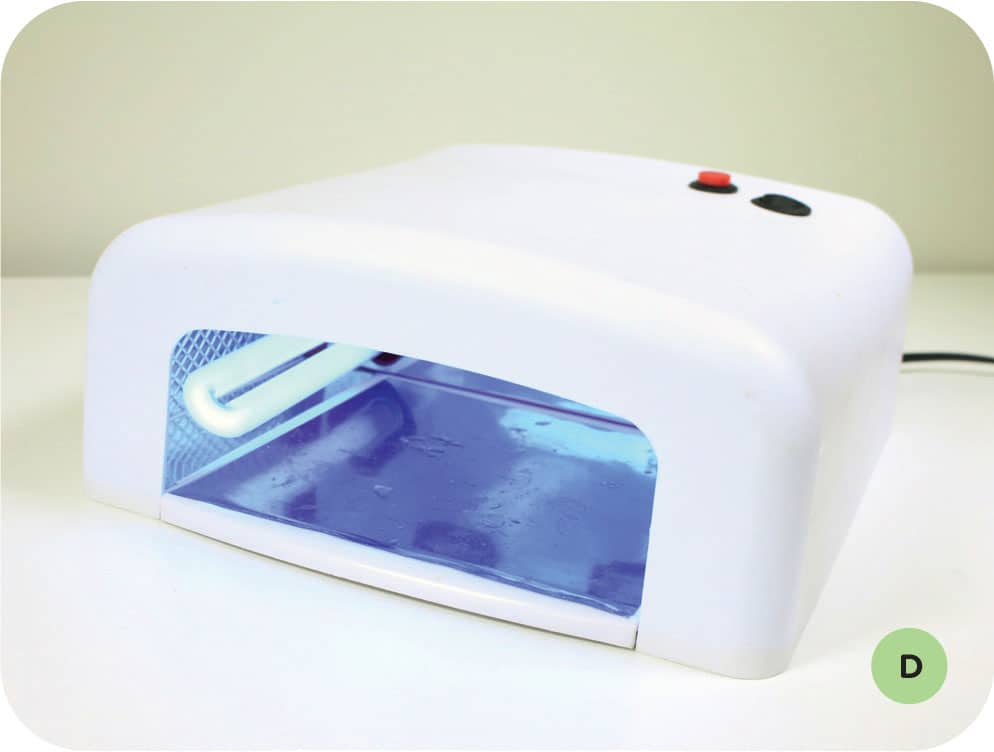
UV LAMP (D) choices vary from handheld to stationary. I use a 36-watt lamp, shown here, which is made for curing nail art. You need to cure UV resin layer by layer. Depending on thickness and amount of pigment, I cure each piece between one and two minutes, flip it, and cure it again.
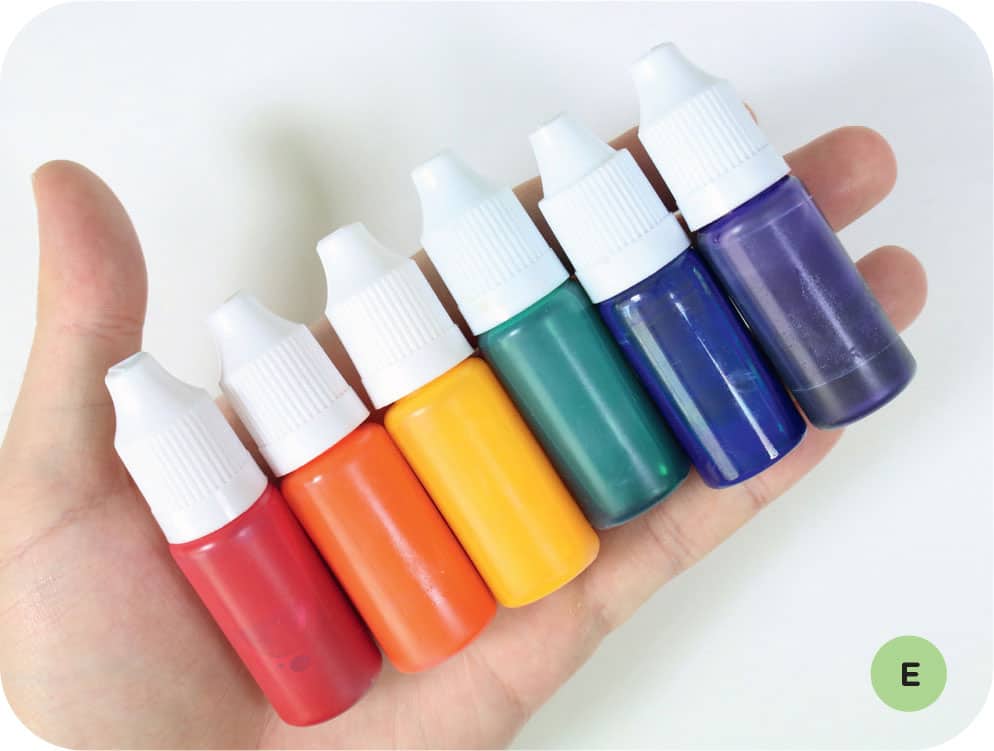
PIGMENTS (E) are colored ink extracts that you mix into UV resin to provide color. There are many types of pigments that can be added: transparent, opaque, pearlescent, and glitter. I like to add in small amounts of pigment at a time, making sure I dont add too much, especially when using opaque pigments. The opacity added to the UV resin prevents light from traveling through the resin, so it wont cure. When curing opaque pigments, I make sure that I add thin layers and cure each layer separately, which will reduce the risk of resin not curing completely.
I use a TWO-PART MOLD-MAKING PRODUCT (F) to create custom molds for my projects. I like Sorta-Clear 12 because in twelve hours it cures completely to a semi-translucent finish that allows light to penetrate and cure the UV resin. The greater the mold makers opacity, the less UV light can travel through it, reducing the likelihood that the resin will cure. If the mold maker you like is opaque, use two-part resin, which cures over time rather than with light.


