Osprey Modelling 10
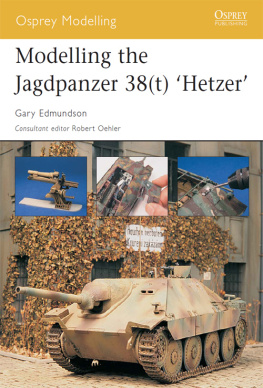
Modelling the Jagdpanzer 38(t) Hetzer
Gary Edmundson
Consultant editor Robert Oehler
Series editors Marcus Cowper and Nikolai Bogdanovic
Contents
Introduction
The Jagdpanzer 38(t) Hetzer was developed in the latter stages of World War II in an effort to make up for losses in assault-gun production due to the Allied bombing of German factories. A highly successful design, the little tank hunter was fast and relatively inexpensive to manufacture. Using proven components from the Panzer 38(t), it proved a valuable weapon on both the Eastern and Western fronts of the war with its potent 7.5cm Pak 39/L48 gun. Taking advantage of the factory facilities of BMM and Skoda in Czechoslovakia, the Germans produced over 2,500 vehicles of this type between April 1944 and May 1945. Soon after the war, the Swiss and Czech armies used modified versions of the Hetzer (designated G-13 and ST-1 respectively) up until the 1970s.
In the mid-1970s, the Italian manufacturer Italeri released the first 1/35-scale kit of the Jagdpanzer 38(t) Hetzer. The kit represented the later version of the tank destroyer, produced in Autumn 1944. A fairly accurate model for its time, the kit was attractively pack aged featuring the work of Belgian modeller Franois Verlinden. Verlindens innovative AFV modelling showed that properly painted models could look quite realistic. This kit has also been marketed by Revell, and even found its way into Tamiyas product line in some Asian countries.
For the next two decades, the Italeri model stood alone until the Chinese manufacturer Dragon Models Ltd. (DML) began to produce a more state-of-the-art model in terms of accuracy and detail. Dragon have produced three kits of the Hetzer to date, with all of them featuring the DML standard of individual link tracks and etched-metal detail.
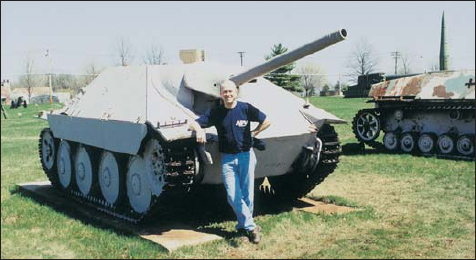
This guide to modelling the Hetzer uses the DML 1/35-scale models as a basis, and step-by-step guides on building an early and late version of the vehicle are presented. Two variants of the vehicle are also featured: the sIG 33, mounting the 15cm infantry gun, and the Bergepanzer 38(t) recovery vehicle. The section on the latter vehicle will concentrate on placing the model in a realistic setting. In researching this project, I had the opportunity to measure and photo graph the Hetzer in Aberdeen, Maryland, USA, and am able to say that the DML kit is fairly accurate in dimension.
There were no clearly defined Ausfhrung, or model numbers, as the Hetzer developed from early to late. A series of modifications were introduced over the 13 months of its production during World War II and the technical details of these modifications can be found in Ospreys New Vanguard 36 on the Hetzer. In addition to the basic model kits used, after market products and other mis-cellaneous materials are incorporated to make the models as authentic and accurate as possible.
The author with the late Hetzer in 4 Aberdeen, Maryland, in April 2003.
Each of the models depicted in this book incorporates modifications that accumulate with each successive chapter. To avoid repetition, detailed modifications dealt with in previous chapters will receive less attention in the successive builds. Some aspects of construction that require a certain emphasis may be reiterated in the photo captions.
The construction measurements for the models are given in millimetres. Since materials such as styrene sheet and tubing, and brass rod are generally sold in thousandths of an inch, their dimensions are given in imperial measurements.
The painting process for the models is described in the chapter on the sIG 33 version of the Hetzer. Although the colour scheme is specific to the sIG 33, the same techniques are used on all the models in this publication. Exceptions and additions regarding each of the other builds have been specified in Notes on painting and markings.
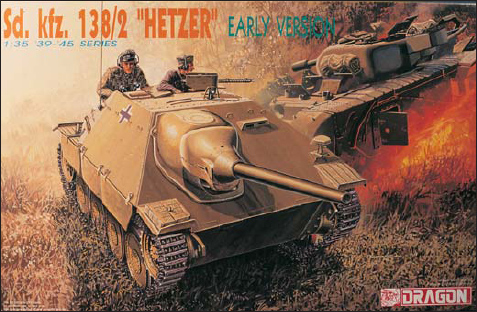
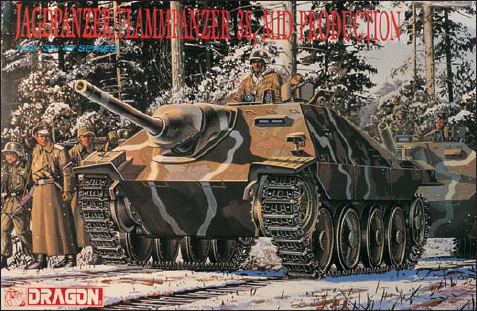
DMLs kit no. 6030, featured in both the early Hetzer and sIG 33 version models in this book. After going out of production, it was re-released in late 2002.
DMLs kit no. 6037 was introduced soon after their release of the early version. Parts are included to make the flame-thrower version.
Materials
The following section describes the various tools and materials used in the construction and painting of the models. Although many of these items are quite general in regard to scale modelling, some of them were specifically acquired for use on this project.
Styrene sheet, rod and tubing
Several sheets of various thicknesses of styrene sheet were needed for the more challenging aspects of the model construction. Typical sizes used were .040in., .020in., .015in., .010in., and .005in. Where odd sizes were needed, sheets were laminated together with liquid glue. Many different sizes of styrene rod and tubing were used, purchased at a local model railway shop. Invaluable tools for working with styrene are a large straight-edge ruler to use as a cutting guide and a smaller ruler with millimetre and inch markings.
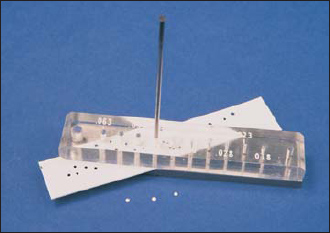
Punch and die set
Although expensive, this handy device helped with many of the parts such as the ammo stowage racks in the late Hetzer, spacers, washers and other details.
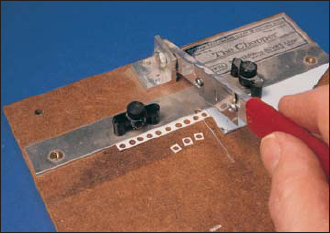
Chopper
The Chopper is an excellent tool for getting an accurate cut repeated numerous times at an exact 90-degree angle. It was used extensively in the construction of the many leaf-spring assemblies and parts for the ammo stowage racks in the late Hetzer.
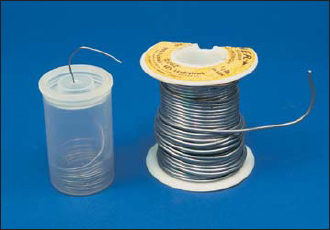
Soldering equipment for the etched-brass parts
Cyanoacrylate glue can be used to bond etched-brass parts together in most cases. However, for some of the bigger jobs, especially where strength is needed, the brass needs to be soldered together. The mudguards, jack mounts and stowage boxes were all put together using a small butane soldering pen.
An invaluable tool used throughout the construction of the models in this book was a punch and die set from Waldron. Both the Precision and Sub-Miniature sets were used, with sizes ranging from .16in. to .018in.
The Chopper, shown here making parts for the ammunition racks in the late Hetzer, handled cuts requiring accurate repetition. The base below can wear out after constant use, and was given new life with an epoxy putty repair.

