Winchester
Model 69
Similar/Identical Pattern Guns
The same basic assembly/disassembly steps for the Winchester Model 69 also apply to the following guns:
| Winchester Model 69T | Winchester Model 697 |
| Winchester Model 69M | Winchester Model 69A |
| Data: | Winchester Model 69 |
| Origin: | United States |
| Manufacturer: | Winchester Repeating Arms
New Haven, Connecticut |
| Cartridge: | 22 Short, Long, or Long Rifle |
| Magazine capacity: | 5 or 10 rounds |
| Overall length: | 42 inches |
| Barrel length: | 25 inches |
| Weight: | 5 pounds |

Made from 1935 to 1963, the Model 69 was also offered in target and match versions, the only difference in these being the addition of standard sling swivels and two different sights. Since they are mechanically the same, these instructions apply to all guns in the 69 series including the Model 697, except for removal of sights. The basic magazine was a 5-shot detachable box type, but a 10-shot version was available as an optional accessory.
Disassembly:
Remove the magazine and back out the main stock screw on the underside of the stock, forward of the magazine plate. Remove the action from the stock.
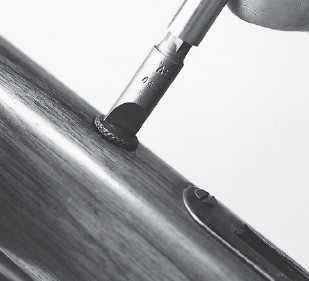
To remove the bolt, hold the trigger in the pulled position while opening the bolt and moving it out the rear of the receiver.
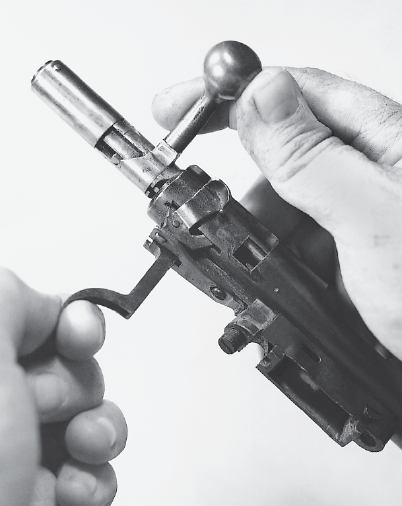
Grip the front portion of the bolt in a padded vise and turn the bolt handle to allow the striker to move forward to the fired position, partially easing the tension of its spring. The photo shows the bolt after the handle is turned, with the striker forward.
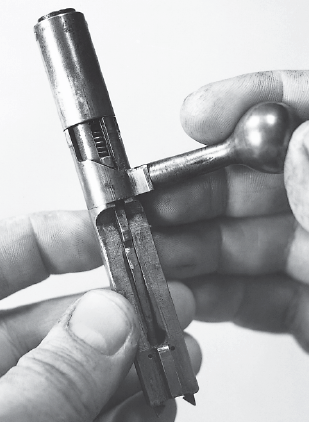
The screw-slotted end piece at the rear of the bolt is not a screw. The slot is there to aid reassembly. With the bolt still gripped in a padded vise, exert slight pressure on the end piece to control the tension of the striker spring, and push out the cross pin at the rear of the bolt. Caution:The striker spring is under some tension, even when at rest, so control it and ease out the end piece.
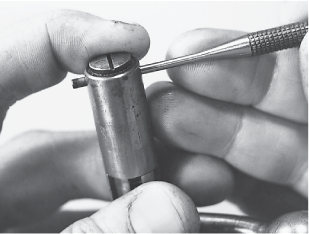
Remove the bolt end piece and the striker spring toward the rear.
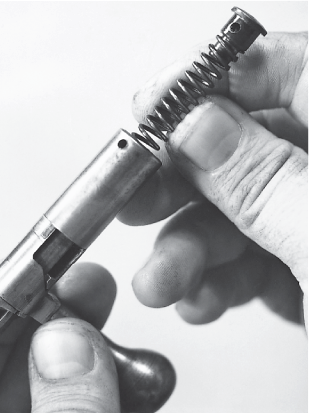
Remove the bolt sleeve toward the rear. The sleeve is often tightly fitted, and may require a few nudges with a nylon drift and hammer to start it off.
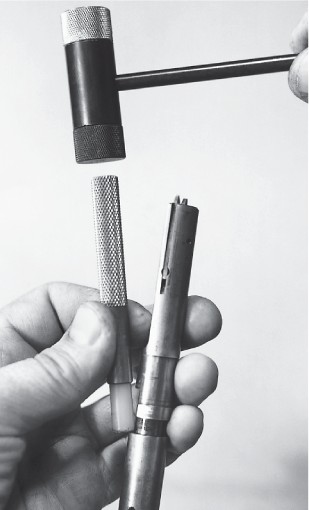
Move the bolt handle sleeve slightly toward the rear until the firing pin (striker) retaining cross pin is exposed and drift out the cross pin.
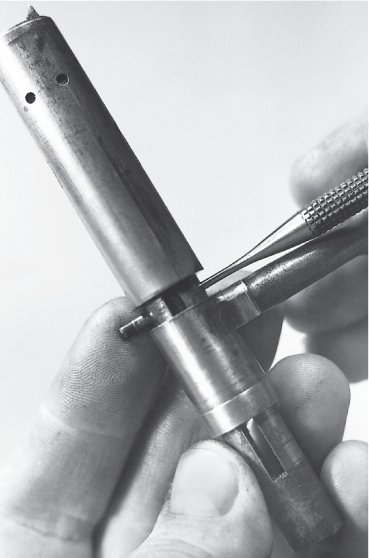
Move the bolt handle sleeve back forward, against its shoulder on the bolt, and turn it until the widest part of its internal opening is aligned with the firing pin on the underside of the bolt. Then, move the firing pin all the way to the rear, tip its rear end downward and remove it from the bolt. The clearances are very close here, so proceed with care.
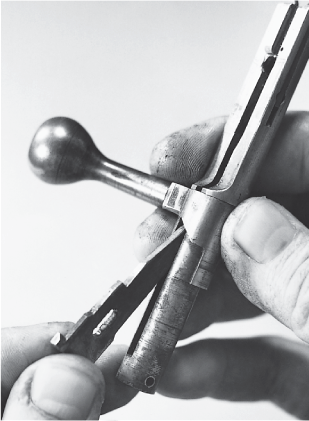
Remove the bolt handle sleeve toward the rear.
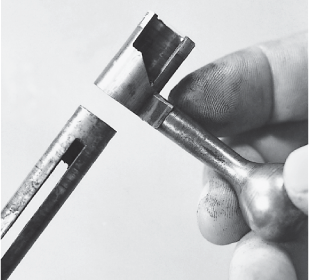
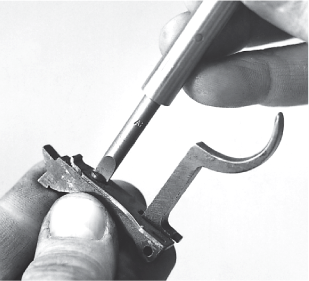
A drift punch of very small diameter is required to remove the vertical pins at the front of the bolt, which retain the two extractors. The punch shown was made in the shop for this purpose. The pins must be driven out upward, and the extractors and their small coil springs are taken off from each side.
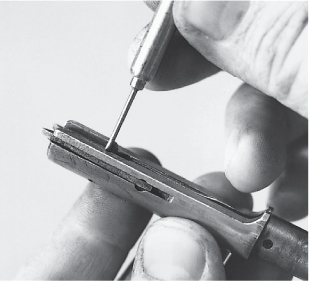
The formed steel that is the magazine catch is secured on the right side of the magazine housing by a single screw.
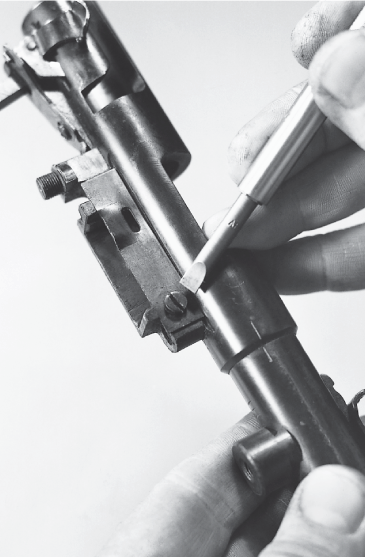
Remove the front magazine housing screw.
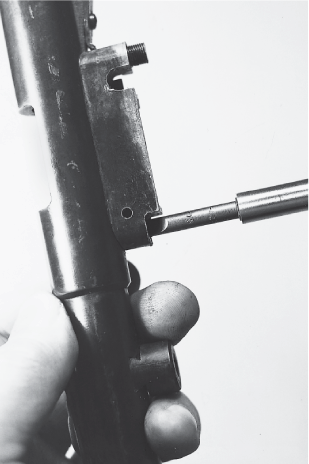
Remove the rear screw from the magazine housing and remove the magazine housing downward.
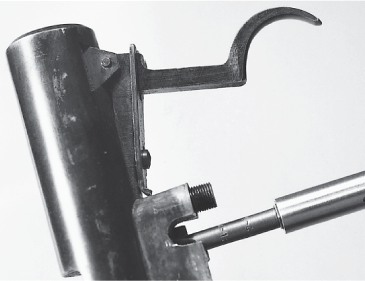
The magazine housing can be taken off without disturbing the trigger spring adjustment screw, but it is best to at least back it off to relieve the spring tension. If this is done, note its depth if the same weight of pull is desired on reassembly.
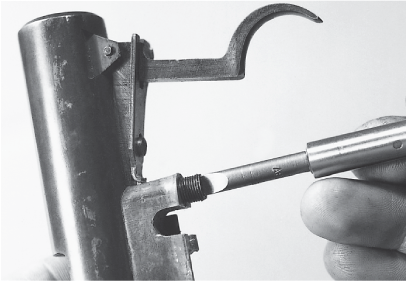
Drift out the cross pin that retains the trigger.
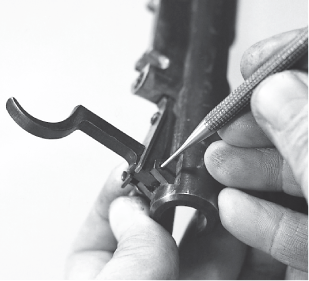
Remove the trigger and safety-lever downward.
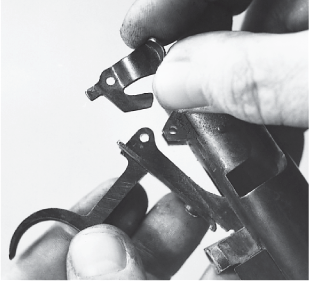
Remove the screw on the underside of the front arm of the trigger, and slide the safety plate off toward the front. Caution:Removal of the safety plate will release the safety positioning plunger and spring, so control them as the plate is taken off to prevent loss.
The magazine catch release button is retained in the left side of the stock by a circular spring clip which rests in a groove on the button shaft. Push the button in to give access to the clip, move it out of its groove and slide it off the shaft toward the right. The button and its coil spring can then be taken off toward the left.

