Ruger
10/22
Similar/Identical Pattern Guns
The same basic assembly/disassembly steps for the Ruger 10/22 also apply to the following guns:
| Ruger 10/22 Sporter | AMT Lightning 25/22 |
| Ruger 10/22 International | AMT Lightning Small Game |
| Ruger 10/22 Deluxe Sporter | Magnum Research MagnumLite |
| Ruger 10/22 Compac | Ruger 10/22 Target |
| Ruger SR-22 |
| Data: | Ruger 10/22 |
| Origin: | United States |
| Manufacturer: | Sturm, Ruger & Company Southport, Connecticut |
| Cartridge: | 22 Long Rifle |
| Magazine capacity: | 10 rounds |
| Overall length: | 36 inches |
| Barrel length: | 18 inches |
| Weight: | 5 pounds |

Since its introduction in 1964, the Model 10/22 has established an enviable record of reliability. Over the past 15 years, I have repaired only one of these guns, and that one had been altered by its owner. Originally offered in Carbine, Sporter and International models, the latter with a full Mannlicher-style stock was discontinued for many years. The gun is again available in all three styles, however, the only differences being in the stock and barrel band. The instructions will generally apply to any of the 10/22 guns.
Disassembly:
Loosen or remove the cross-screw at the lower end of the barrel band, and take off the barrel band toward the front. If the band is tight, applying slight downward pressure on the barrel will make it move off more easily.

Remove the magazine, and cycle the action to cock the internal hammer. Back out the main stock screw, located on the underside just forward of the magazine well.
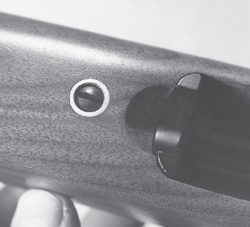
Center the safety halfway between its right and left positions so it will clear the stock on each side, and move the action upward out of the stock.
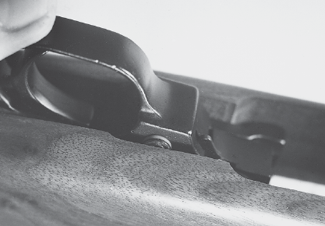
When the action is removed from the stock, the bolt stop pin, the large cross pin at the rear of the receiver, will probably be loose and can be easily taken out at this time.
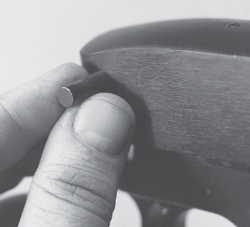
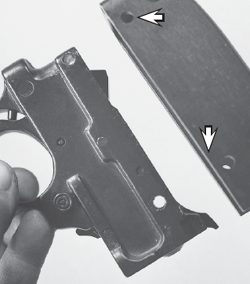
Drift out the front and rear cross pins (arrows) that hold the trigger group on the receiver. Then remove the trigger group downward.
If the bolt stop pin was not taken out earlier, it must be removed now. With the gun inverted, move the bolt all the way to the rear and tip the front of the bolt outward, away from the inside roof of the receiver. Caution:Keep a firm grip on the bolt handle, as the bolt spring is fully compressed. Ease the bolt handle forward, slowly relieving the spring tension, and remove the bolt from the underside of the receiver. Remove the bolt handle and its attached spring and guide rod from the ejection port.
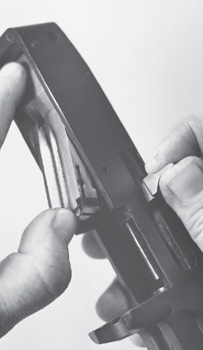
The bolt spring guide rod is staked at the forward end, ahead of the bolt handle, and if the stake lumps are filed off for disassembly, a new guide rod may be required. In normal disassembly, this unit is best left intact. If it is taken apart, be careful not to lose the small spacer (arrow) between the spring and the handle at the forward end.
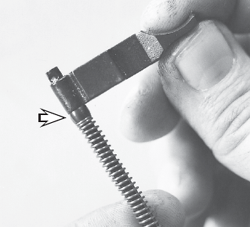
The firing pin is retained by a roll cross pin at the upper rear of the bolt. Use a roll-pin punch to drift out the cross pin, and remove the firing pin and its return spring toward the rear.
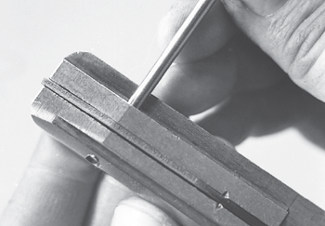
To remove the extractor, insert a small screwdriver to depress the extractor spring plunger, and hold it in while the extractor is lifted out of its recess. Caution:Take care that the screwdriver doesnt slip, as the plunger and spring can travel far if suddenly released. Ease them out slowly, and remove them from the bolt.
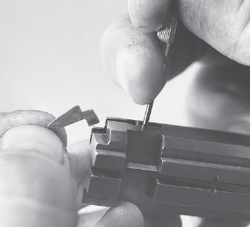
Restrain the hammer against the tension of its spring, pull the trigger, and ease the hammer forward beyond its normal fired position. The hammer spring assembly can now be moved forward and upward, out of the trigger group. The hammer spring assembly can be taken apart by compressing the spring and sliding the slotted washer off the lower end of the guide. Proceed with caution, as the spring is under tension.
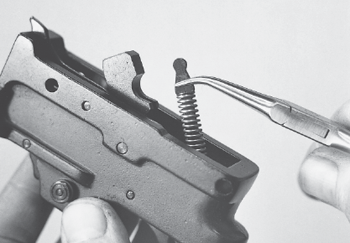
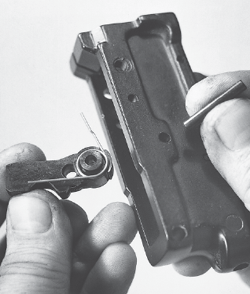
Before going any further with disassembly of the trigger group, carefully note the relationship of all parts and springs, to aid in reassembly. Tip the front of the ejector out of its slot in the front of the trigger group, push out the cross pin at the rear of the ejector, and remove the ejector upward. Note that removal of the cross pin will also release the upper arm of the bolt latch spring.
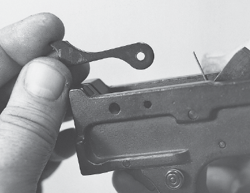
A cross pin at the lower front of the trigger group pivots and retains the bolt latch and the magazine catch lever. The bolt latch is removed upward. Restrain the magazine catch plunger with a fingertip, remove the catch lever downward, and ease the plunger and its spring out toward the front.
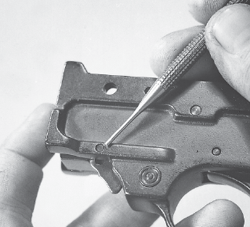
Hold the trigger back to remove sear tension from the hammer, and push out the hammer pivot cross pin. Remove the hammer assembly upward. The bolt latch spring encircles the hammer bushing on the right side, and the two hammer pivot bushings are easily removed from the hammer.
