Contents
Chapter 1
Flash3
Chapter 2
Panorama HDR31
Lightroom Corrections
33
Chapter 3
VR37
Introduction
Bonjour! And welcome to this course on Professional-level Interior Design Photography.
In the first few chapters of this course we will be covering the use of flash, from gear setup, to the nuances of shooting, as well as various techniques to apply with it. Once weve finished covering it in entirety, well move on to some HDR methods in some fresh shoot locations, still applying what weve covered about flash. And finally, well move on to VR techniques in the second half of the course (ending off with a particularly difficult case to really flex your knowledge).
When youre done reading this book, you should be well equipped to make use of your newfound knowledge in interior design flash photography, HDR & VR methods to establish your own professional approach through practice. Whether youre looking to simply take your hobby to the next level or make more money from your photography, youll be well rewarded. Exciting!
Lets get started, shall we?
Chapter 1
Flash
Gear for Flash
The technique that Im about to show you has been done with very inexpensive flash gear. If youre interested in checking it out, you can visit my website, photoserge.com, click on My Gear, then check out the section titled Portrait Composite Gear:
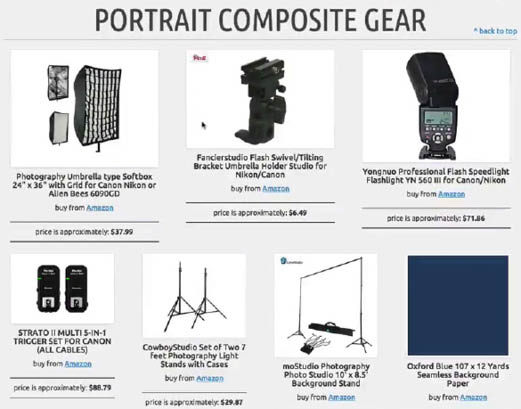
In shooting with my friend Alex recently, he has been utilizing the Yongnuo Professional Flash Speedlight pictured there. Im a longtime Canon and Sony shooter, and have been using the 430 EX2 from Canon for a good while, but I find the Yongnuo much better. And look at the price! Its around $60-$70 for a flash.
The other thing hes been using is the Yongnuo Canon Flash Transmitter:
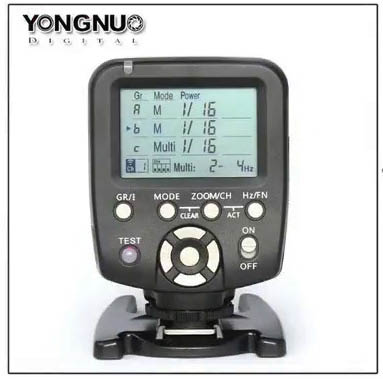
Note that this will only work with a Canon or a Nikon. This will enable you, though, if youve got three flashes, to control the variable power of each. If youre interested in that granularity in your approach to the lighting, this is indispensable.
Finally, weve been working with a Strato II Remote:
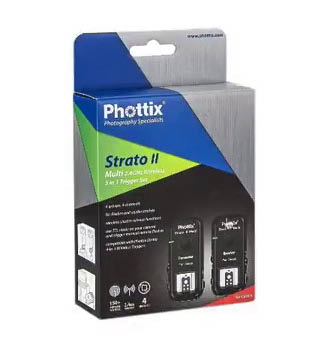
When hes going to be walking around doing these photos, hell take advantage of the Remote to pop both the flash and camera simultaneously. Its very easy to use, you just plug in the Transmitter, select A, B, or C from the Flash Groups, and youre good to go. Sometimes through this course we work with 1 flash or 3, and ultimately its up to you how you want to go. I wanted to give you this info so that if youre interested in working with a more sophisticated multi-flash setup and some remote automation, you have some inexpensive options youre aware of. This setup, all around, will run you around $200 or so, and youre good to gonot bad at all. Pretty cheap for professional real estate photography.
Lets move on and have a look in a live shoot environment how this all comes together.
Shooting with Flash
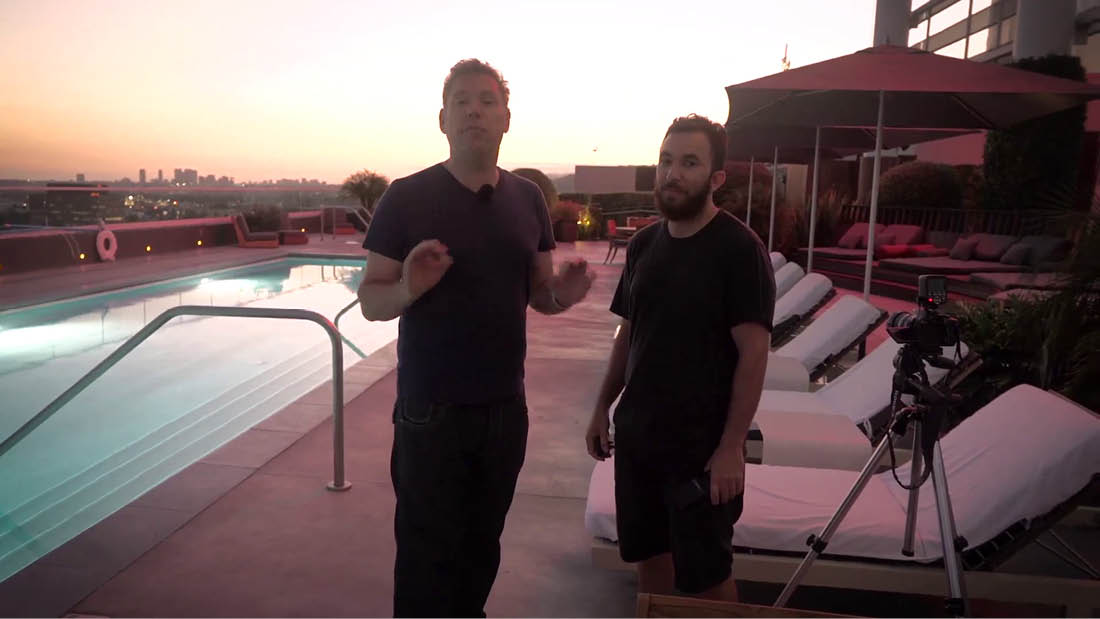
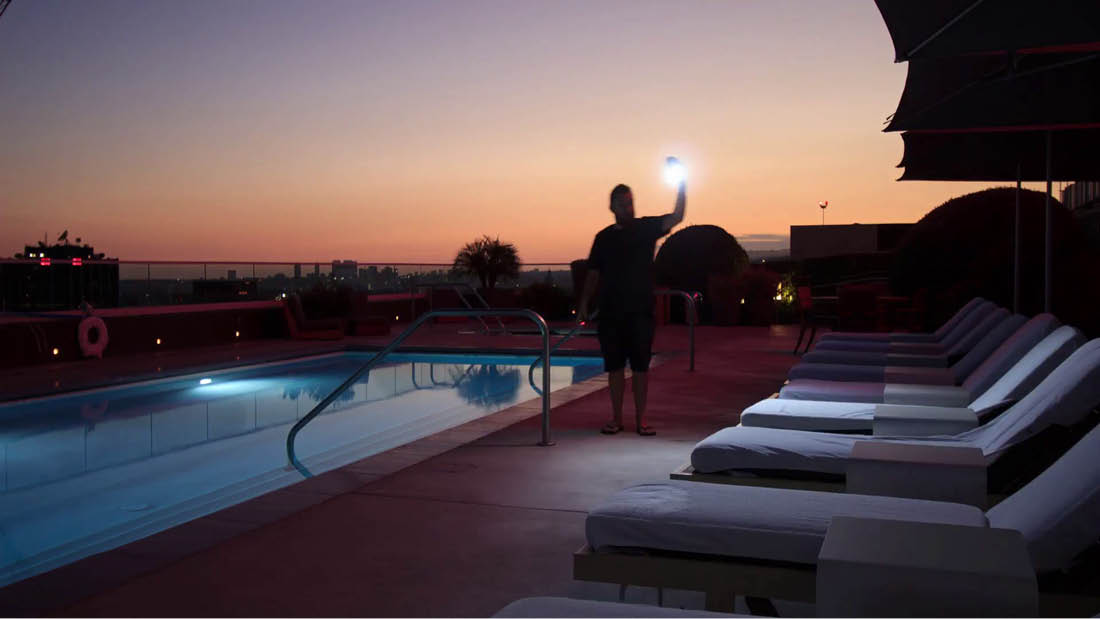
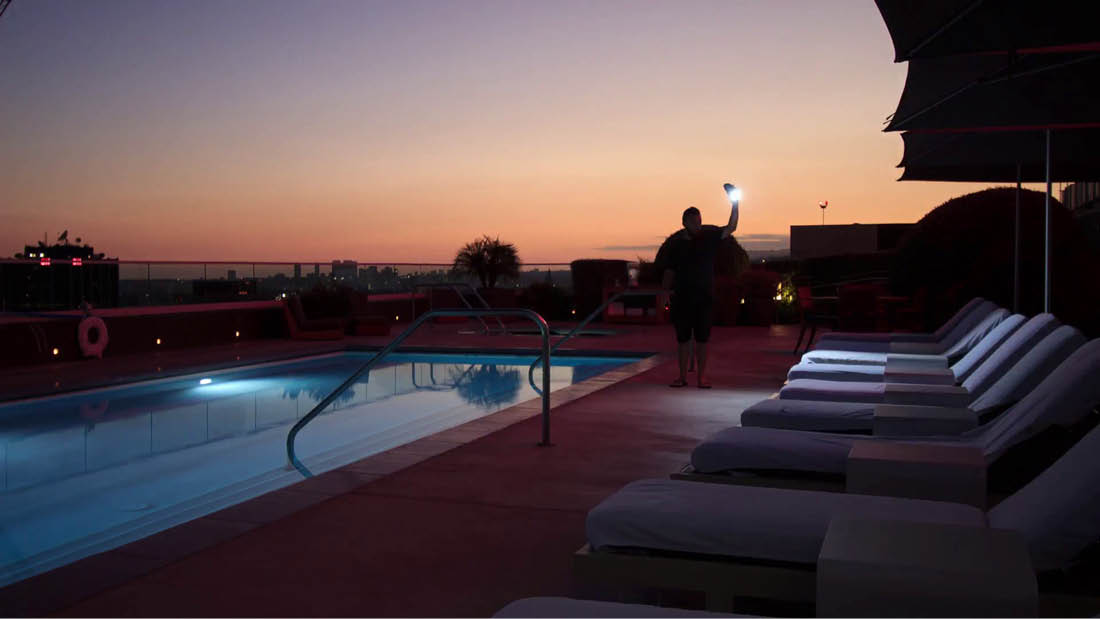
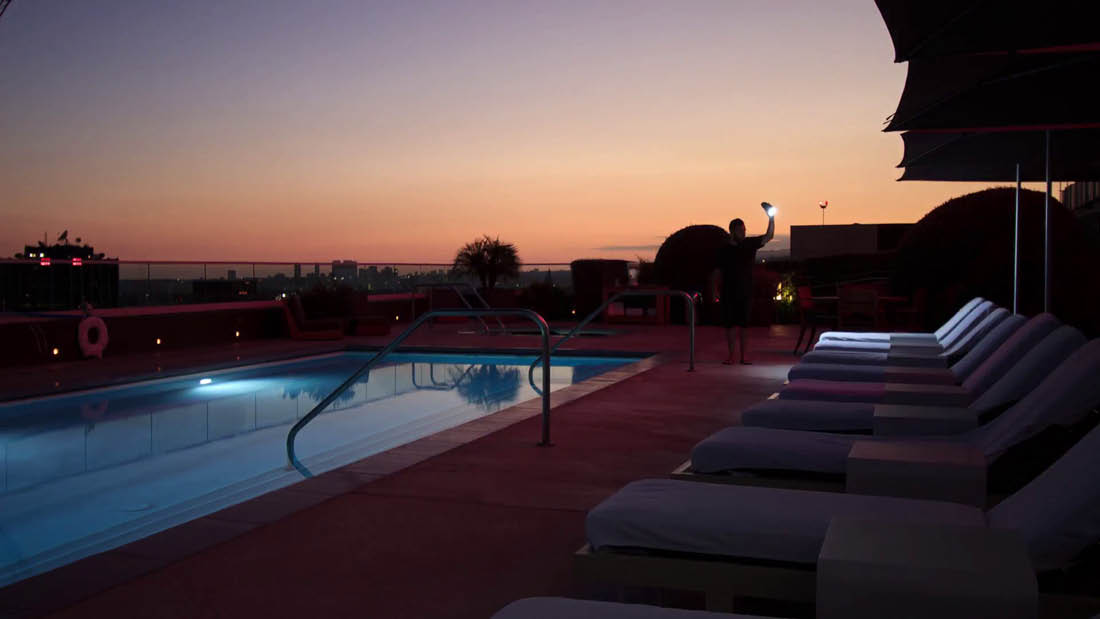
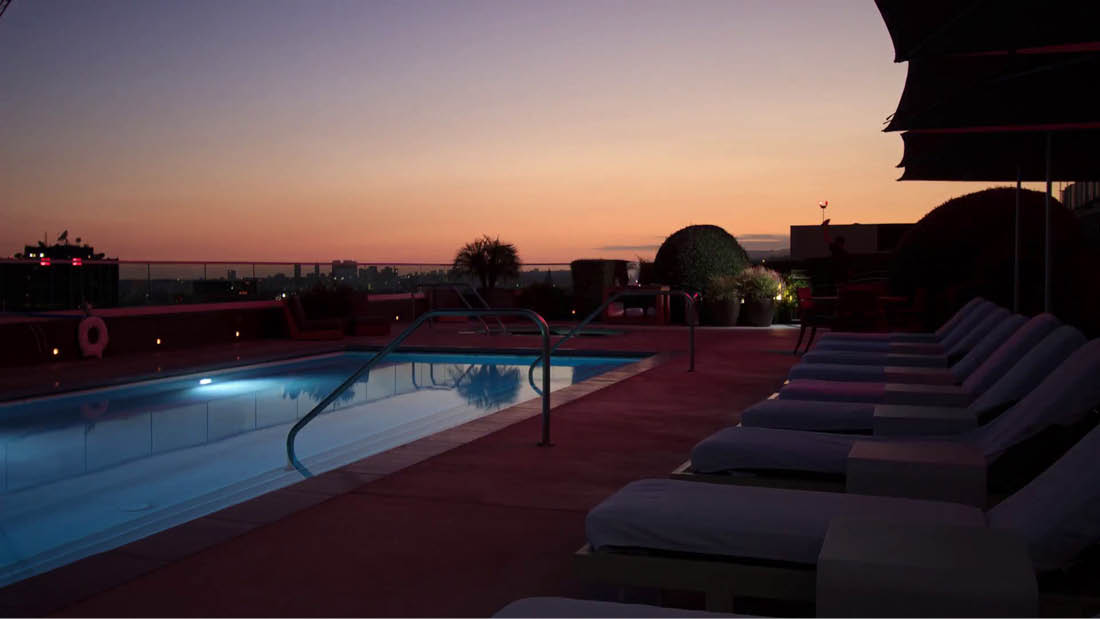
Here we are at the top of a beautiful hotel in California, my friend Alex and I. Were going to do an amazing luxury real estate photo. Well do a series of bracketed photos, as well as some manual light painting with the flash. In essence, this is like Dodging in photo editing, but in real life! The light was absolutely perfect, a very exciting shoot.
Due to all of the stuff going on in the shot we want to capture, all of the highlights, the shadows, and we want to make sure that we capture it all, we set our composition, leading lines. Were exposing for the sunset, but were also going to capture the pool and the shadows beneath the rooftop umbrellas.
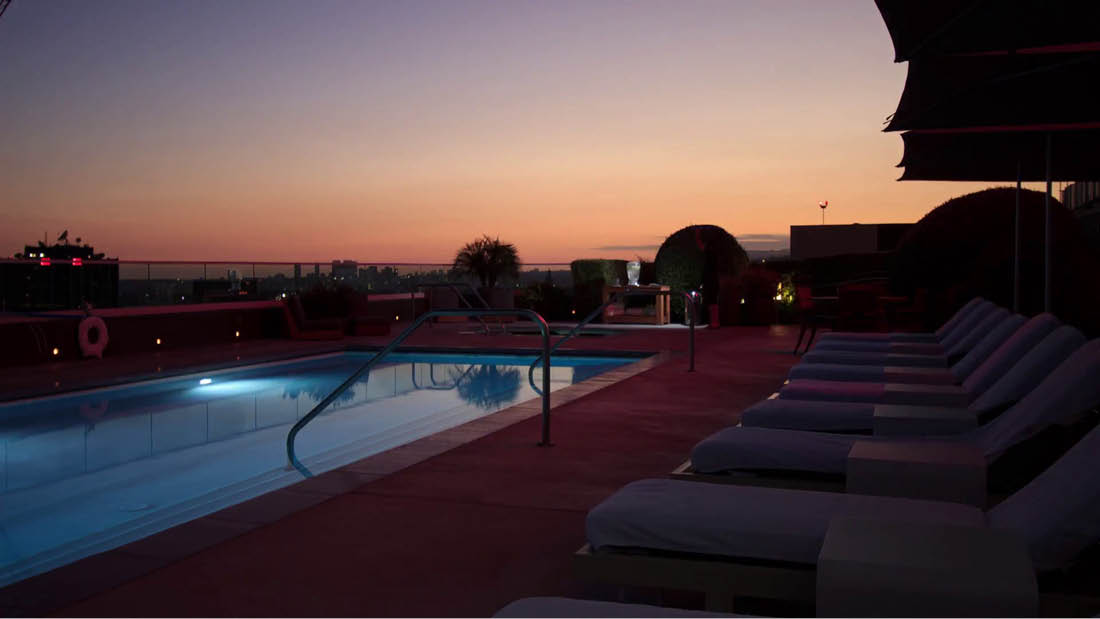
Here are the 3 shots we capture, with varied flash, to start with:
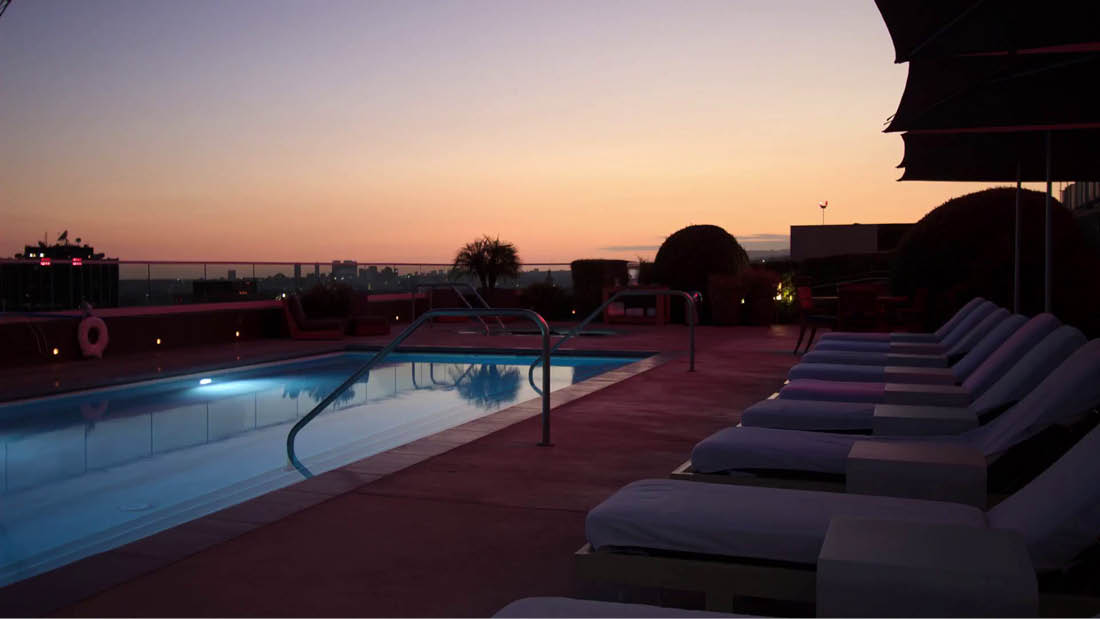
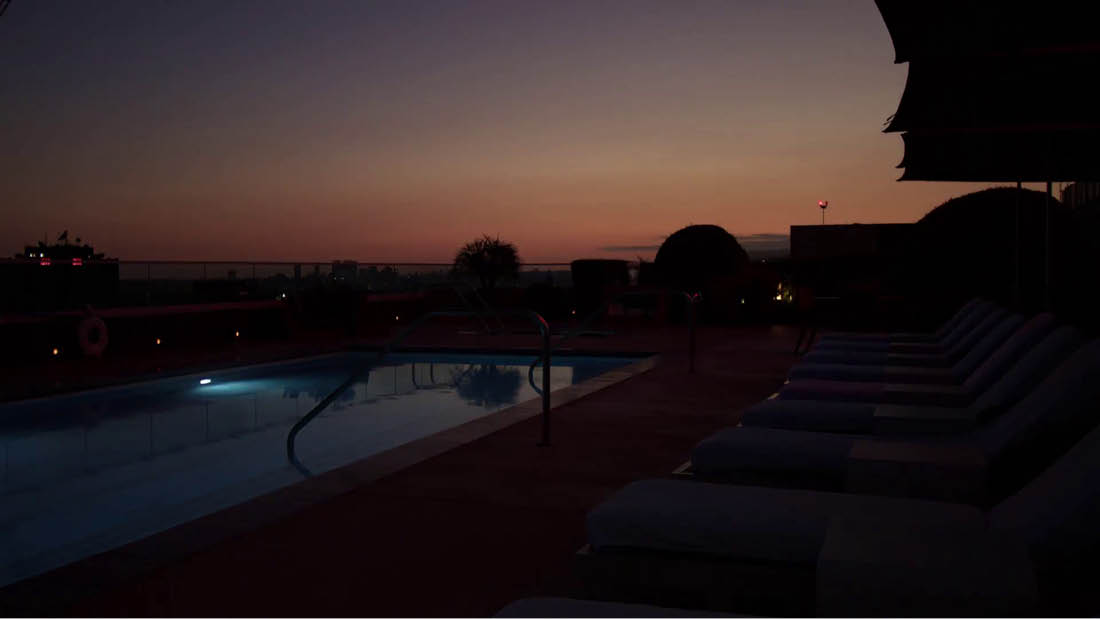
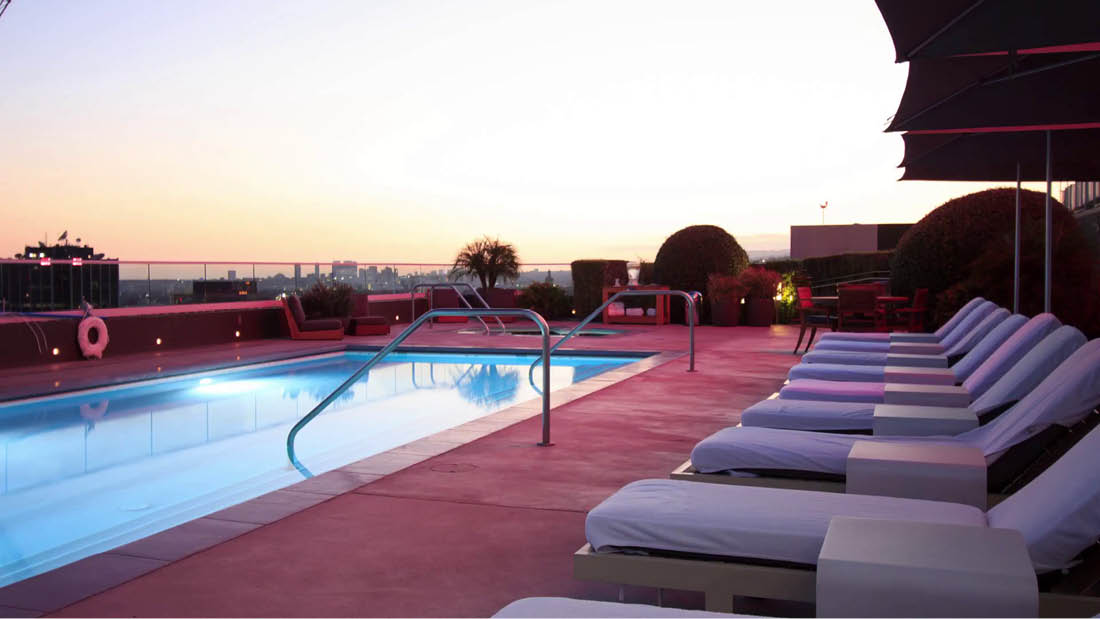
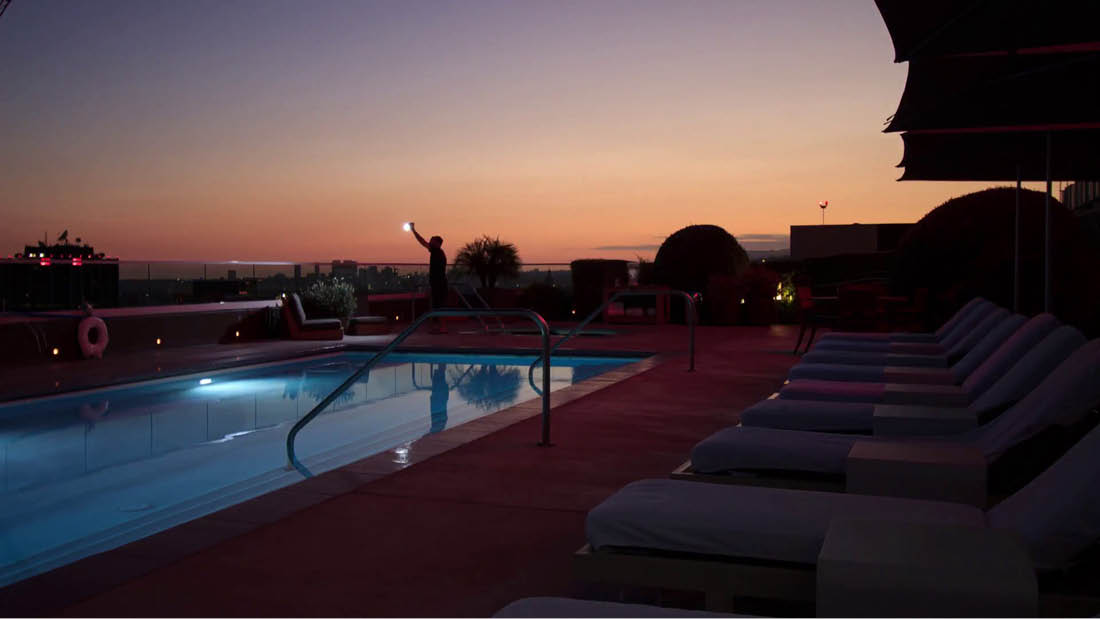
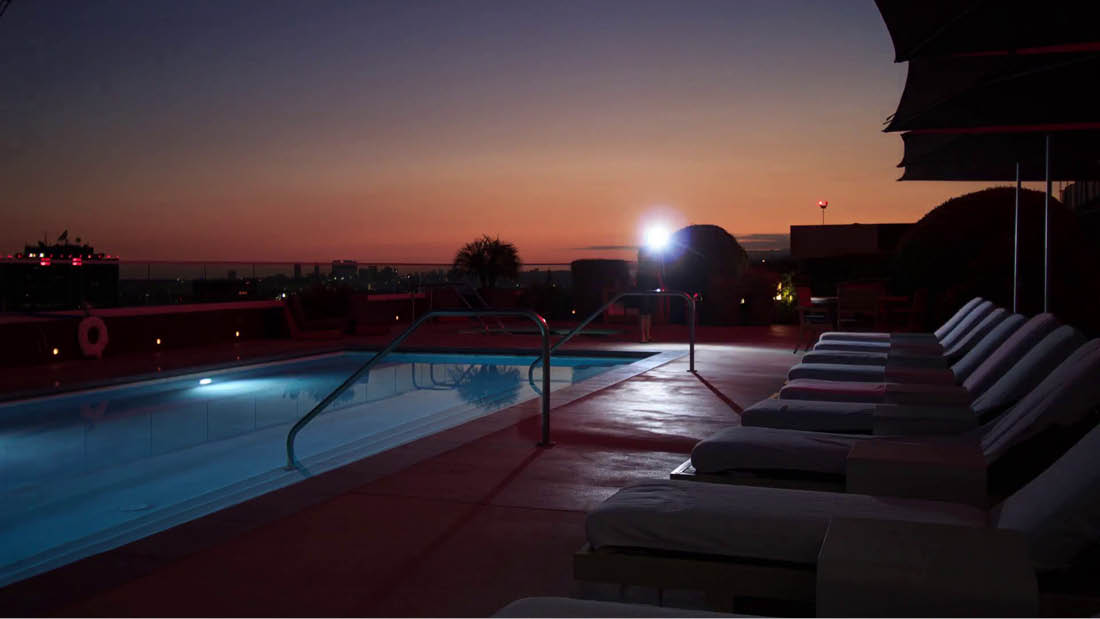
Now were going to take the middle exposure of these as our base, and were going to pop flashes on all of the lounge chairs down the row, as well as some of the plants at the end. Well take it out of bracketing mode, go to basic exposure, and here we are:
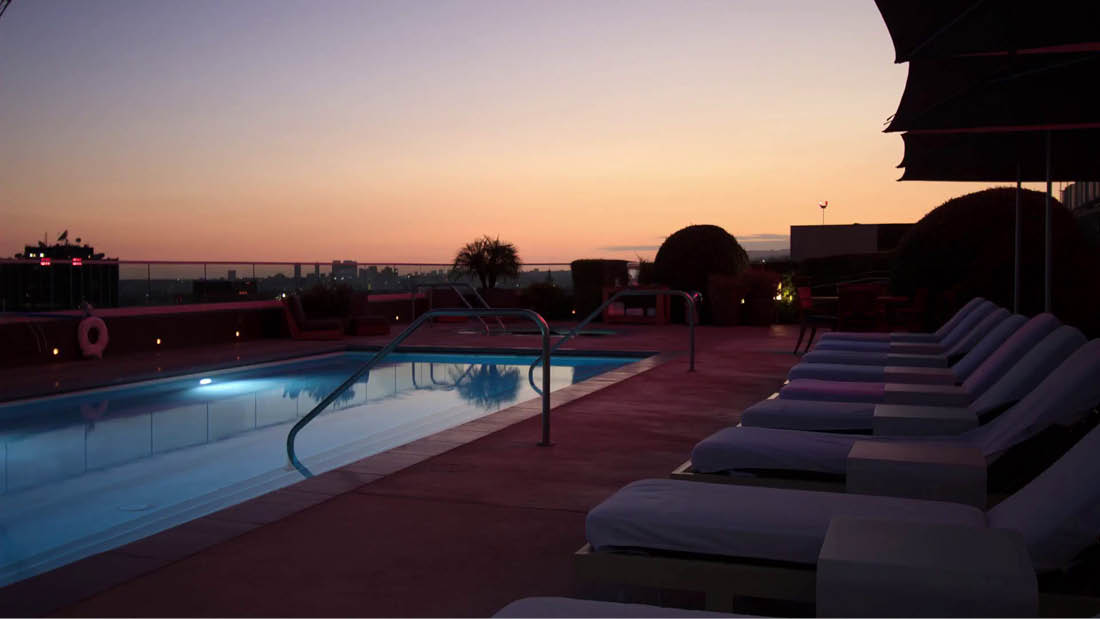
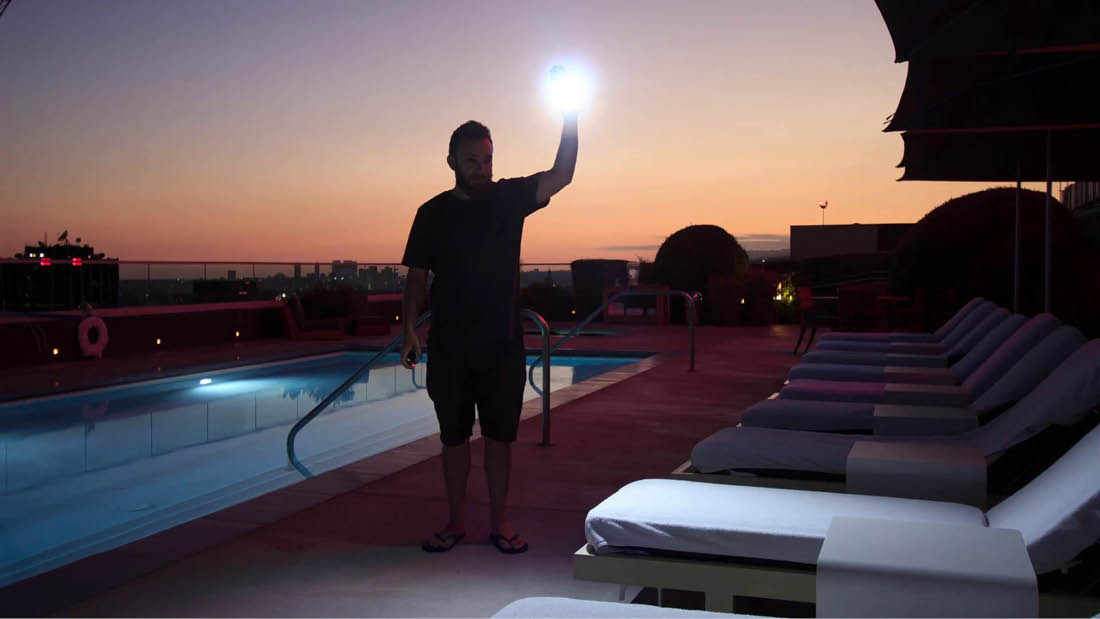
This gives us a base to work on, more to poll for highlights and more to poll for shadows. Cool. Were set up to do some real light painting, with flash. Alex travels down the row of lounge chairs, to some of the plants at the end, up beneath the umbrellas, and captures more shots while popping flashes on these regions so that we can put together a really glorious composition:
Rooftop Technique
Were back at base camp (our design offices) with all of our shots of the rooftop of the beautiful W Hotel in Los Angeles, California. Weve imported all the photos we want to work with in Lightroom: our bracketed photos, about a stop or a stop and a half apart from one another, each, and all of the flash pop shots we took around the rooftop.
What were going to do is, through a good deal of masking in Photoshop, create a composite of these shots that should come out beautifully. I really like this photo, and were going to approach it with a couple of techniques. First, were going to walk through the composition process and regard the final product of that. After that, I want to show you some touch ups I like to perform with sunsets to really make them pop. They should both look great.
Depending on the image, I may go directly into Photoshop with my shots or spend a bit of time first performing some minor touch ups in Lightroom. For example, with these rooftop shots, scrolling down to Lens Corrections and changing the Profile to Camera Landscape looks quite good:
Next page
