Ramelli - Interior Design Photography volume 1
Here you can read online Ramelli - Interior Design Photography volume 1 full text of the book (entire story) in english for free. Download pdf and epub, get meaning, cover and reviews about this ebook. year: 2016, publisher: PhotoSerge LLC, genre: Home and family. Description of the work, (preface) as well as reviews are available. Best literature library LitArk.com created for fans of good reading and offers a wide selection of genres:
Romance novel
Science fiction
Adventure
Detective
Science
History
Home and family
Prose
Art
Politics
Computer
Non-fiction
Religion
Business
Children
Humor
Choose a favorite category and find really read worthwhile books. Enjoy immersion in the world of imagination, feel the emotions of the characters or learn something new for yourself, make an fascinating discovery.

- Book:Interior Design Photography volume 1
- Author:
- Publisher:PhotoSerge LLC
- Genre:
- Year:2016
- Rating:5 / 5
- Favourites:Add to favourites
- Your mark:
Interior Design Photography volume 1: summary, description and annotation
We offer to read an annotation, description, summary or preface (depends on what the author of the book "Interior Design Photography volume 1" wrote himself). If you haven't found the necessary information about the book — write in the comments, we will try to find it.
Ramelli: author's other books
Who wrote Interior Design Photography volume 1? Find out the surname, the name of the author of the book and a list of all author's works by series.


Interior Design Photography volume 1 — read online for free the complete book (whole text) full work
Below is the text of the book, divided by pages. System saving the place of the last page read, allows you to conveniently read the book "Interior Design Photography volume 1" online for free, without having to search again every time where you left off. Put a bookmark, and you can go to the page where you finished reading at any time.
Font size:
Interval:
Bookmark:
Contents
Chapter 1
Live Shooting Basics4
Chapter 2
Retouching Basics25
Chapter 3
Retouching Details39
Chapter 4
Copy / Paste47
Chapter 5
Erase Elements in Photoshop55
Chapter 6
High Key74
Chapter 7
Details89
Chapter 8
Retouch Small99
Chapter 9
Hotel Seven110
Chapter 10
Breakfast120
Chapter 11
Faade136
Introduction
Welcome to this tutorial on how to shoot Interior Design. This is something Ive been doing for many, many years and there are a number of things Ive discovered that work extremely well in this setting. Id like to take this opportunity to share them with you. Usually when I work for clients, there are two primary types of shots I work with: very wide angle, and very close. Not a lot of in-between.
For the purposes of delivering all of these tips and pieces of guidance, I shot in a variety of settings within a single setting: a prominent, chic hotel! This is the exact type of client you may find yourself working with, involving a variety of interior settings with various space sizes and quality of light; perfect for learning.
Lets jump in!
Chapter 1
Live Shooting Basics
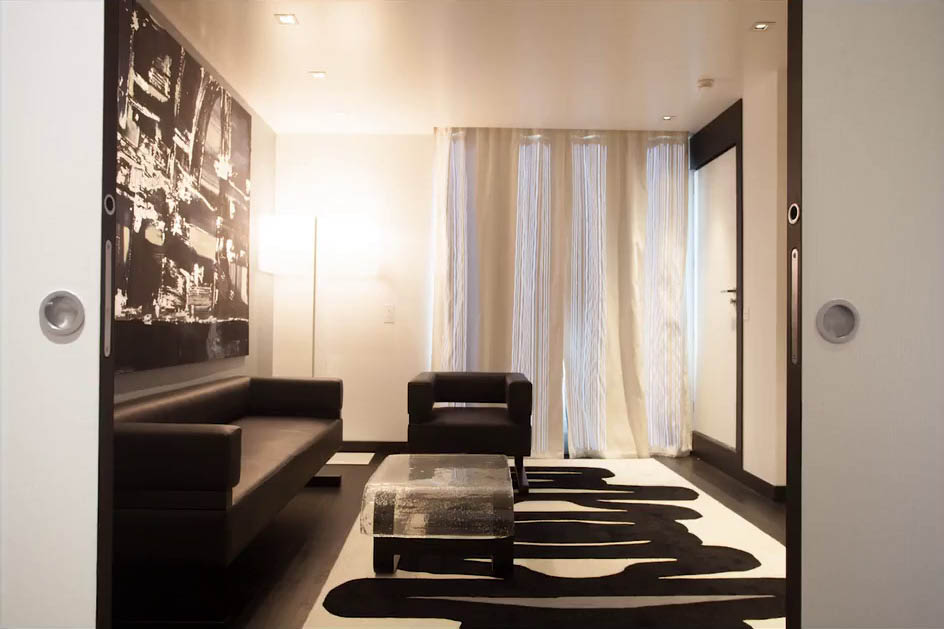
Well begin with some of the basics of shooting in these interior spaces in one of the cool suites this hotel had to offer:
Writing Light
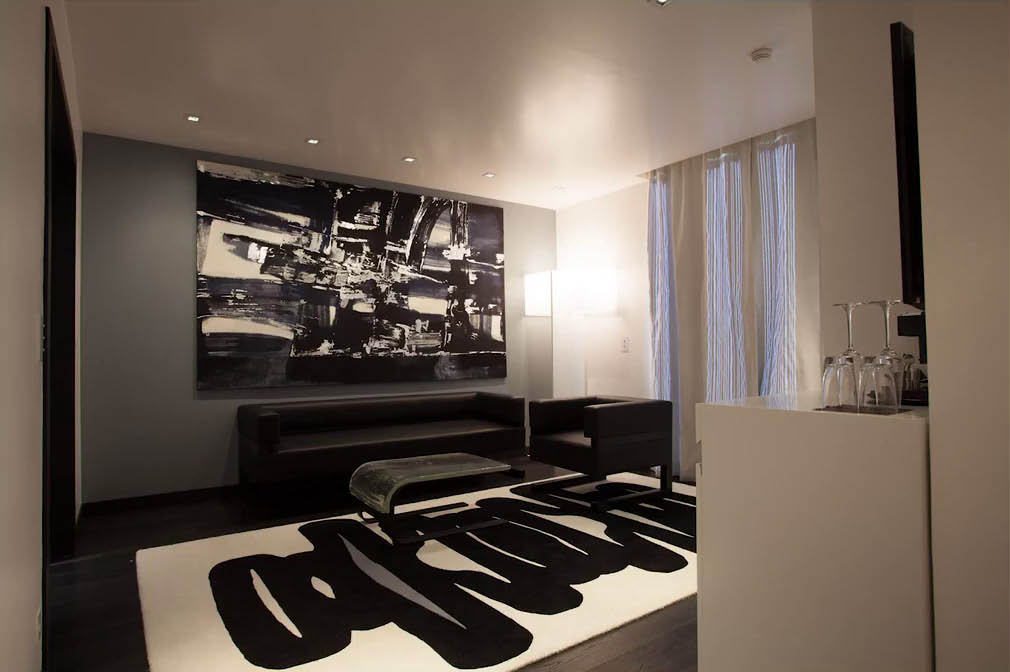
We must never forget that photography literally means writing light. Thats what were doing, and we need to always master the light in our shoot environment. When I first arrived at this room, it was mid-afternoon and theres a great deal of diffuse light coming in through the open shades:
We handle this with two easy steps:
We open up the other light sources in the room, the lamp in the corner and the recessed ceiling light:
and we close those blinds to dampen the sunlight:
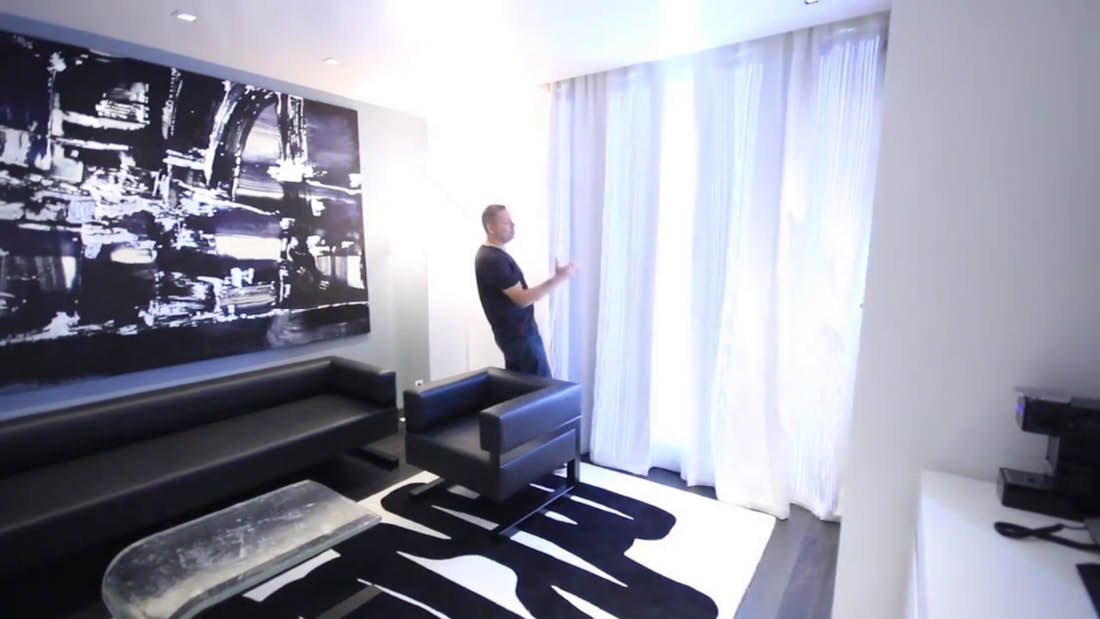
This looks so much better. Everythings more dense, theres enhanced contrast, greater density. Its cozier! The only time Id keep the curtains open would be 1-2 hours before sunset with greatly reduced brightness. Heres the room now:
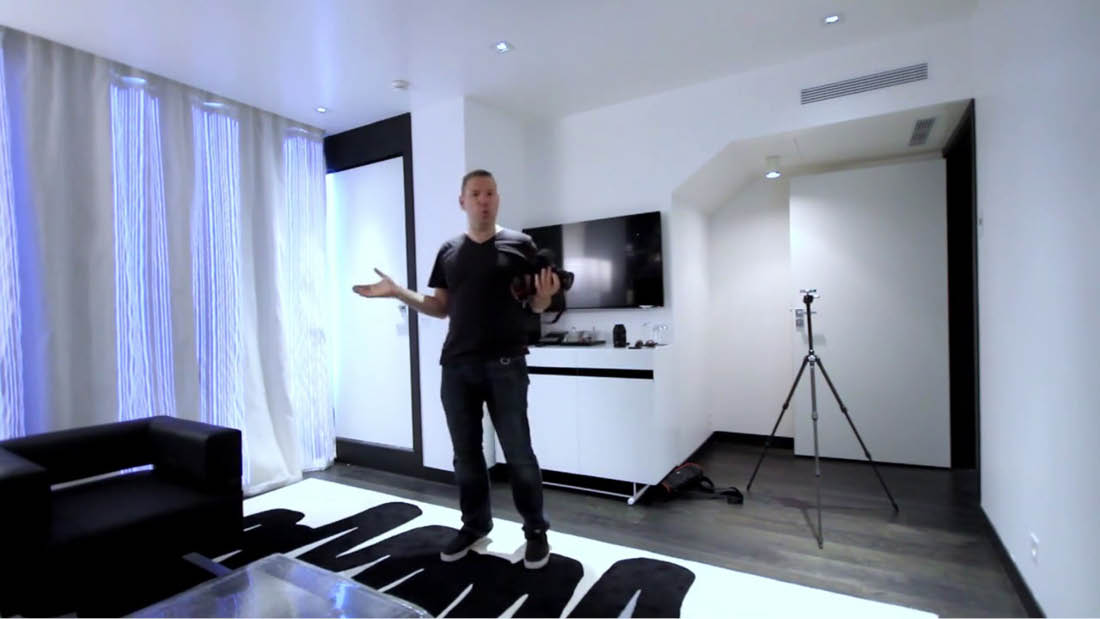
Wide Angle
With the lighting the way we like it, its time to tackle camera settings and angle. For this shot, Im going to use the Canon 5D Mark II with a 17-40mm lens. If I were shooting with the 70, Id use a Sigma 10-20mm lens. In any case, I need to shoot between 15-20mm as a real lens distance. Ill also typically shoot at f/7 or f/8 in roomsthis gives enough shallow depth of field that everything remains in focus.
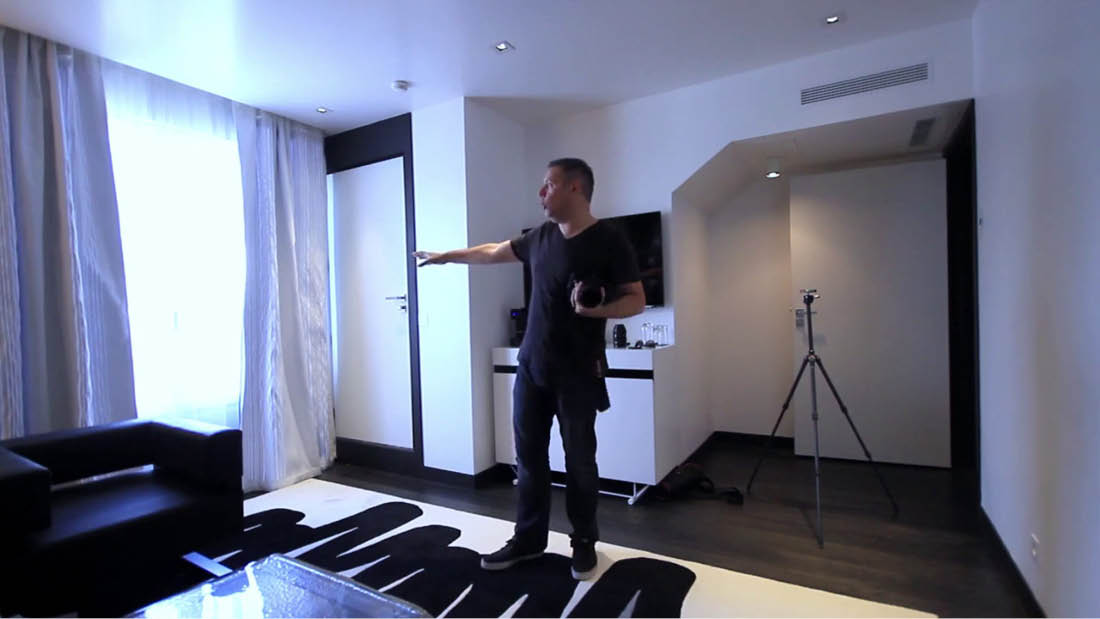
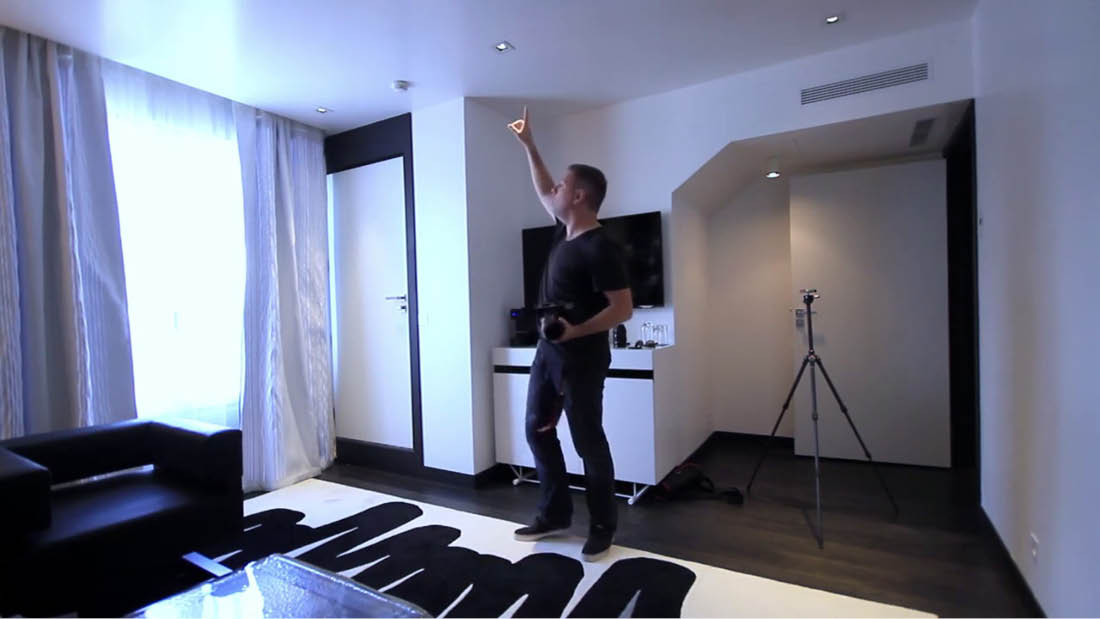
We want to get a wide angle shot, so we need to make sure that we have nothing close to our lens (or itll end up distorted like crazy!). Now, Im going to walk around every corner to see what shots are available. Corners will always yield more interesting photos than being in the middle of the room. They give us more perspective, more dimension. In each available corner, Ill have a look at shots from a standing height, as well as crouched. I strongly favor the crouched shoot, its a much more popular and rich perspective, but it never ever hurts to give yourself a full idea of what the space provides.
Well end up using the tripod so that we can get long exposures with the darkened room, but we first want to walk the corners and manually have a look at the available perspectives by hand:
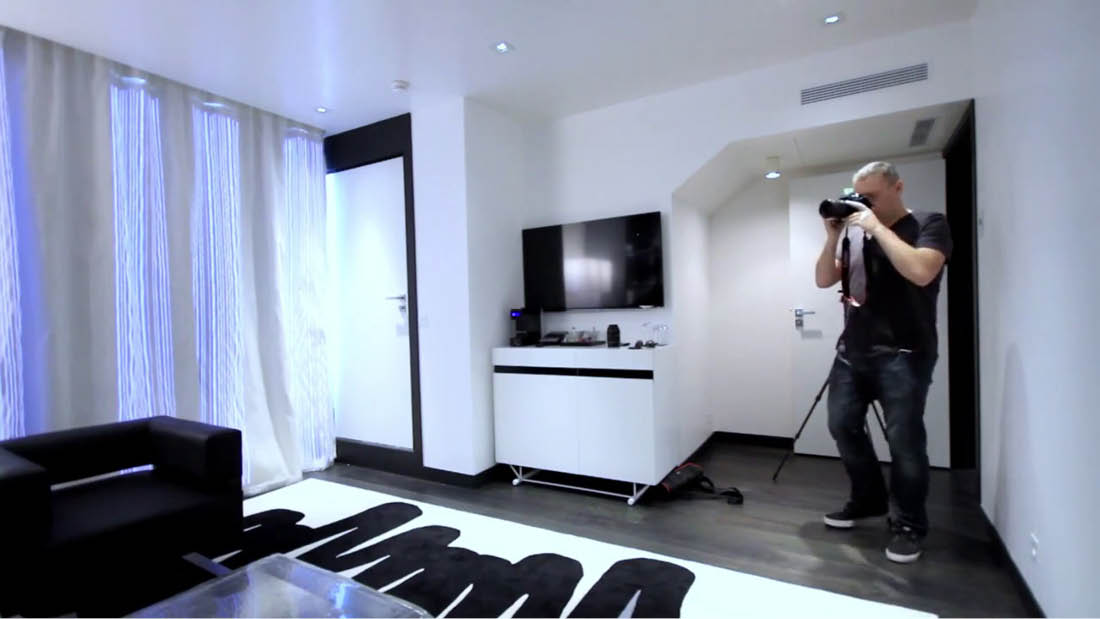
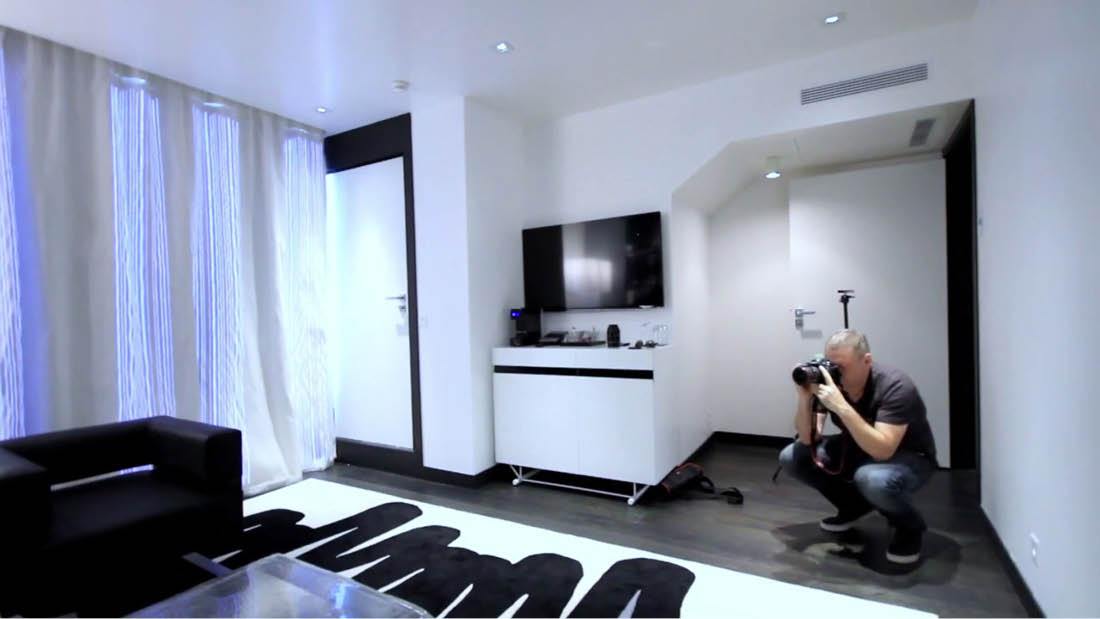
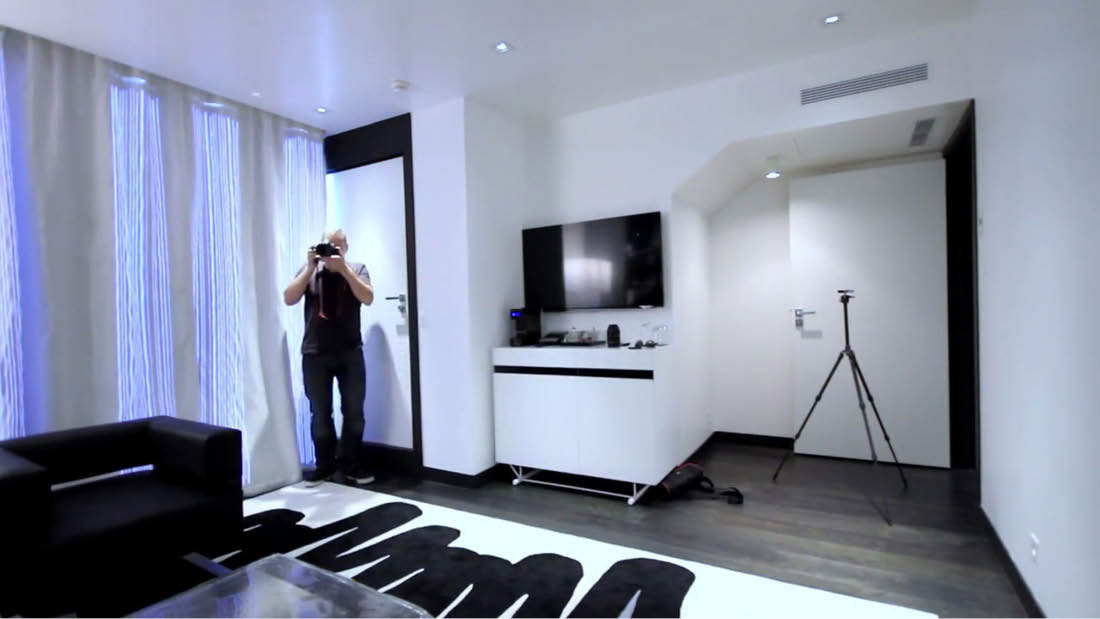
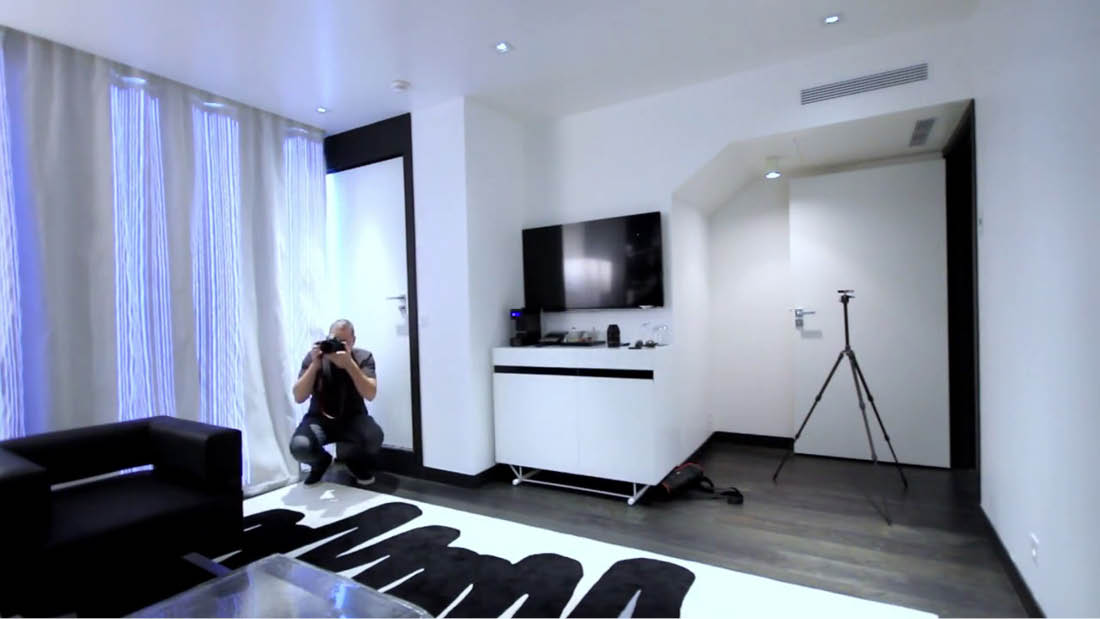
The key thing is to find some framing where no features of the space are being cut off. We call this the police board. Look for a framing where you dont have half of a television, half of a lens, etcits very distracting when it happens. Another important thing is to ensure that your shot is very level in wide angle, or youll end up with crooked walls.
So now Ive found which corner will work best for our shot and Im ready to take some of our long exposures. Unfortunately due to the absolutely massive size of the beautiful carpet, I couldnt get the entirety of it in our shot, but weve managed to keep all of the other important elements fully from here:

Ill shoot in manual mode, at f/7.1. I just change the speed until the photo is properly exposed. At 100 ISO, I need 0.8s to get a proper exposure. Ill use a 2s timer for the shot, since the exposure time is so small I dont want to still be touching the camera. For the White Balance, Im a pretty lazy guyIll shoot it at Auto. Im not trying to get the exact color, for me the Interior Design shot is artistic. I want an emotional impact.
I take my first shot and see that our light from the corner is a bit burntits fairly bright. No problem thereI can do virtually anything in Lightroom and Photoshop. Ill get a smaller exposure that will be easier to work with in our retouching applications.
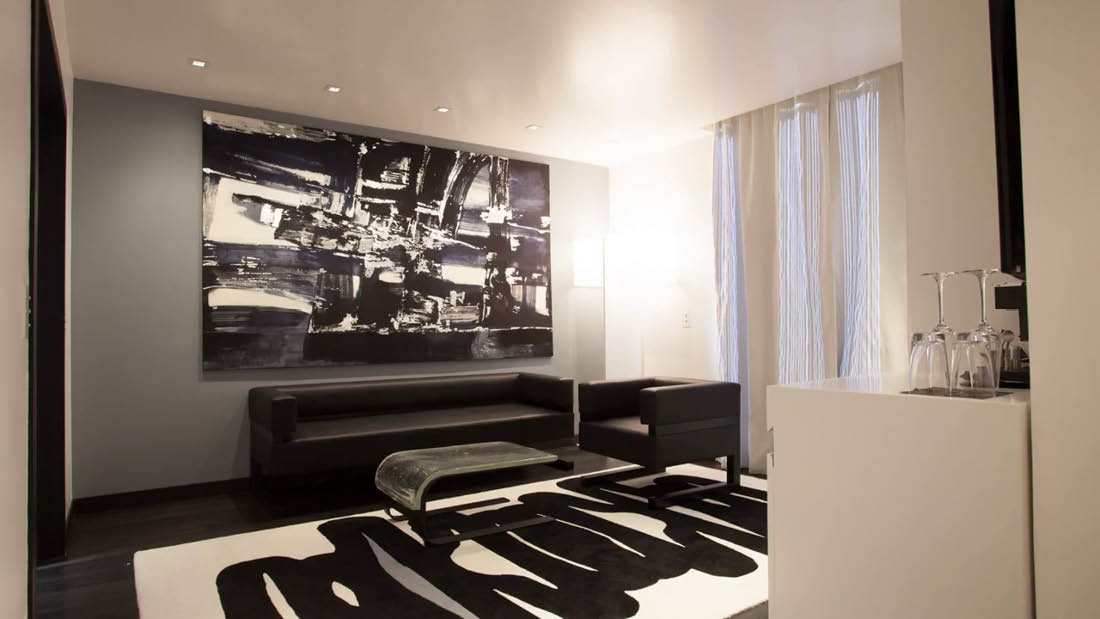
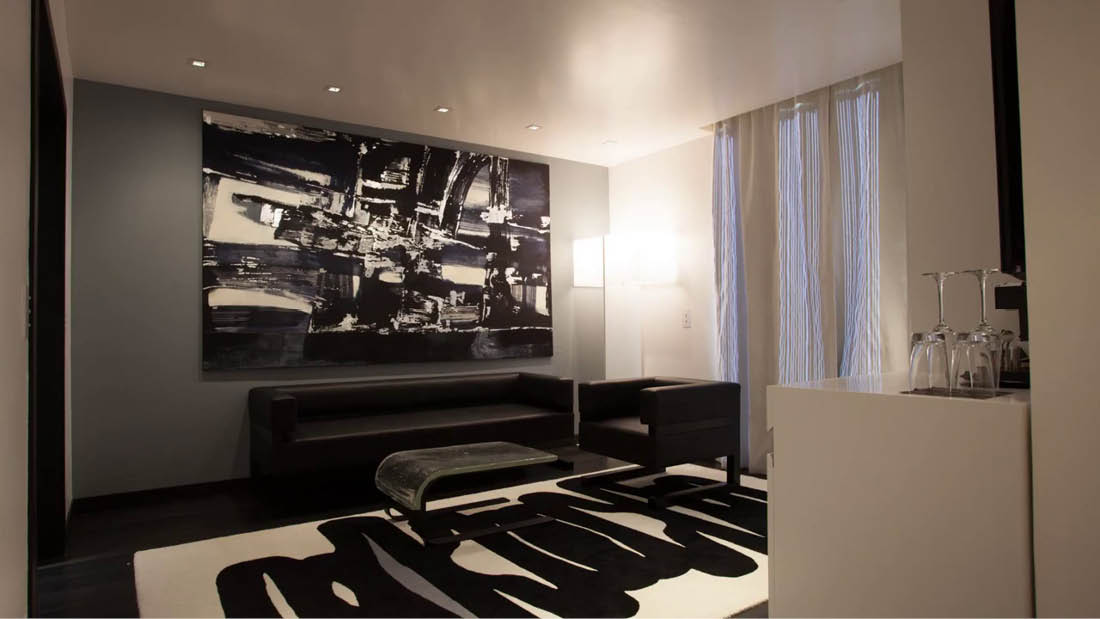
Voila! We do end up with a bit too much yellow, but we can correct that later in Lightroom. Our walls are very straight, I think were ready to proceed. Weve got a shot worth retouching:

Now that weve got that, I want to get another angle on this room. Weve got the bedroom next door, where I get a bit more space. I can go for a cool depth shot without going wide angle:

I have the light that I like already, so Im still at f/7.1 and 0.8s exposure time. I keep the doors closed just enough to give us some cool framing, and use my 2s shot timer once again. The initial shot I get is slightly too bright. Well use our solution from before, but close it in even further and take the exposure time down to 0.5s:
Font size:
Interval:
Bookmark:
Similar books «Interior Design Photography volume 1»
Look at similar books to Interior Design Photography volume 1. We have selected literature similar in name and meaning in the hope of providing readers with more options to find new, interesting, not yet read works.
Discussion, reviews of the book Interior Design Photography volume 1 and just readers' own opinions. Leave your comments, write what you think about the work, its meaning or the main characters. Specify what exactly you liked and what you didn't like, and why you think so.